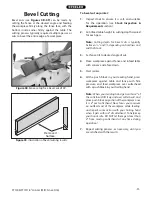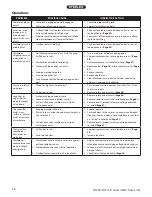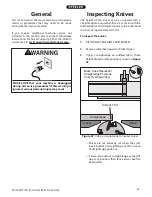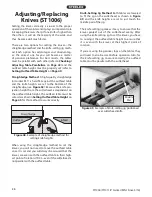
-30-
ST1006/ST1011 8" Jointer (Mfd. Since 3/16)
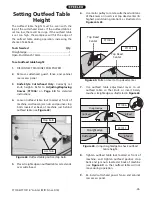
Edge Jointing
Figure 36. Example of edge jointing operation.
Removed
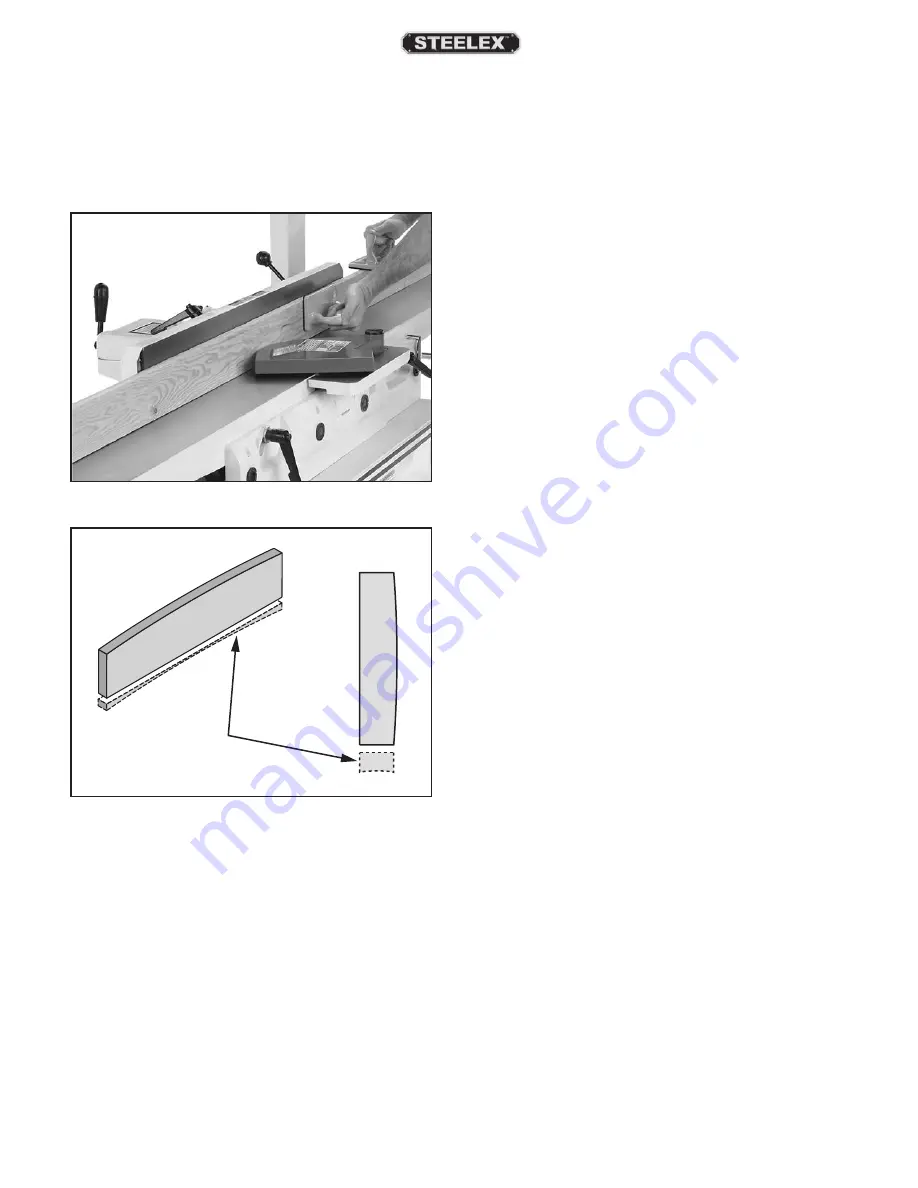
Surface
Figure 37. Illustration of edge jointing results.
The purpose of edge jointing is to produce a finished,
flat-edged surface that is suitable for joinery or finish-
ing, as shown in Figures 36–37. It is also a necessary
step when squaring rough or warped stock.
To edge joint on jointer:
1. Inspect stock to ensure it is safe and suitable
for the operation (see Stock Inspection &
Requirements section).
2. Set infeed table height to desired cutting depth
for each pass.
IMPORTANT: For safety reasons, cutting depth
should never exceed
1
⁄
8
" per pass.
3. Set fence to 90˚.
4. Start jointer.
5. Place workpiece firmly against fence and infeed
table.
IMPORTANT: To ensure workpiece remains
stable during cut, concave sides of workpiece
must face toward table and fence.
6. Feed workpiece completely across cutterhead
while keeping it firmly against fence and tables
during the entire cut.
IMPORTANT: Keep hands at least 4" away from
cutterhead during the entire cut. Instead of
allowing a hand to pass directly over cutterhead,
lift it up and over cutterhead, and safely repo-
sition it on the outfeed side to continue sup-
porting workpiece. Use push blocks whenever
practical to further reduce risk of accidental
hand contact with cutterhead.
7. Repeat
Step 6 until the entire edge is flat.
Tip:
When squaring up stock, cut opposite edge
of workpiece with a table saw instead of the
jointer—otherwise, both edges of workpiece will
not be parallel with each other.

