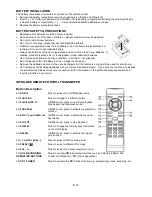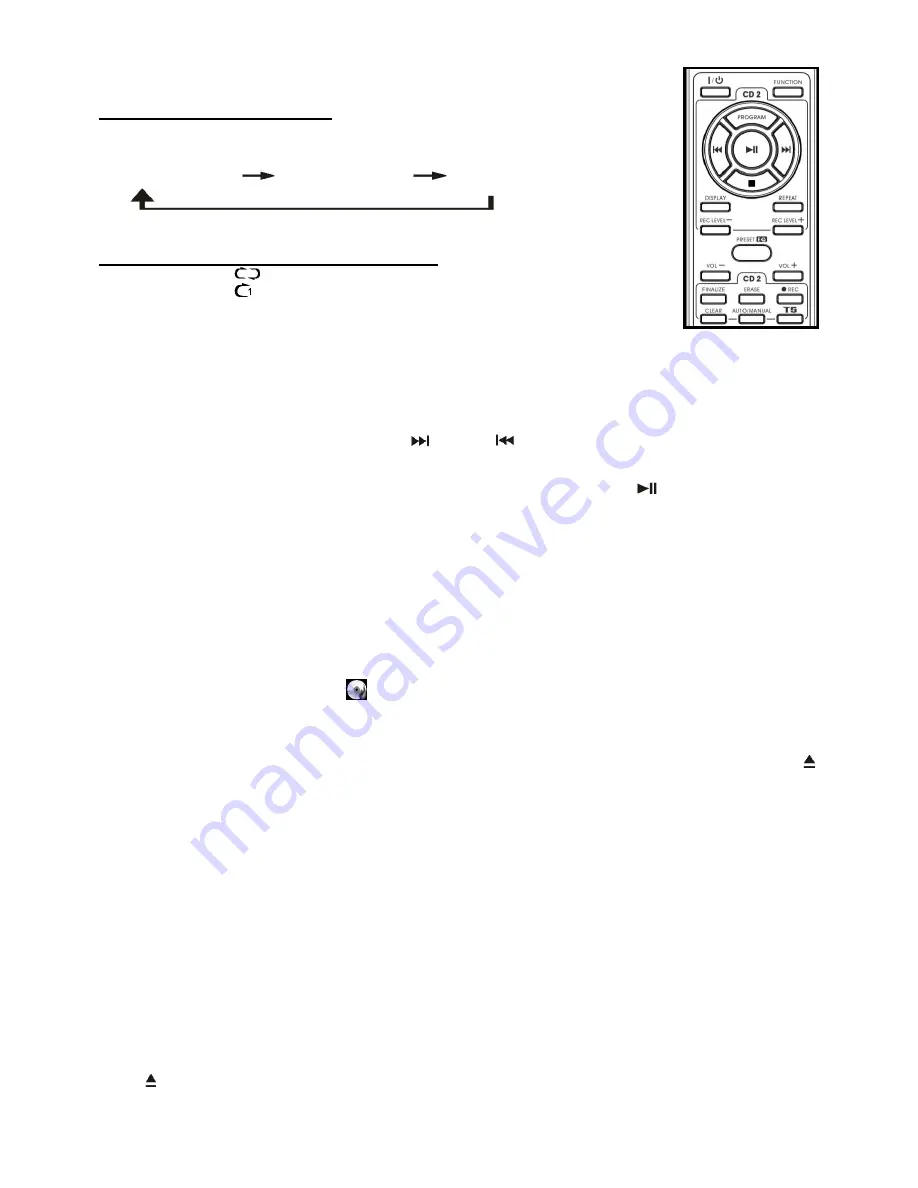
REPEAT MODE for CD 2 (on the Remote Control only)
Repeat play (by remote control)
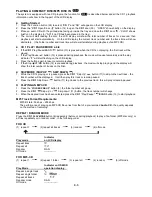
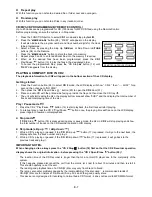
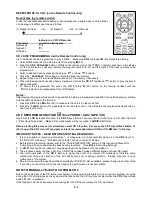
Press the repeat/random button before or during playback, a single track or all the tracks
can be played in difference mode as follows:
(1) Repeat all track
(2) Repeat 1
(3) Off mode
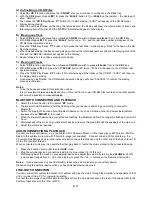
Indicator on CD/CD Recorder
Play mode
operation display area
Repeat all
Repeat 1
Off mode
--------------
CD 2 DISC PROGRAMMING (on the Remote Control only)
Up to 32 tracks can be programmed to play in
CD 2
. Make sure
CD 2
is stopped
(50) first before starting.
1. Select
CD 2
mode (24) and stop the disc from playing
(
50).
2. Press the
CD 2
“
PROGRAM
” button of
CD 2
on the remote control, the
“ PROG “ indicator will show on the display.
On the LCD display it will also indicate the program number (P-01) and the digits of the track numbers to be
programmed.
3. Select a desired track by pressing the skip up
or down
buttons.
4. Press the
“
PROGRAM
” button again to store the track into memory.
5. Repeat steps 3 and 4 to enter additional tracks into the memory if necessary.
6. When all the desired tracks have been programmed, press the
CD 2
“Play/Pause
” button to play the disc in
designated order.
7. To cancel the programmed file, press the
CD 2
“Stop”
(50) button on the remote handset until the
“PROG“ indicator has disappeared from LCD display.
Notes:
After playing the programmed songs, it is possible to delete a programmed track after it has started playing, starting
with the last one down to the first one:
1. Press the
CD 2
Stop
button (50) to make sure the unit is in stop mode first.
2. Press the
“
CLEAR
“ button (57) repeatedly on the remote control – this will delete the programmed tracks one by
one from the memory.
CD 2 RECORDING FUNCTION
(from PHONO / AUX / TAPE / CD)
Apart from the
CD 2
playback function, this
CD 2
Player/ “Burner” can also record to and “burn” a CD, either from CD
1
/
Phono/Aux/Tape mode.
Note:
All recorded tracks will be recorded in
AUDIO-CD
format.
Before starting this process (for all modes), select CD 2 function (24), press the CD 2 Open/Close button
(20) to open the CD 2
door (31) and place a blank recommended brand CD-R or CD-RW disc* in the tray
.
IMPORTANT NOTES
– READ BEFORE STARTING RECORDING:
1. It is only possible to record on a blank disc*
– to make sure it is, check that after placing it in the
CD 2
tray (31),
the “NO TOC“ indicator (= “No Table of Contents”) shows on the LCD display.
2.
Before starting recording, please refer to the “TRACK SEPARATION” section in this Instruction Manual for
instructions on how to separate the tracks during recording. [See
B ii)
in Recording Settings]
3.
A “
CD-R
” disc can be recorded on only
once
and cannot be erased or re-recorded on.
4. The playback quality of either a CD-R or CD-RW disc varies between different brands of Audio CD player.
5. The revolving speed of the
CD 2
Burner is higher than that of a normal CD mechanism, therefore some
mechanical noise and vibration of the unit cabinet may occur during operation. Please note this is not a
malfunction of the system.
6. Due to the variety in the quality and the compatibility of CD-R(W) discs available, please change to another brand
if you find you cannot record on the one used or the performance is not very stable.
HOW TO MANUALLY EJECT A CD FROM CD 2
Due to the complexity of the CD burner mechanism, if the power is interrupted or if you notice a problem occurring
during the CD burning process, the system will be locked and the CD tray may not eject when the
CD 2
Open/Close
button
(20) is pressed.
If that happens it will be necessary to manually eject the CD tray to retrieve the CD, as follows:
E-8


