Furnace
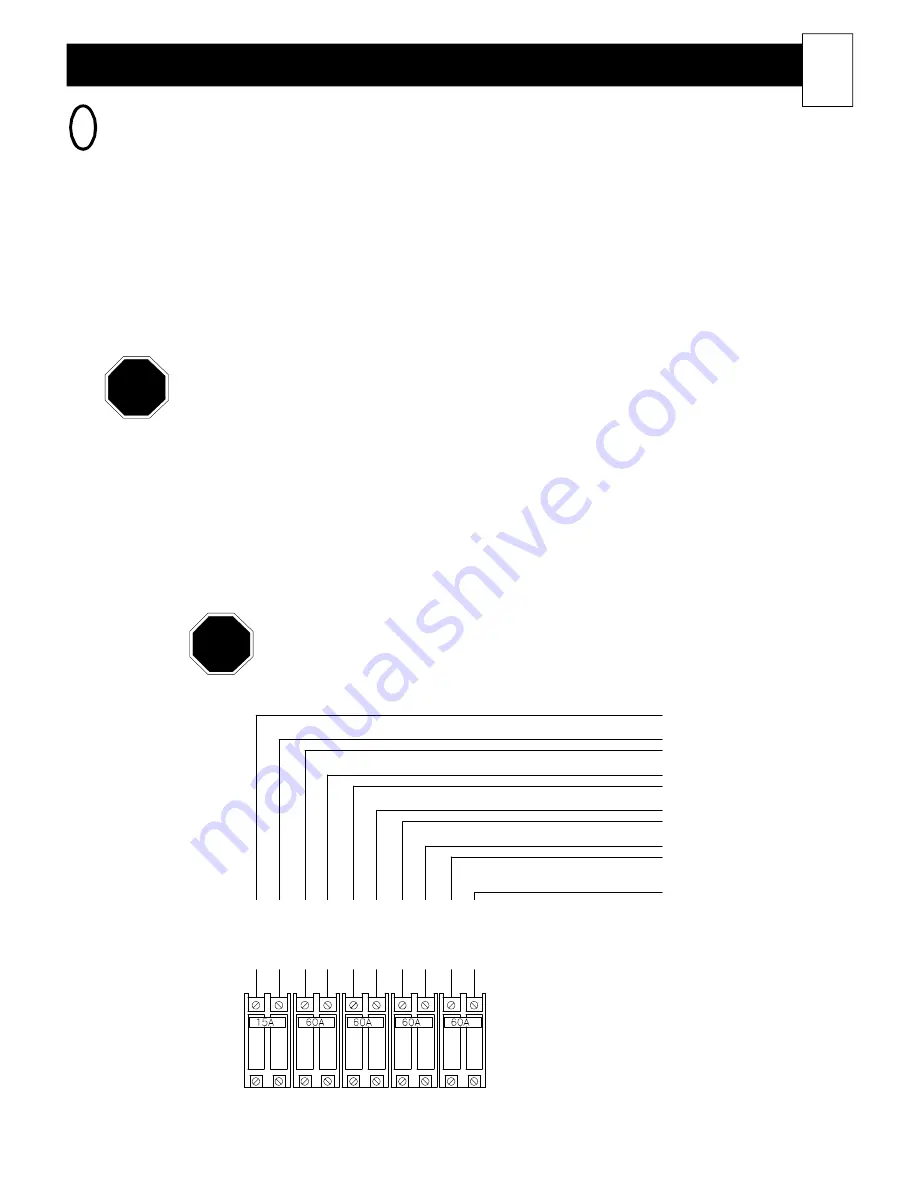
Circuit Breakers
LIN
E
2
LIN
E
1
LIN
E
2
LIN
E
1
CHARGE CIRCUIT #3
CHARGE CIRCUIT #2
CHARGE CIRCUIT #1
BLOWERS/CONTROLS CIRCUIT
CHARGE CIRCUIT #4
(MODEL DLF40 ONLY)
LIN
E
2
LIN
E
1
LIN
E
1
LIN
E
2
LIN
E
1
LIN
E
2
To
S
er
v
ic
e Pa
n
el
FIGURE 8
Installing The Furnace
(cont'd)
15
LINE VOLTAGE ELECTRICAL CONNECTIONS
In standard configuration, the furnace is wired for connection to 240V but are available with 208V or 277V
heating elements as special factory orders. However, the blowers and furnace controls circuit must always be
connected to 240V or 208V.
The furnace is set up for multiple feed circuits. The 60 amp breakers located in the electrical compartment at
the base of the furnace feed the core charging (element) circuits. The 15 amp breaker feeds the furnace
controls and blowers circuit. The furnace's elements and blowers/controls circuit can be fed with separate
circuits or the blowers/controls can be fed from one of the element circuits. If single feed of the charging
(element) circuits is desired, an optional single feed kit is available from the factory. (Order item #1309000.)
The single feed kit enables the furnace to be fed with a single circuit which then splits this circuit internally to
each breaker.
All line voltage circuits must be segregated from low voltage wiring in the furnace.
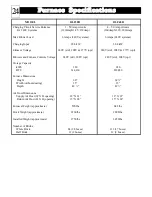
To determine the correct wire size required for each circuit feeding the furnace, refer to the Unit Specifications
section in this manual. It is the responsiblity of the installer to follow all applicable electrical codes and regula
tions for the installation.
Step 1
Remove the electrical panel cover (46).
Step 2
Route line voltage wiring through a knockout and into the electrical panel of the furnace.
Step 3
Make the proper field wiring connections to the furnace breakers. (See the Line Voltage Wiring
Diagrams in this manual for more information on these connections.)
To reduce magnetic fields that can be produced by electrical circuits, it is rec
ommended to alternate the circuit phases in the furnace. (See Figure 8 for more
information on how to phase connect the circuits.)
8
NOTE
NOTE


