09-282C
3 - 1
3/96
INSTALLATION
Section 3
Mounting Instructions
The chipper/shredder should be used only on the Steiner 420, 425 and 525 power units equipped
with the required chipper/shredder electrical outlet. (This electrical outlet is shipped with each chip-
per/shredder. See Section 7 for electrical outlet installation.)
NOTE: The PTO drive line is subject to shock loads while using the chipper/shredder. Therefore, the
chipper/shredder is not recommended for use on the Steiner 220 power unit. Damage to the hydrostatic
pump may result.
To mount the Chipper/Shredder do the following steps:
•
1. Open quick hitch latches. Drive tractor into position, aligning the quick hitch. Be sure that both
latches are fully engaged and locked.
•
2. Stop engine! Do not attempt to install drive belt with engine running.
•
3. Release double idler assembly to facilitate easy installation of the B-41 drive belt. Put belt over
drive pulley and engage or adjust double idler assembly. (See Power Unit Operator's Manual for
PTO belt tension adjustment.)
•
4. Plug emergency stop cable into chipper/shredder electrical outlet on tractor. Be certain the
Emergency Stop Switch is pulled out for normal operation. Do not operate the Chipper/Shredder
without this cable plugged in.
•
5. Remove clip pin and rotate stand to highest position. Reinsert clip pin.
•
6. A rear weight bar with 4 weights is recommended to provide additional stability in transport.
•
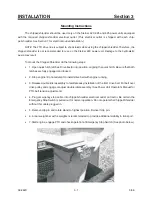
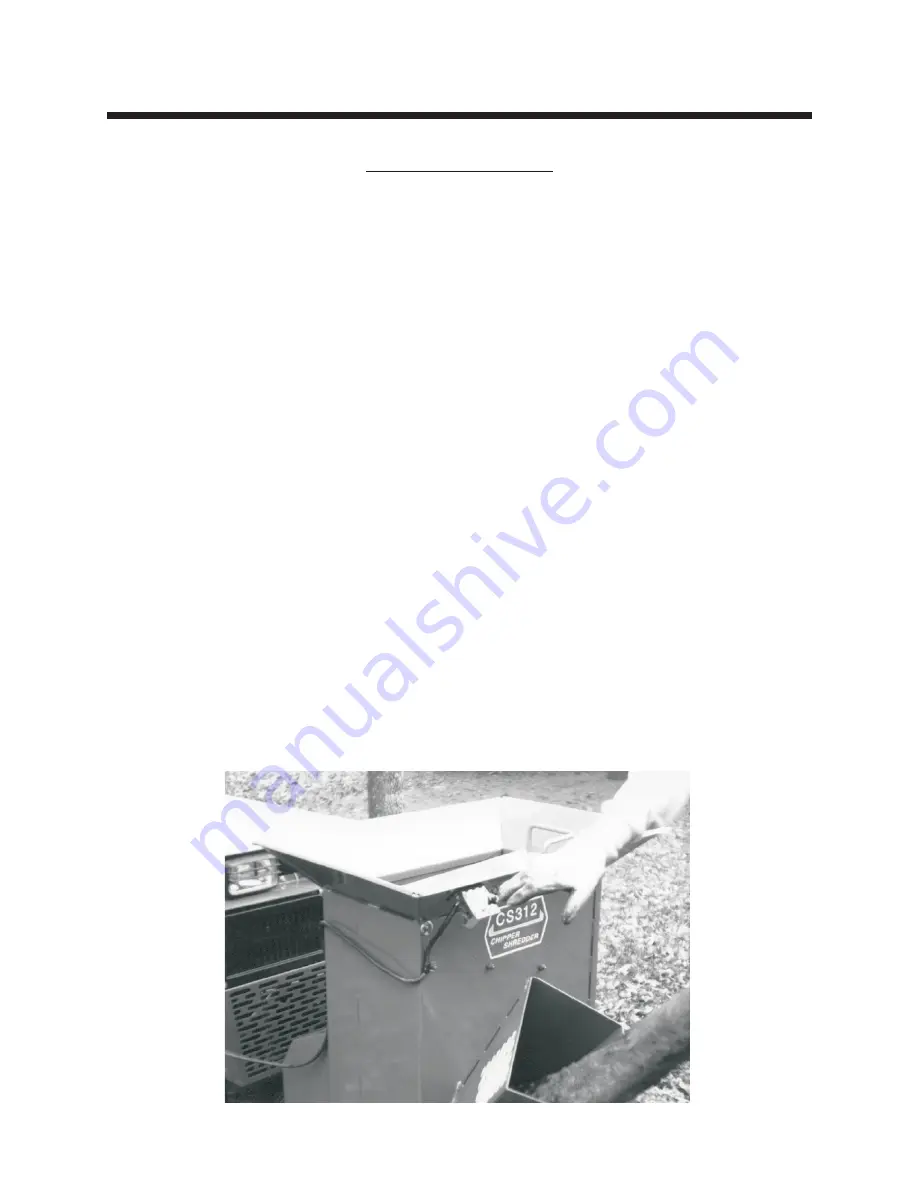
7. Start engine, engage PTO and check operation of Emergency Stop Switch. (See photo below)
Summary of Contents for CS312
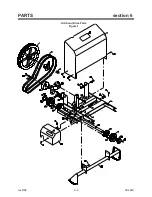
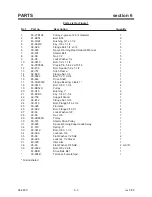
Page 16: ...rev 8 98 6 2 09 282C PARTS section 6 Hitch and Drive Parts Figure 1 ...
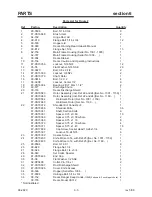
Page 18: ...rev 5 00 6 4 09 282C PARTS section 6 Frame Parts Figure 2 ...
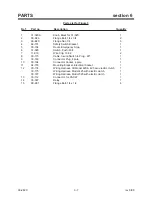
Page 20: ...rev 8 98 6 6 09 282C PARTS section 6 Emergency Stop Switch Parts Figure 3 ...
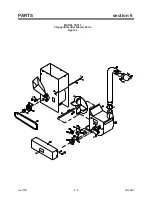
Page 22: ...rev 5 00 6 8 09 282C PARTS section 6 MODEL CS313 Chipper Shredder Blower Parts Figure 4 ...
Page 30: ......


