background image

A MESSAGE FROM STELLARVUE FOUNDER VIC MARIS

When I was a child, I developed a love for astronomy. My parents wanted 

to encourage my interest, so they bought me a 60 mm refractor. Like many

store-bought telescopes it was poorly made, showed very little detail, and

was difficult to use. I struggled for months and became very discouraged.

Then, I learned it was possible to make a telescope. Using my allowance, I

saved and purchased parts, ground and polished a 6” mirror, and made my

first handcrafted telescope.

At the age of 16, I went on to grind and polish a two-element, 5” achromatic lens. I learned a great deal in

these early years and discovered first-hand the importance of excellent optics combined with mounts that were

mechanically stable. Viewing the night sky using my handcrafted telescopes fed my interest, and inspired me

to continue learning more about astronomy and making telescopes.

Realizing that there was a need for high-quality refractor telescopes on the

market, I began Stellarvue in 1998. We have since invested in high-end

computer numeric controlled equipment and a state of the art testing facil-

ity. I am proud to say that each employee currently working at Stellarvue is

committed to making the best telescopes possible. Today, we deliver the

finest apo-triplet refractors available, and we strive to maintain a very high

standard of customer service.  

Stellarvue telescopes are individually made, and each optic is tested multiple times to ensure perfection.

Please store and use it as you would any optical device. If dust accumulates on the lens, you may use a bulb

type blower to remove it. Always be careful to avoid marring the lens. 

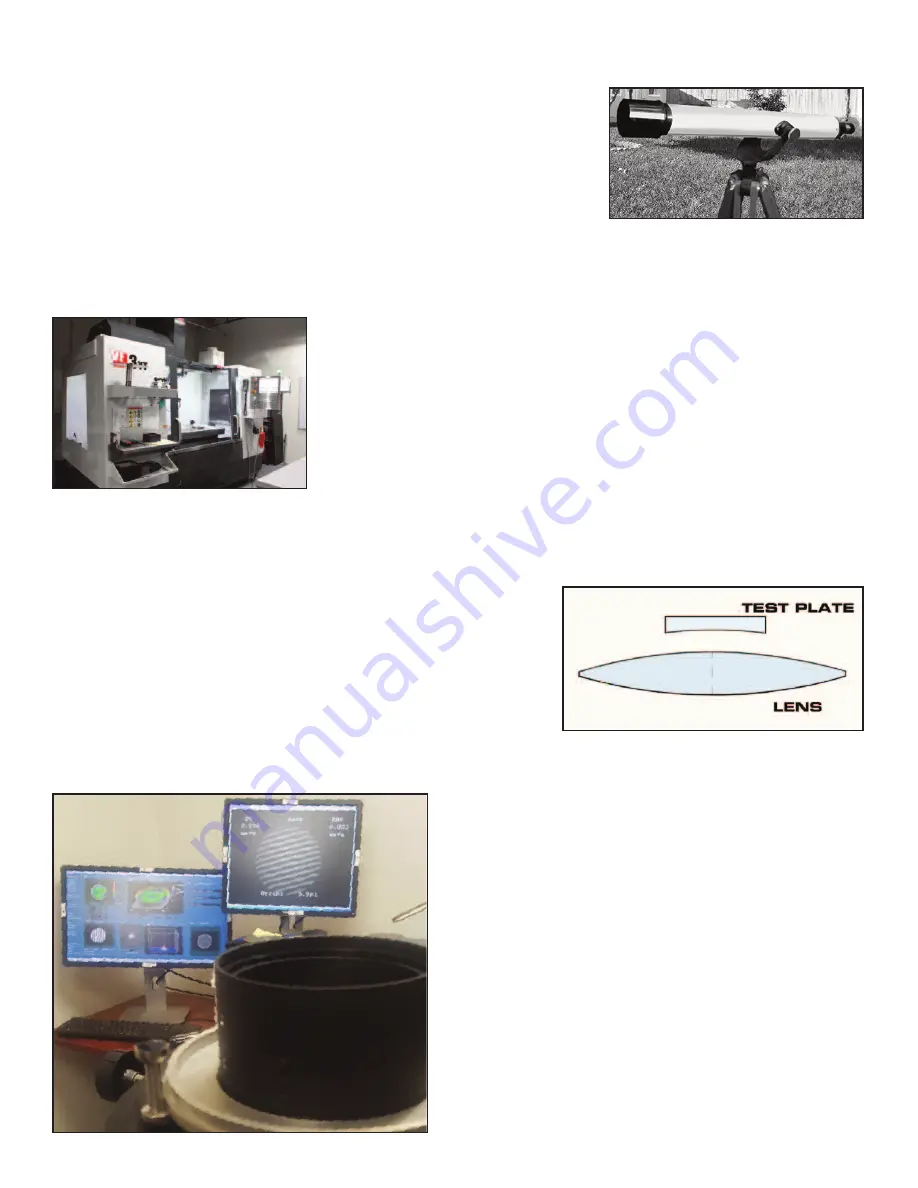
Stellarvue refractor lenses are fully multi-coated to increase light

transmission and contrast. Lenses are accurately hand-figured and

glass test plates are used to ensure accuracy. A test plate is a sepa-

rate optic that is figured to the precise curve required for a particular

optical surface. We make test plates for every surface on every optic

we make. These plates are placed on top of the surface of the lens

to ensure it is polished to the exact curve. When the curve on the

lens matches the curve on the test plate, straight lines will show

under an UV testing light. Placing these glass plates on the surface of the lens may result in some very fine

cosmetic lines or marks which do not affect performance in any way. This is normal in a high Strehl lens that is

continually tested during polishing. 

Stellarvue strives to ensure the highest optical accuracy.

While many companies producing mass-produced lenses

rely solely on test plates, we confirm the accuracy of each

optical surface using our Zygo phase-shifting laser inter-

ferometer and extremely high precision test spheres that

measure the entire clear aperture of the objective lens. 

With our SVX series telescopes we map the optical sur-

face and hand correct any imperfections in its figure. This

increases the accuracy of the objective to the highest 

possible levels. This work is done in our optical shop

under tightly controlled conditions.  

2

Summary of Contents for SVX152T PREMIER APO TRIPLET

Page 1: ...urn Precision Optics WWW STELLARVUE COM 11802 KEMPER ROAD AUBURN CA 95603 U S A PHONE 530 823 7796 FAX 530 823 8121 STELLARVUE STELLARVUEC SEEING IS BELIEVING The mission of Stellarvue is to inspire a...

Page 2: ...with dew shield retracted and 52 long when extended Dew Shield 7 3 8 diameter 11 3 4 long retracting aluminum dew shield in Instrument White with black an odized fittings Weight OTA 23 2 pounds Rings...

Page 3: ...tested multiple times to ensure perfection Please store and use it as you would any optical device If dust accumulates on the lens you may use a bulb type blower to remove it Always be careful to avoi...

Page 4: ...in Auburn California After machine polishing we map the optical surfaces using our Zygo Phase Shifting Laser Interferometer This equipment is capable of measuring surfaces far more accurately than te...

Page 5: ...ur knife Carefully remove the tele scope from the cardboard box and set it on a secure surface Unzip or unlatch the case to reveal the tele scope inside Unpack the telescope from its case and make sur...

Page 6: ...of the mounting rings using 1 4 20 socket cap head screws supplied with the rail Gener ally telescope mounts use one of two different style mounting rails Select the proper size of rail for the mount...

Page 7: ...ll need to balance it in both axes The mount manual explains how to do this If you are using an equatorial and or go to computerized mount you will need to align the telescope according to the mount m...

Page 8: ...s means objects appear 60 times closer The smaller the focal length of the eye piece the higher the power becomes So our 4 7 mm eyepiece provides 255 power 1200mm 4 7mm The ability of a telescope to m...

Page 9: ...ause your telescope to exhibit false color That color is not in the telescope but above you Moisture in the atmosphere may act like prisms and brighter objects will appear with a reddish color on one...

Page 10: ...25 Eyepieces Optional 1 25 Filter DSLR Camera T Ring T Ring Extension tubes required for your CCD camera call Stellarvue for assistance CCD Camera Extension tubes required for your CCD camera call St...

Page 11: ...mm Optical Finderscope The SVX152T is supplied with a TP013 Losmandy style rail We recommend this for its greater rigidity We recom mended the following mounts for the SVX152T 1 Losmandy G11 2 Paramou...

Page 12: ...ng with the syringe Dust particles can be hard and scratch glass So every bit of dust should be removed before you use a lens cloth Once the lens is clear of any particles use Stellarvue lens cleaner...

Page 13: ...ard rifle scope mount Use the F002E base to mount the finder to one of the two telescope mounting rings While the brightness is controlled with a 7 position switch some users feel it is too bright to...

Page 14: ...e and rings 2 Tighten mounting shoe Thumbscrews 1 S li d e in to s h o e There are six thumb screws that hold the finderscope These thumb screws allow the user to adjust the finderscope up down left r...

Page 15: ...ey show extremely fine detail in sunspots and faculae on our nearest star 3 Daystar Chromosphere and Ha filters Observe prominences and surface Chromosphere details using a simple plug in device that...

Page 16: ...wo types of correctors made for the SVX152T one is a flattener and one is a reducer flattener SFF4 Flattener The SVX152T is an f 8 optical system with a 1200 mm focal length The SFF4 152 will convert...

Page 17: ...d replace it with a T ring that has the same size thread as the flat tener or reducer flattener The backfocus must include the T ring that is attached to the camera in place of the camera s lens When...

Page 18: ...ear elongated The SFFRR 72 69 reducer flattener has a 65 mm back focus using an M69X1 rear thread Purchasing various versions of this reducer flattener with the appropriate extension tubes and spacer...

Page 19: ...tightening the Lower Tension Control Do not over tighten or the focuser will be harder to focus Upper Tension Control There is an upper tension control that applies addi tional pressure to the drawtu...

Page 20: ...ONGER SV SHALL NOTIFY THE CUSTOMER SV MAY REPLACE ANY PRODUCT THAT HAS BEEN DISCONTINUED WITH A NEW PRODUCT OF COMPARABLE VALUE AND FUNC TION PRODUCTS THAT HAVE BEEN DAMAGED DROPPED DISASSEMBLED ABUSE...

Reviews: