19
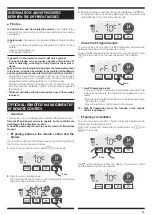
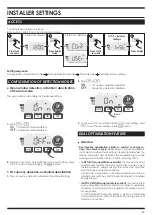
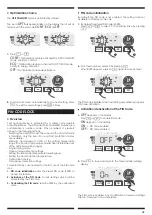
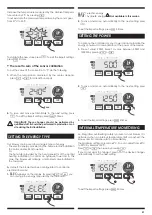
Customizing the PIN code
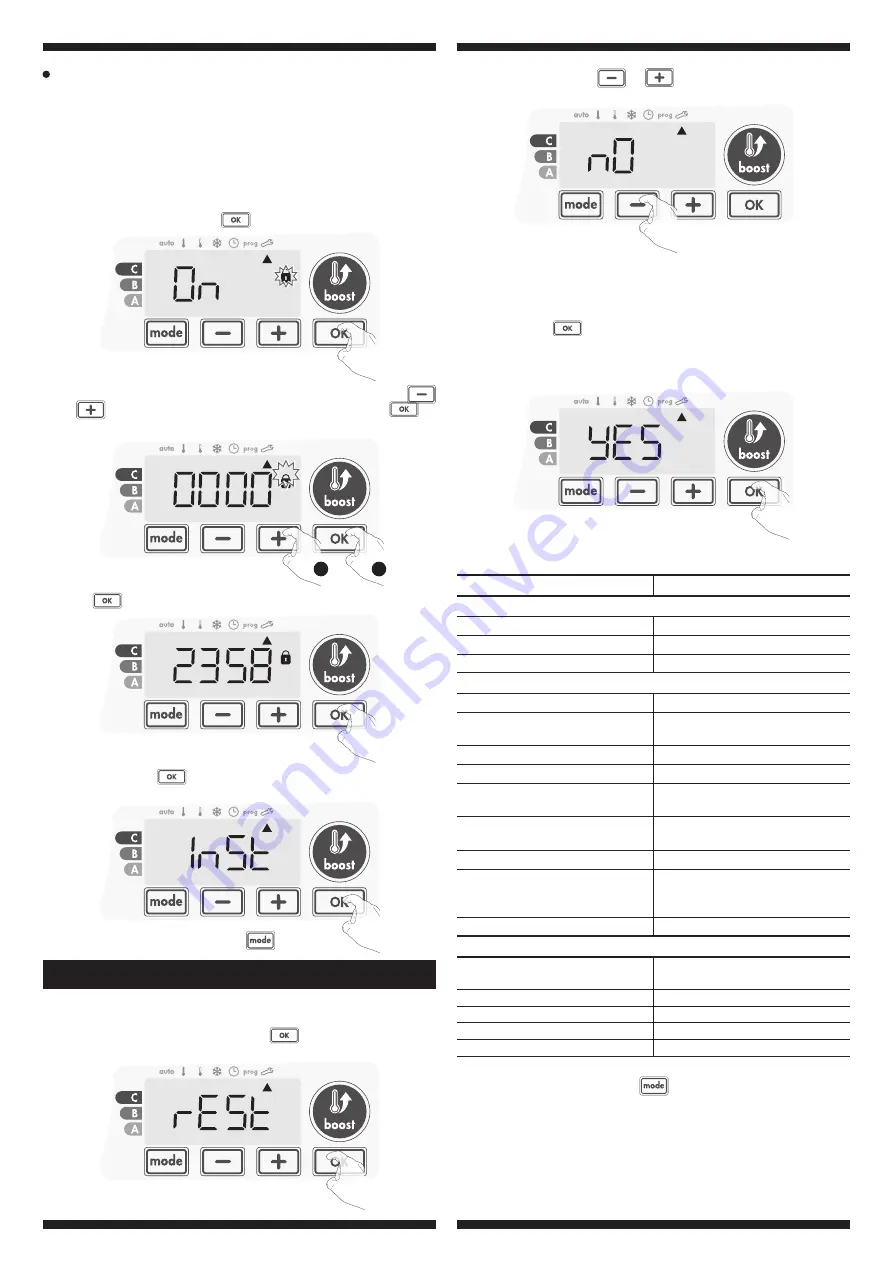
If you have just activated the PIN code, follow the stages des-
cribed below.
Alternatively, you must copy the steps 1 and 2 of the initialisation
process as well as steps 1 and 2 of the activation process before
personalising the PIN code.
Please remember that the personalisation of the PIN code can
only be set once the initialisation and activation of the PIN code
has been completed.
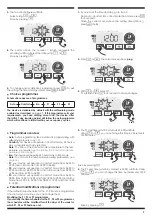
3-
Press
to confirm. The new code is now saved.
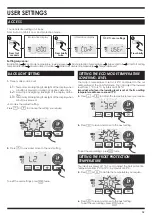
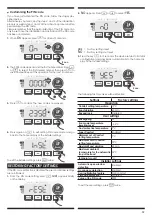
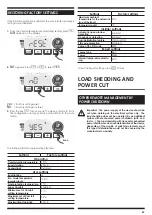
RESTORING FACTORY SETTINGS
If the PIN code protection is disabled, the user and installer settings
are re-initialized:
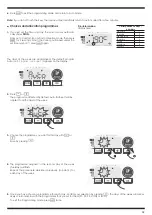
1-
From the PIN code setting, press
.
rest
appears briefly
on the display.
2-
NO
appears. Press
or
to select
YES
.
yes
= Factory settings reset
NO
= Factory settings not reset
3-
Press the key
for 5 seconds. The device returns to its initial
configuration and goes back automatically to the home dis
-
play of the installer settings.
5 sec.
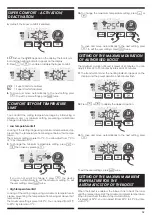
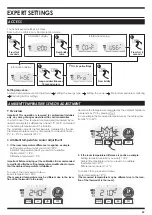
1-
When
On
appears, press
for at least 5 seconds.
5 sec.
To exit the user settings, press
twice.
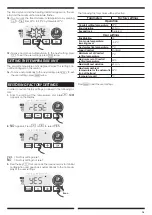
2-
The 0000 code appears and the first number blinks. Press
or
to select the first desired number then press
to
save and exit. Repeat this operation for the next 3 numbers.
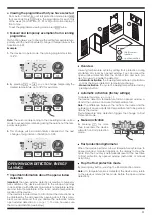
1
2
Settings
Factory settings
Operation
Comfort setting temperature
19°C
Boost duration
60 min.
Keypad lock
Disabled
User settings
Backlighting
L3
Eco mode temperature
lowering-level
-3,5°C
Frost protection temperature
7°C
Super Comfort
Enabled
Minimum set of Comfort
setting temperature
7°C
Maximum set of Comfort
setting temperature
30°C
Maximal Boost duration
60 min.
Maximum ambient
temperature for the automatic
stop of the Boost
35°C
Temperature unit
°C
Installer settings
Automatic open window
detection
Enabled
Occupancy detection
Enabled
Dual optimization feature
Opti comfort
PIN code protection
Disabled
Value of the PIN code
0000
The following factory values will be effective:
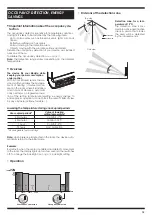
4-
Press again on
to exit setting PIN code mode and go
back to the home display of the installer settings.
To exit the Installer settings, press
twice.
Summary of Contents for E-VENTO 0184B0002
Page 26: ......

