4
Installation
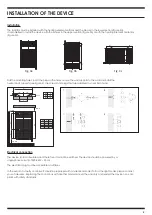
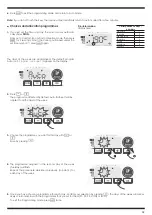
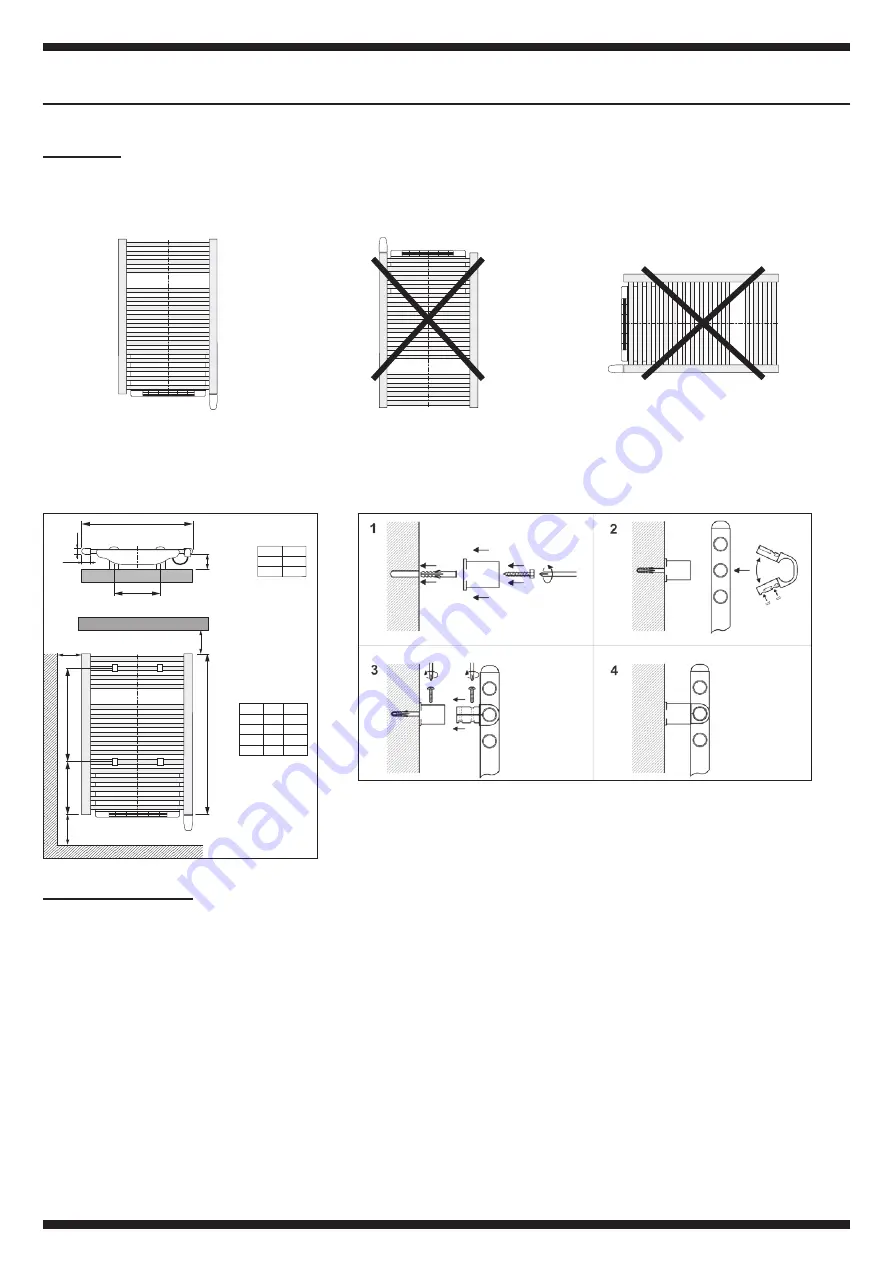
The radiator must be installed with the heating element vertical and the blower in the lower section (figure 3a).
It is prohibited to install the device with the blower in the upper section (figure 3b) or with the heating element horizontal
(figure 3c).
Fig. 3a
Fig. 3b
Fig. 3c
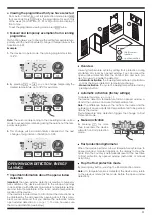
Drill the mounting holes, insert the plugs in the holes, secure the wall supports to the wall and install the
heater on its supports (see figure 4). Use screws and plugs that are adapted to your kind of wall.
RL
90-110
40
F
30
150 MIN
H2
H1
RH
200 MIN
150 MIN
RL
F
495 320
585 410
RH H1 H2
Lorem ipsum
775 255 450
1181 255 856
1411 255 1086
1763 255 1438
Electrical connection
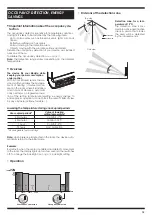
The device is class II insulated and, therefore, it cannot be earthed. The device should be powered by a
single-phase current of 220-240V ~ 50 Hz.
The electrical plug must be accessible at all times.
In the event of a faulty controller, it should be replaced with an identical model. To find the right model, please contact
your wholesaler. Replacing the control box with another model cancels the warranty and renders the device non-com-
pliant with safety standards.
INSTALLATION OF THE DEVICE
Summary of Contents for E-VENTO 0184B0002
Page 26: ......


