
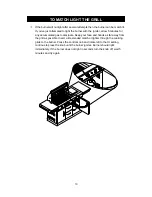


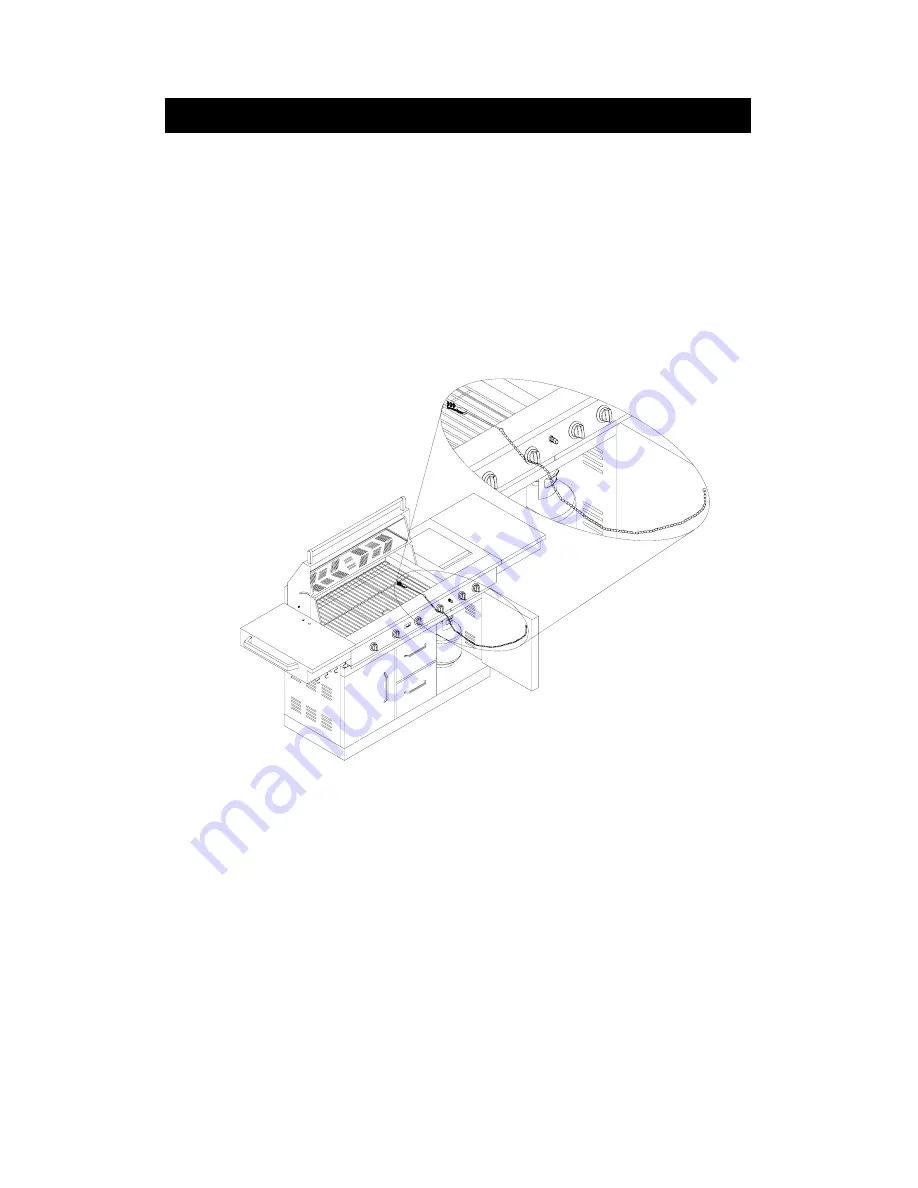
TO MATCH LIGHT THE GRILL
If the burner will not light after several attempts then the burner can be match lit.
If you’ve just attempted to light the burner with the igniter, allow 5 minutes for
any accumulated gas to dissipate. Keep your face and hands as far away from
the grill as possible. Insert a lit extended match or lighter through the cooking
grids to the burner. Press the control knob and rotate left to the HI setting,
continue to press the knob until the burner ignites. Burner should light
immediately. If the burner does not light in seconds turn the knob off, wait 5
minutes and try again
.
10


