11-18
Pretrip inspection and maintenance
1.1
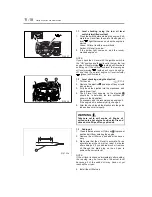
Level checking using the low oil level
switch (simplified method)
1. Press the switch before starting the engine. Esti-
mate the oil level from the color of the engine oil
level
light that comes on when the engine is
started.
Green: Oil level is within normal limits.
Amber: Oil level is too low.
2. If the amber light comes on, add the recom-
mended engine oil.
NOTE:
If you check the oil level with the ignition switch in
the “ON” position and the oil level is too low, the low
engine oil level warning
(amber) will illuminate
and stay on. If the oil level is normal, the low engine
oil level warning
(amber) will come on and go
off and then the normal engine oil level indicator
(green) will illuminate.
1.2
Level checking using the dipstick
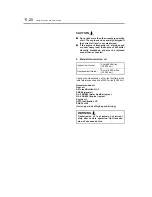
1. Tilt the cab.
P. 11-4
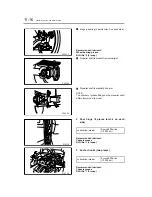
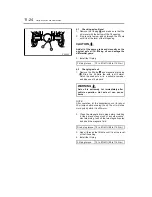
2. Remove the dipstick and wipe off any oil with
a shop towel.
3. Fully insert the dipstick into the crankcase, and
slowly draw it out.
4. The oil level that appears on the dipstick
should be in between the two notches (as
shown in the illustration).
If necessary, add the recommended engine oil.
If the engine oil is extremely dirty, change it.
5. After the check, insert the dipstick into the guide
tube and secure it properly.
1.3
Adding oil
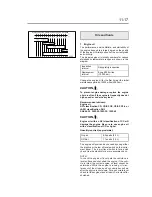
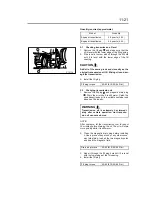
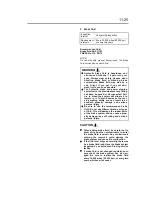
1. Clean the area around oil filler cap to prevent
dust and dirt from entering the engine.
2. Remove the oil filler cap and add oil as neces-
sary.
3. Make sure that the oil level is accurate. For an
accurate level check, wait at least 5 minutes
after adding oil. If you add too much oil, remove
oil through the drain plug on the oil pan to
achieve the correct level.
NOTE:
If the oil level is checked immediately after adding,
the reading may be lower than the actual level
because all of the added oil may have not yet
reached the oil pan.
4. Install the oil filler cap.
WARNING
Take care not to spill engine oil. Engine oil
spilled onto a hot engine could catch fire and
cause burns. Wipe off any spilled oil.
Z15027
Z10725a
Z12038
Summary of Contents for 360
Page 13: ...2 1 Locations in cab 2 2 Locations outside cab 2 4 2 Warning labels ...
Page 16: ...2 4 Warning labels Locations outside cab Z12496 ...
Page 19: ...2 7 Warning labels 30 gallon 113 liter fuel tank Z12494 ...
Page 27: ...4 1 Seats 4 2 Seat belts 4 4 Steering wheel 4 7 4 Seat and steering wheel adjustments ...
Page 204: ...14 1 Maintenance schedule 14 2 Lubrication schedule 14 6 14 Maintenance schedule ...
Page 210: ...15 1 15 Alphabetical index ...


