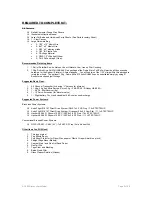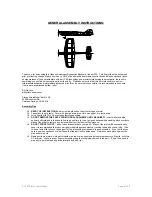
Wing
Basic assembly methodology. When assembled on a flat work surface, this wing will jig together and self align to create
one of the straightest wings you have ever built. A each part relies on the successive component to achieve this; we
suggest that you rely on friction and the interlocking construction to hold the wing together throughout the building process
hold off on the CA glue until you are directed to use it– this allows the individual components to shift and align as each
part is added – once all the pieces are in-place the assembly will be pulled together straight and true.
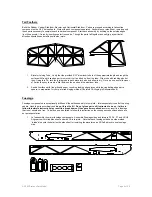
1.
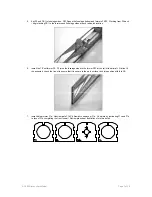
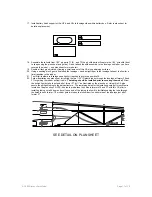
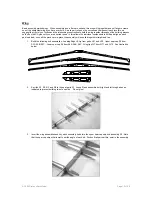
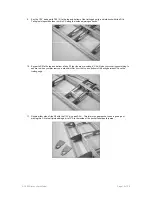
Build the following sub assemblies: Leading Edge LE Jig from parts LE1 and LE2. Upper spar cap S3 from
S3A, S3B, S3C. Lower spar cap S4 from S4A, S4B, S4C. Wing tips WT from WT1 and WT2. See illustration
below.
2.
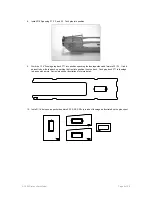
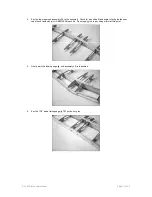
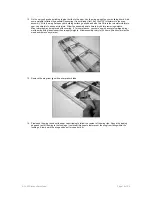
Key ribs R1, R2, R3, and R4 to the spar parts S1. Loose fit and assemble both right and left wing halves as
indicated to prevent building two of one side. Do not glue!
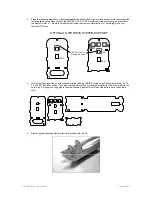
3.
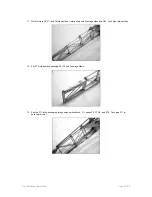
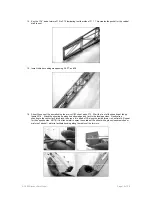
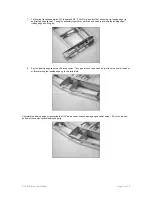
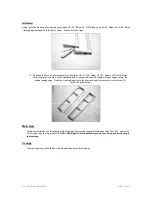
Invert the wing assemblies and key each assembly halve into the upper spar cap strip sub-assembly S3. Note
that the spar cap strip will attempt to set the angle of each rib. Friction fit all parts at this point in the assembly.
© 2003 Stevens AeroModel.
Page 12 of 20


