

2
3
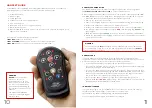
CERTIFICATION:
This machine has been tested and
conforms to:
EN 61000-6-3:2007+A1:2011
FCC Part 15 Class B
EN 61000-6-1:2019
For further certificates and
declaration of conformity please
visit stewartgolf.com/technical.
IMPORTANT NOTICES:
This red box is used from time to
time in this manual to indicate a
potentially hazardous situation
which, if not avoided, could result
in damage to the product, serious
injury or death.
Congratulations on buying a Stewart Golf X10
Remote!
First things first: resist the temptation to take your
X10 Remote straight out for a round immediately –
first read this manual
fully
as it contains important
safety information, but more importantly tips and
advice on how to get the very best experience
when using the machine.
BEFORE YOU GET TOO EXCITED:
The first thing that you should do is give both the
main battery and handset a full charge, instructions
are found on pages 8 and 11.
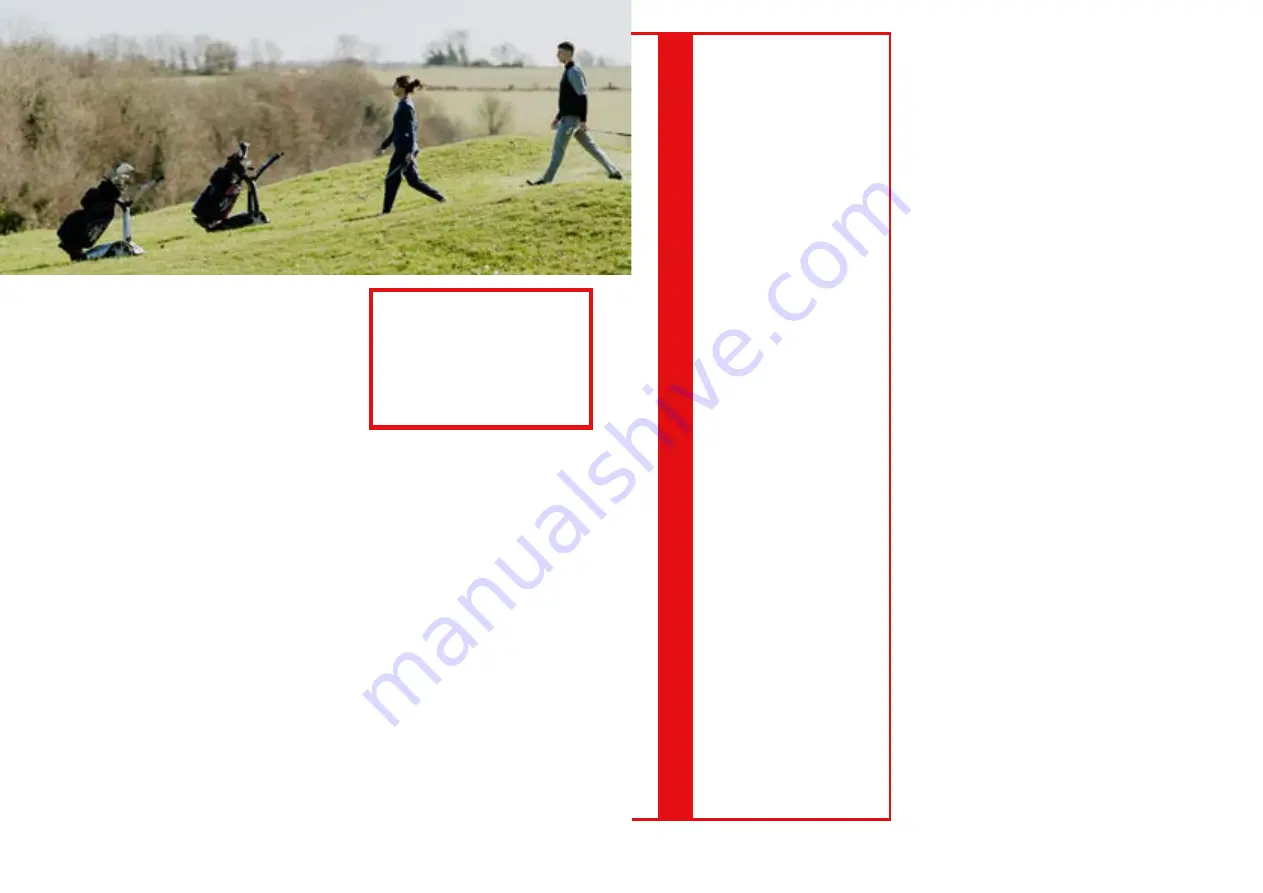
Next, practice with it. Find an area of open grass
with your normal golf bag on the machine, with all
your clubs and everything else in it: we recommend
a weight of 14kg or 31lbs (see page 4 for why).
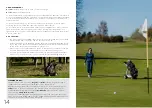
Using it on grass is important: speed and steering
are both affected by the surface the X10 Remote is
on, and it’s obviously designed to be used on grass.
You should steer the machine manually from
the handle when on paths or in a car park (for
example), or by using remote control when you’re
on the fairway, in the rough or around tees and
greens. Please see pages 12 to 15 for more info and
advice on use.
There are lots of videos available at:
www.stewartgolf.com
and on our YouTube channel
(
youtube.com/c/stewartgolf
): they’ll help you get
the most from your X10 Remote.
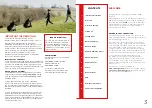
CONTENTS
Important Information
Welcome
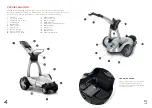
X Series Anatomy
Setting Up
Putting Away
Battery Charging
Handset Guide
Handset Charging & Care
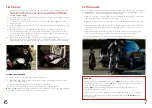
Manual Operation
Remote Control
Follow
Other Features
FAQ
Warranty Information
Trouble Shooting Guide
WELCOME
IMPORTANT INFORMATION
This machine is designed solely for the
transportation of golf equipment on a golf course.
Warnings and important safety instructions
appearing in this manual are not meant to cover all
possible conditions and situations that may occur.
Common sense, caution and care must be exercised
when operating or cleaning this equipment.
Always contact Stewart Golf or your local
distributor/dealer about problems or conditions
that you do not understand.
INTELLECTUAL PROPERTY
The design and technology within the Stewart Golf X
Series, as well as the Stewart Golf brand is protected
by numerous trademarks, design registrations and
patents. For a full register of Stewart Golf intellectual
property please visit stewartgolf.com/IP.
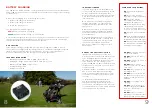
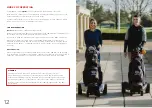
GOLF BAG TYPE & WEIGHT
The X10 Remote has been optimised for use with a
cart or tour style bag weighing
14kg (31lbs)
. Weigh
your golf bag and ensure it is
between
13kg (28lbs)
and 15kg (33lbs).
Using a light and often ‘top heavy’ stand bag
reduces the load on the front wheels, which means
the steering may react faster than intended and the
machine will spend more time on the stabiliser than is
desirable.
Using a golf bag heavier than advised increases the
load on the front wheels, slowing steering speeds.
Additionally a heavy bag will increase the strain and
wear on the structure of the X10 Remote, reduce your
battery life and increase the risk of overloading the
electronics and motors.
2
3
4
6
7
8
10
11
12
13
14
16
17
18
19
Summary of Contents for X Series
Page 1: ...1 OWNER S MANUAL ...
Page 11: ...20 ...


