stewmac.com
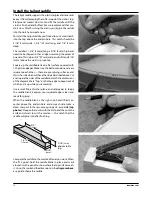
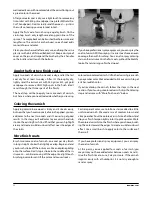
The bridge can be further reduced in weight by beveling the
sides and the edges of the cutaway holes, and thinning the
feet if they are too thick. Raising the bottom arch between
the feet reduces mass, and looks good, too.
The string notches will be cut later, when the strings are
on. The bridge is held in place by the string tension, and
no glue is used.
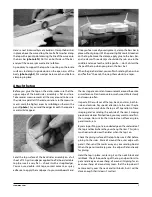
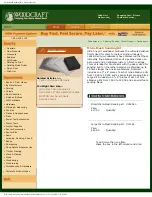
Insert the endpin into the violin. Secure the tailgut to the
tailpiece, installing it as in the
photo
. Remove the thumb-
screws, push each threaded end through the tailpiece holes,
and thread the thumbscrews back on. When attached to the
instrument, the end of the tailpiece should be almost touch-
ing the front edge of the tailgut saddle. Adjust the tailgut’s
length, using the thumbscrews, to locate the tailpiece at
that point. Trim excess material from the tailgut, and set
the tailpiece aside.
Install the tailgut
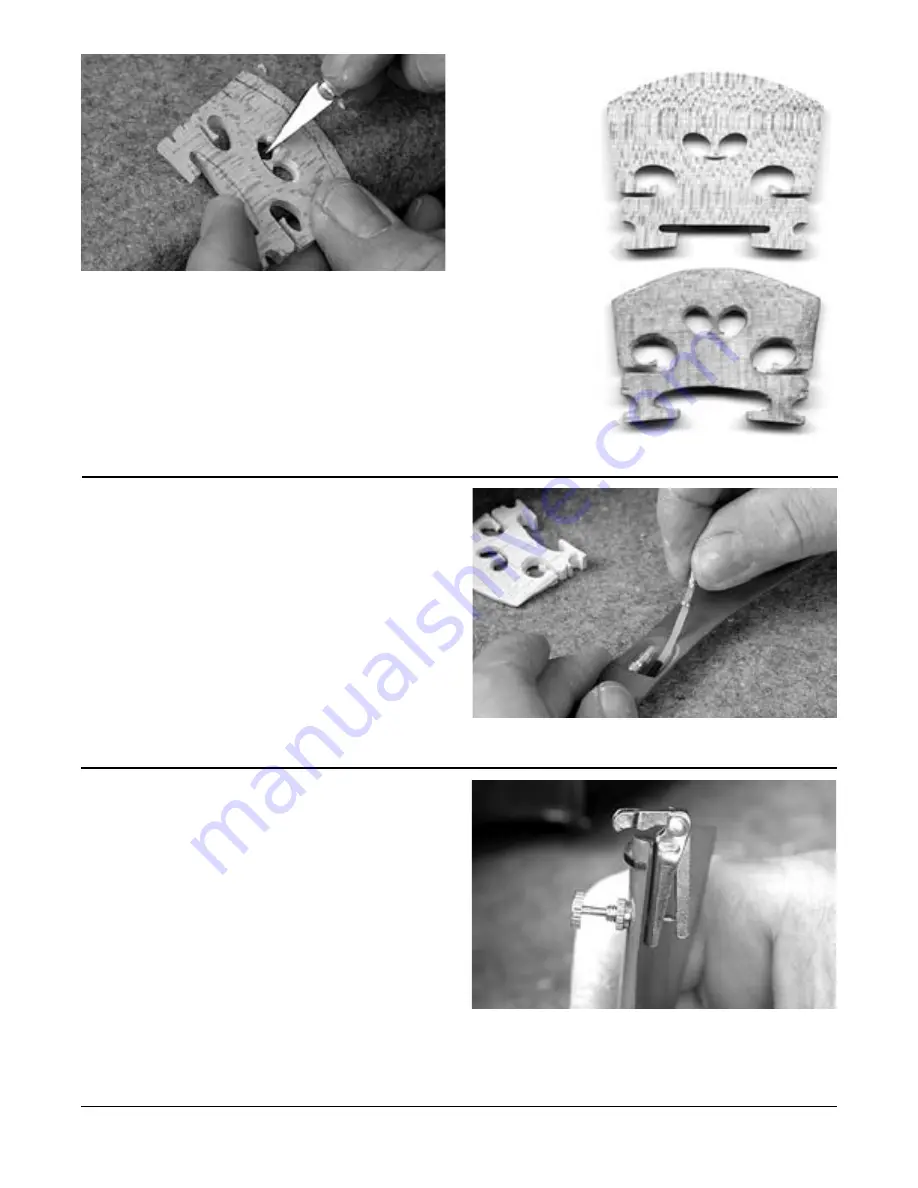
The fine tuner installs from underneath the tailpiece. It
should be tight. If for any reason the fine tuner is touching
the violin top, it will need to be inset up into the tailpiece
by chiseling a pocket for it.
Install the fine tuner
Before
After
17
Summary of Contents for 5342
Page 1: ...Violin Kit 5342 Assembly Instructions www stewmac com ...
Page 2: ......
Page 9: ... ...
Page 10: ......
Page 23: ......

