page 7
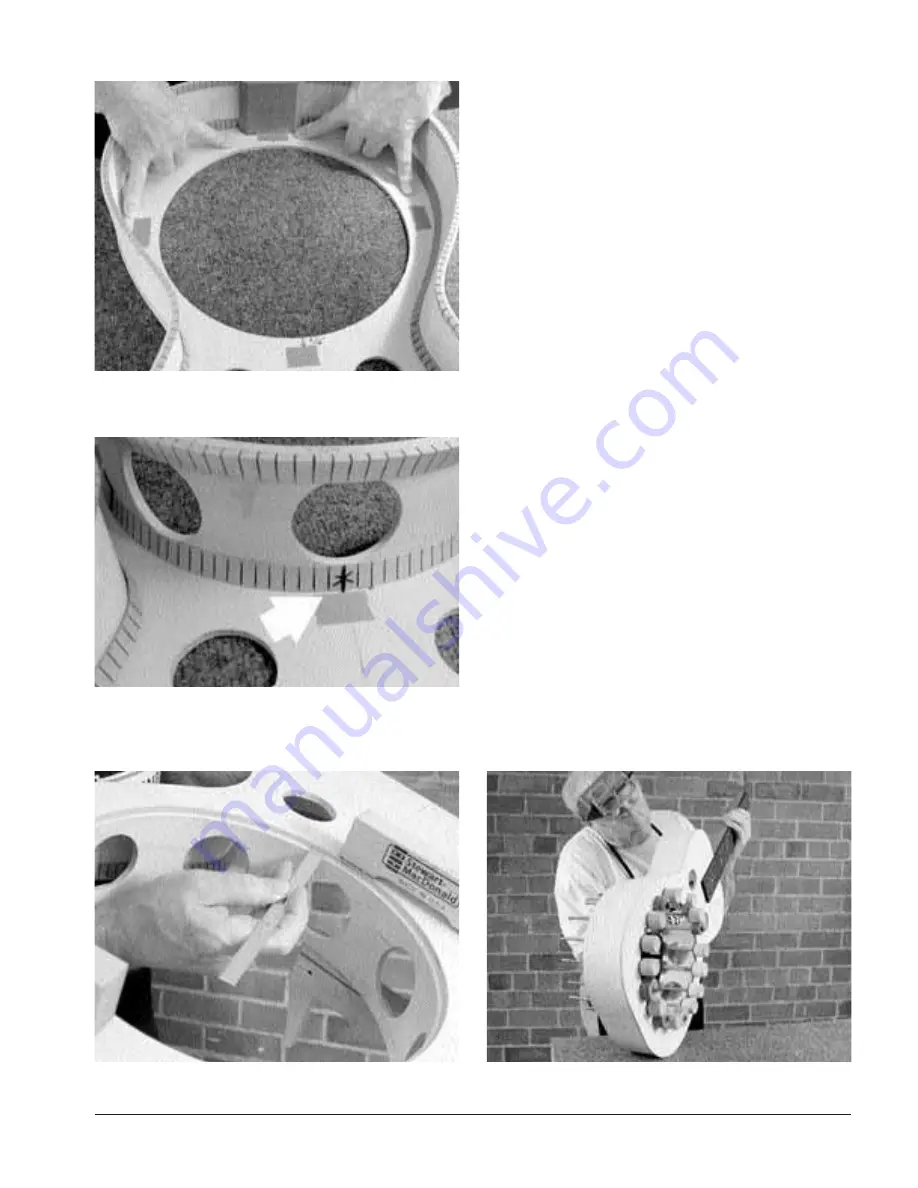
To align the soundwell concentrically with the hole in the
top, measure 5/16" out from the edge of the hole at four
opposite points, and place a piece of tape at each point as a
marker
(8)
. The soundwell should be installed with one of
the soundwell’s “tone holes” (air-movement holes) in line
with the center of the guitar top — this hole provides access
for your wrench when you bolt on the neck. The soundwell’s
kerfing should almost touch the four masking tape markers
for alignment
(9)
. The 5/16" measurements will leave about a
1/16" gap exposed between the outer edge of the kerfing
and the tape.
Important: Dry-clamp the soundwell to the top, and check to
see that the exposed ledge created by the edge of the
soundwell measures the same all around the hole in the top
(10)
. This ledge supports the cone and the spider; it’s not
very wide, so you must carefully center the soundwell when
gluing.
When the top/top alignment looks right, and is still dry-
clamped in position, pencil a mark around the kerfing on the
inside of the top as a quick reference for gluing the parts
together. Apply Titebond glue, and clamp the soundwell to
the top with spool clamps
(11)
.
9.
The sound well should center with an approximate 1/16" gap
exposed between the outer edge of the kerfing and the masking
tape.
8
. Masking tape placed at four opposite points helps you align the
sound well.
10.
This ledge supports the cone and the spider; it’s not very wide,
so you must carefully center the sound well when gluing.
11.
Apply Titebond glue, and clamp the sound well to the top with
spool clamps.


