Hardware layout and configuration
UM2403
18/78
UM2403 Rev 1
1.
Connect jumper JP17 for PSU or D5V side
2. Check that JP5 is removed
3. Connect the external power source to PSU or D5V (daughterboard mounted)
4. Check red LED LD7 is turned ON
5. Connect the PC to USB connector CN6
If this order is not respected, the board may be powered by VBUS first then E5V or D5V,
and the following risks may be encountered:
1.
If more than 300 mA current is needed by the board, the PC may be damaged or
current can be limited by PC. As a consequence the board is not powered correctly.
2. 300 mA is requested at enumeration (since JP5 must be OFF), so there is risk that
request is rejected and enumeration does not succeed if PC can't provide such current.
Consequently the board is not powered (LED LD7 remains OFF).
In case the STM32G081B-EVAL board is powered by an USB charger through CN6, there is
no USB enumeration needed. User can set JP17 to U5V to allow the board to be powered
anyway from CN6.
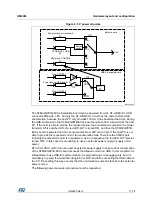
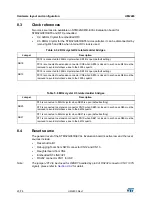
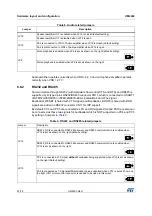
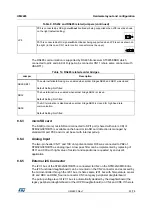
The power source is selected by setting the related jumpers JP17, JP15 and JP16 as
described in table 2.
Table 2. Power source related Jumpers
Jumper
Description
JP17
JP17 is used to select one of the four possible power supply resources.
Only for power supply from USB (CN6) of ST-LINK/V2-1 to STM32G081B-EVAL, JP17 is set as
shown on the right:
Only for power supply from the
daughterboard connectors
(CN5 or CN9) to STM32G081B-
EVAL, JP17 is set as shown on the right: (default Setting)
Only for
power supply jack
(CN16) to the STM32G081B-EVAL, JP17 is set as shown on the
right:
Only for power supply from USB (CN6) to STM32G081B-EVAL without current limited, JP17 is
set as shown on the right:
89
368
'9
67ON
89
368
'9
67ON
89
368
'9
67ON
89
368
'9
67ON


