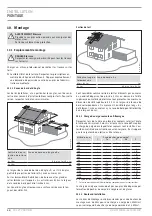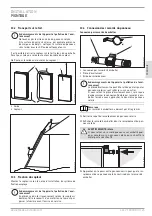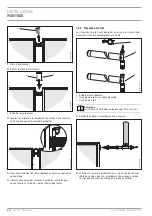
qqqĪZ`.<é<`VHCĪHB
ZH<ŝŌTVB.eBŗĜ
EN
GL
ISH
.CZ`<<`.HC
.CZ`<<`.HC
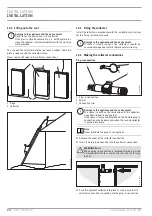
Use a powerful pump with an operating pressure of approximately
0.4 MPa (4 bar) for flushing.
Alternatively, you can also use a power drill pump.
2
6
_0
5_0
1
_0
5
1
5
2
1
3
4
4
4
4
4
4
4
4
4
4
4
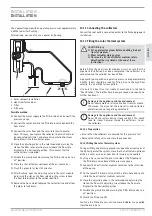
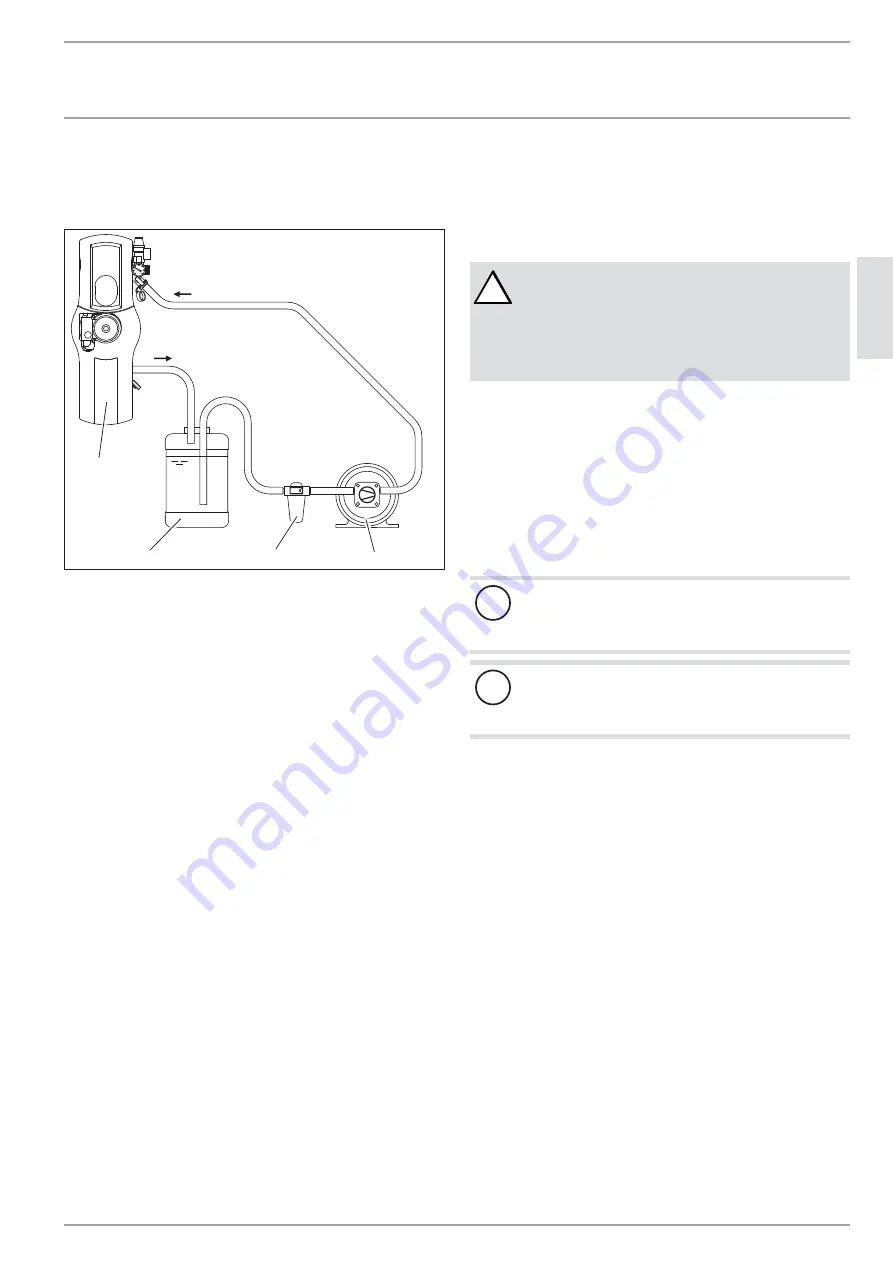
1 Solar compact installation
2 Heat transfer medium
3 Filter
4 Fill pump
Possible method:
f
Connect the water supply to the fill & drain valve beneath the
pressure gauge
f
Connect the water drain to the fill & drain valve beneath the
flow meter.
f
Connect the solar flow and the solar return with a water
hose. This way, you replace the collector line which will not
be connected until later, and prevents contamination from
being drawn into the collector pipes.
f
Close the adjusting valve in the solar module by turning the
slot on the flow rate adjusting screw (above the flow rate
display) to the horizontal position. This ensures that the
entire system is supplied.
f
Disable the gravity brake by turning the fill & drain valve to a
45° position.
f
Close the shut-off valves upstream of the air vent valves.
f
Flush the pipes for at least 15 minutes.
f
After flushing, open the adjusting valve in the solar module
by turning the slot on the flow rate adjusting screw (above
the flow rate display) to the vertical position.
f
Remove the hose which replaced the collector line and allow
the pipes to fully drain.
10.11 Connecting the collectors
Connect the roof outlets connected earlier to the flushed pipework
installation.
10.12 Filling the solar thermal system
!
CAUTION Injury
f
Put on protective gloves before handling the heat
transfer medium.
f
Wear suitable safety goggles.
f
Observe the EC's heat transfer medium safety
datasheet that is printed at the end of these
instructions.
Before filling the heat transfer medium circuit, ensure that the
pipework installation has been completed, the collectors are
connected and the cylinder has been filled.
A powerful pump with an operating pressure of approximately
0.4 MPa (4 bar) should be used for filling. Due to the high flow
velocity, the air will be fully expelled.
Use only the heat transfer medium mentioned in the table
"Specification". The bottles have been premixed and require no
further treatment.
Damage to the appliance and the environment
Never admix water or alternative heat transfer media.
Otherwise, the essential characteristics and corrosion
protection can no longer be guaranteed.
Damage to the appliance and the environment
Never fill the system during strong sunlight. This could
lead to steam hammer inside the collectors. Cover
the collectors.
10.12.1 Preparation
» Ensure that the collectors are covered for the pressure test.
» Remove the safety valve and close the connection.
10.12.2 Filling the solar thermal system
During all filling and draining procedures, open the air vent valve at
the highest point of the system. Close the shut-off valves upstream
of the air vents as soon as heat transfer medium is expelled.
f
Using a hose, connect the pressure side of the fill pump to
the fill & drain valve beneath the pressure gauge.
f
Connect the heat transfer medium container to the inlet side
of the pump.
f
On the lower fill & drain valve, attach a drain hose and route
it into the heat transfer medium container.
f
Close the adjusting valve in the solar module by turning the
slot on the flow rate adjusting screw (above the flow rate
display) to the horizontal position.
f
Disable the gravity brake by turning the fill & drain valve to a
45° position.
f
Switch the fill pump ON.
Continue the filling process until no more bubbles are expelled
from the drain hose.


