EN - 12
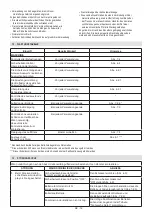
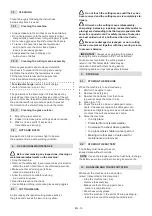
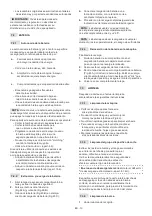
Recharge the battery
After each use
par. 7.2.2 *
General cleaning
and inspection
After each use
par. 7.3
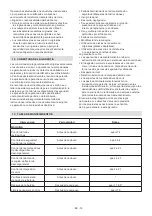
Checking for any damage to
the machine. If necessary,
contact the authorised
service centre.
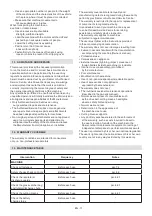
After each use
-
Cleaning the air filter
Once a month
par. 7.5
Replacing the cutting means
-
par. 8.1 ***
* Refer to the battery/battery charger manual.
** The operation must be carried out by your Dealer or a specialised Authorised Service Centre
*** Operation to be performed at the first signs of any malfunction
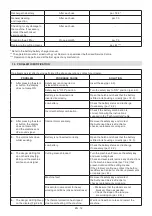
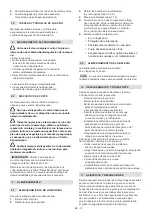
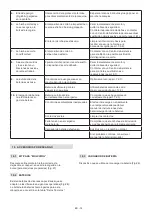
14. PROBLEM IDENTIFICATION
If problems persist after having performed the above operations, contact your dealer.
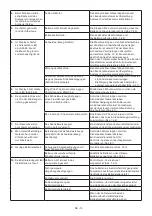
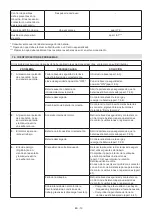
PROBLEM
PROBABLE CAUSE
SOLUTION
1.
After pressing the start
-
er button, the display
does not come ON.
Safety key is not inserted or
is inserted incorrectly.
Insert the key (par. 6.3).
Safety key in “OFF” position.
Turn the safety key to "ON" position (par. 6.3).
Battery is not inserted or is
inserted incorrectly.
Open the hatch and check that the battery
is fitted in its housing correctly (par. 7.2.3).
Low battery.
Check the battery status and recharge
if necessary (par. 7.2.2).
Incorrect battery combination.
Check if the battery combination is
correct, following the instructions
supplied in the "Technical data" table.
2.
After pressing the start
-
er button, the display
does not come ON
and the machine sets
off a sound signal.
Internal motor anomaly.
Remove the safety key and contact
the Authorised Service Centre for
checks, replacements or repairs.
3.
The motor shuts down
whilst working.
Battery is not inserted correctly.
Open the hatch and check that the battery
is fitted in its housing correctly (par. 7.2.3).
Low battery.
Check the battery status and recharge
if necessary (par. 7.2.2).
4.
The danger LED lights
up on the display (Fig.
26.A) and the machine
emits a sound signal
Cutting means blocked
Turn the machine off, remove the safety key
and wear work gloves.
Check and eventually remove any obstructions
in the machine lower side (par. 7.3.2) that
prevent rotation of the cutting means.
If the problem continues, contact the Author
-
ised Service Centre for checks, replacements
or repairs (par. 8.1).
Machine fault.
Remove the safety key and contact
the Authorised Service Centre for
checks, replacements or repairs.
Drive motor over current for heavy
working conditions (drive under stress).
– Make sure that the wheels are not
blocked. Clean as needed.
– Check the slope of the land you
are working on (par. 6.4.1).
5.
The danger LED lights up
on the display (Fig.26.A).
The thermal protection has tripped
due to overheating of the machine.
Wait for at least 5 minutes and restart the
machine.
Summary of Contents for MP1 500 Li D48 Series
Page 3: ...A B C D G H I J K L M N F E 1 4 2 3 6 8 5 7 11 W 12 10 9 Type s n Art N d c 1 2 ...
Page 4: ...3 mm B 1 mm 3 4 5 6 7 ...
Page 5: ...A OFF ON 8 A C B 9 10 11 A 12 A B A A B C D E ...
Page 6: ...13 B A 14 15 A A B C C D D B C C D A E A E ...
Page 7: ...A ON A A B C A 16 18 19 17 20 ...
Page 8: ...21 22 23 B A A B II I C B II I 24 25 A B 26 A ...
Page 9: ...27 28 29 ...
Page 222: ...dB LWA Type s n Art N ST S p A Via del Lavoro 6 31033 Castelfranco Veneto TV ITALY ...

