background image


Maintenance


Turn the unit off and remove key.  Disconnect the negative battery 
cable and remove spark plug before performing any maintenance.


Hydraulic System 


• 

Hydraulic Fluid level should be checked daily.


Hydraulic Fluid Level Check Procedures. 


1.


Place unit on level ground. Locate the Site Glass on the hydraulic 
tank. 


2.


Oil level should be half way up the glass. If not please refer to the 
Hydraulic fluid change procedure for adding additional oil to the 
system. 


·


Change Hydraulic fluid and filter after the

 first 50 hours of use 

and then every 400 hours of use. 


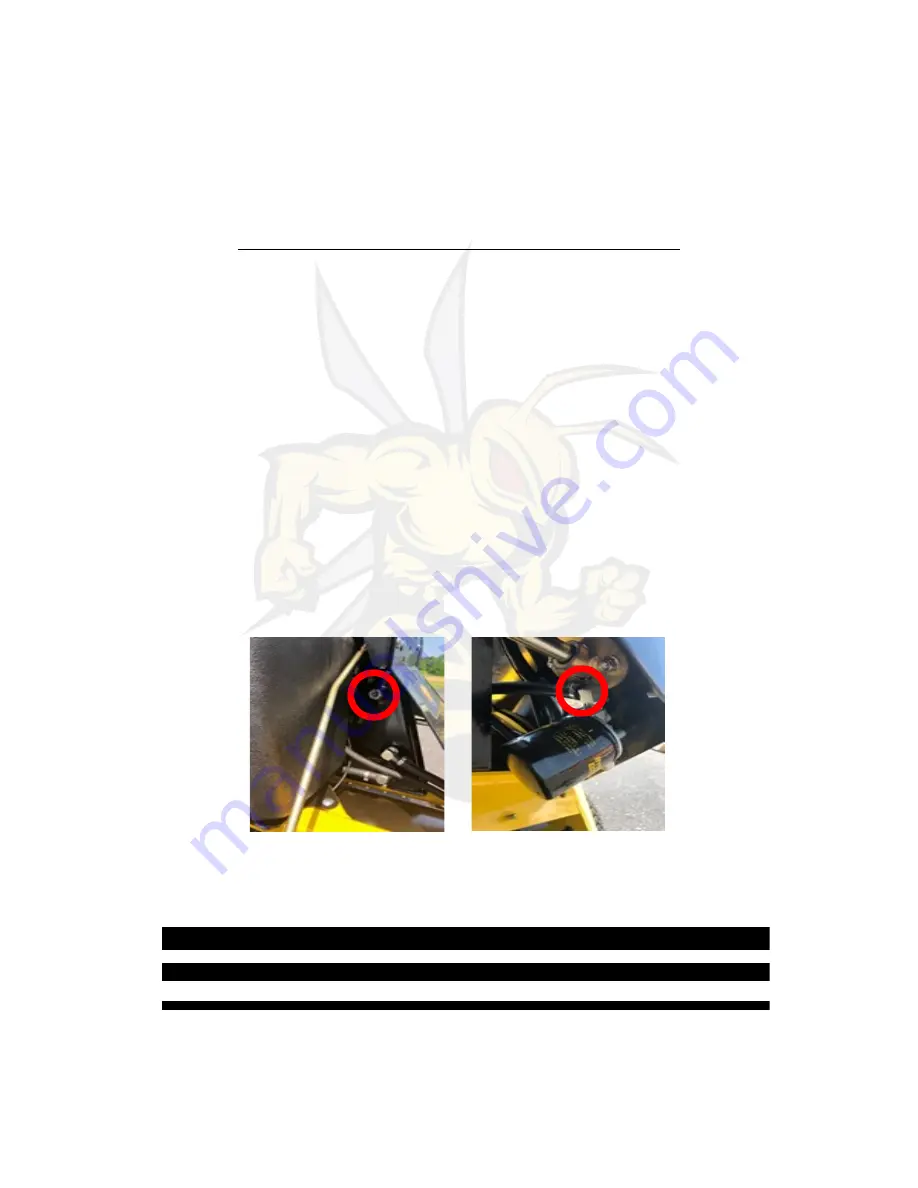
Figure 1 


Figure 2


Summary of Contents for Quad-Aer

Page 1: ...Quad Aer Operator s Manual Need Help Factory Support 502 536 0716...

Page 2: ...and free of any defects Do not use this equipment if any guards or safety decals are not in place Perform an inspection of the unit before each use Ensure all fasteners are secure the tires are prope...

Page 3: ...these safety labels Signal word definitions DANGER indicates an imminently hazardous situation which if not avoided WILL result in death or serious injury WARNING indicates a potentially hazardous si...

Page 4: ...e checked daily Hydraulic Fluid Level Check Procedures 1 Place unit on level ground Locate the Site Glass on the hydraulic tank 2 Oil level should be half way up the glass If not please refer to the H...

Page 5: ...o filter P N 51563 Rub a small amount of new oil on the O ring of the new filter prior to installing 7 Add Synthetic 20W 50 QA3600 13qts QA3000 5qts and rein stall fill cap Note May take less if unit...

Page 6: ...th idler pulley and tighten bolt The timing belt tension arm has a location for a drive breaker bar to be in stalled Pull breaker bar with 20 ft lb of force and tighten bolts Remove breaker bar Figure...

Page 7: ...from hydrostatic motor 2 Turn rod end clockwise or counter clockwise to increase or decrease speed on that side Reverse Speed Limiter 1 Loosen bolt as shown in figure 6 and slide stop forward or back...

Page 8: ...Turn ignition key to position II until engine starts and release the key Figure 7 3 Turn off the Choke by push the choke knob down If equipped with EFI skip this step 4 Allow the unit to warm up and...

Page 9: ...nd until the foot pedal is depressed Traditionally having the tines default to UP is most coming Default down position can be ad vantages for users that typically do larger properties Tine Depth Tine...

Page 10: ...nit in reverse 5 Reduce the speed of the left or right steering control while moving forward to turn left or right 6 Always set parking brake before stepping off or turning off the unit Figure 10 Usag...

Page 11: ...ior to aerating Does the property have unground utilities invisible dog fence low voltage lighting irrigation etc Calling 811 or a private locate services is strongly recommended and maybe the law Tak...

Page 12: ...www StingerEquipment com 2140 Spencer Court LaGrange KY 40031 502 536 0716...

Reviews: