


Page 9
Due to continuous product research and development,
the information contained herein is subject to change without notice.
www.stoddart.com.au
www.stoddart.co.nz
• All Gastronorm pans and extra dividers are sold separately
• Each module can hold one 1/1 pan, two 1/2 pans, three 1/3 pans, four 1/4 pans, six 1/6 pans and nine 1/9 pans. Pan depths are 25mm,
65mm, 100mm and 150mm. Contact your distributor about the best possible depth for the product you intent to display
• For 1/6 and 1/9 Gastronorm pans, extra dividers are required
4.1.3 Gastronorm Pans
• All food MUST be pre-heated/cooked before placing in the unit. Attempting to cook food with this unit can lead to food poisoning
• Ensure the well is maintaining the food temperature over 65°C
• The temperature reached on the temperature gauge is the air temperature, NOT the food temperature
• It is important to regularly monitor the food temperature in the unit
4.2.1 Food Temperature
• All storage of food should comply with local health standards and regulations
• All pans should be cleaned and placed in night storage. No pans should be left in the unit
• This unit is NOT designed to store product after hours. The unit MUST be switched OFF
• If the unit is moved for night storage, ensure the castors are locked (mobile units only)
4.2.2 Food Storage
4.2 Food Safety
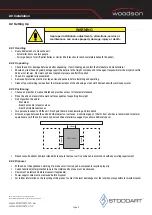
• Fill the three removable water wells (located in-between the elements) with water, approximately 6mm from the top
• Place the GN pans in the unit, ensure there are no gaps
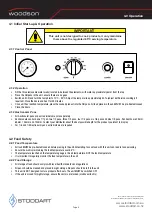
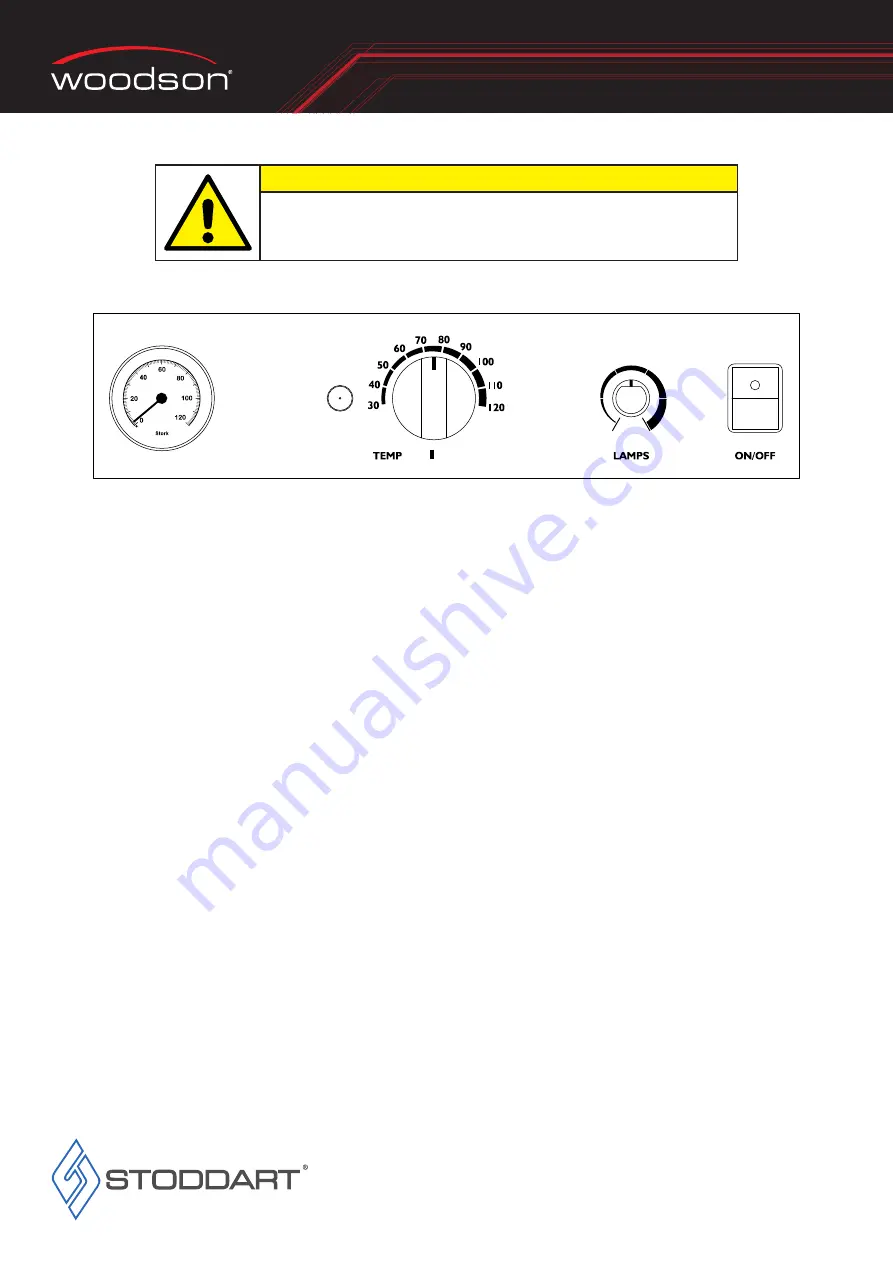
• Switch unit ON and turn the temp dial to 70°C - 90°C. Adjust the lamp dial to approximately 80%. (adjust both dials accordingly if
required). Close the doors and heat for 45 minutes
• Once unit has reached temperature, place the cooked product into the GN pans. All food placed in the unit MUST be pre-heated/cooked
• Close the doors
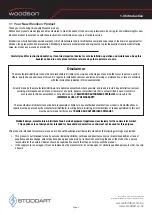
IMPORTANT
This unit is not designed to cook products, it only maintains
them above the regulated 65°C serving temperature.
4.1.2 Operation
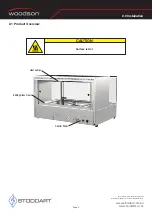
4.1.1 Control Panel
4.1 Initial Start-up & Operation
4.0 Operation