14
CAUTION
DO NOT PLACE THE MIX INLET REGULATOR INTO
THE HOPPER BEFORE INSTALLING THE AUGER.
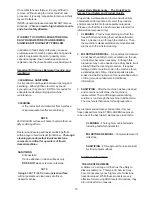
E. Install the two plastic flights onto rear of the auger
and insert part way into freezer barrel.
F. Install the third plastic flight, push the auger into the
freezer barrel and rotate slowly until the auger
engages the drive socket.
G. Install the auger support and bearing into the front of
the augers with one leg of the support at 9 o’clock.
NOTE
Apply a small amount of Petro-Gel to the
surface of the cam on the spigot handle prior to
assembly of handle to the spigot body.
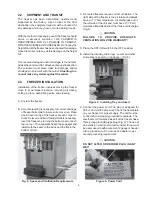
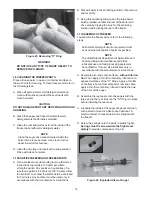
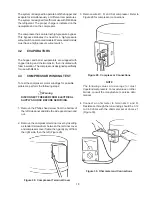
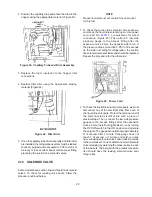
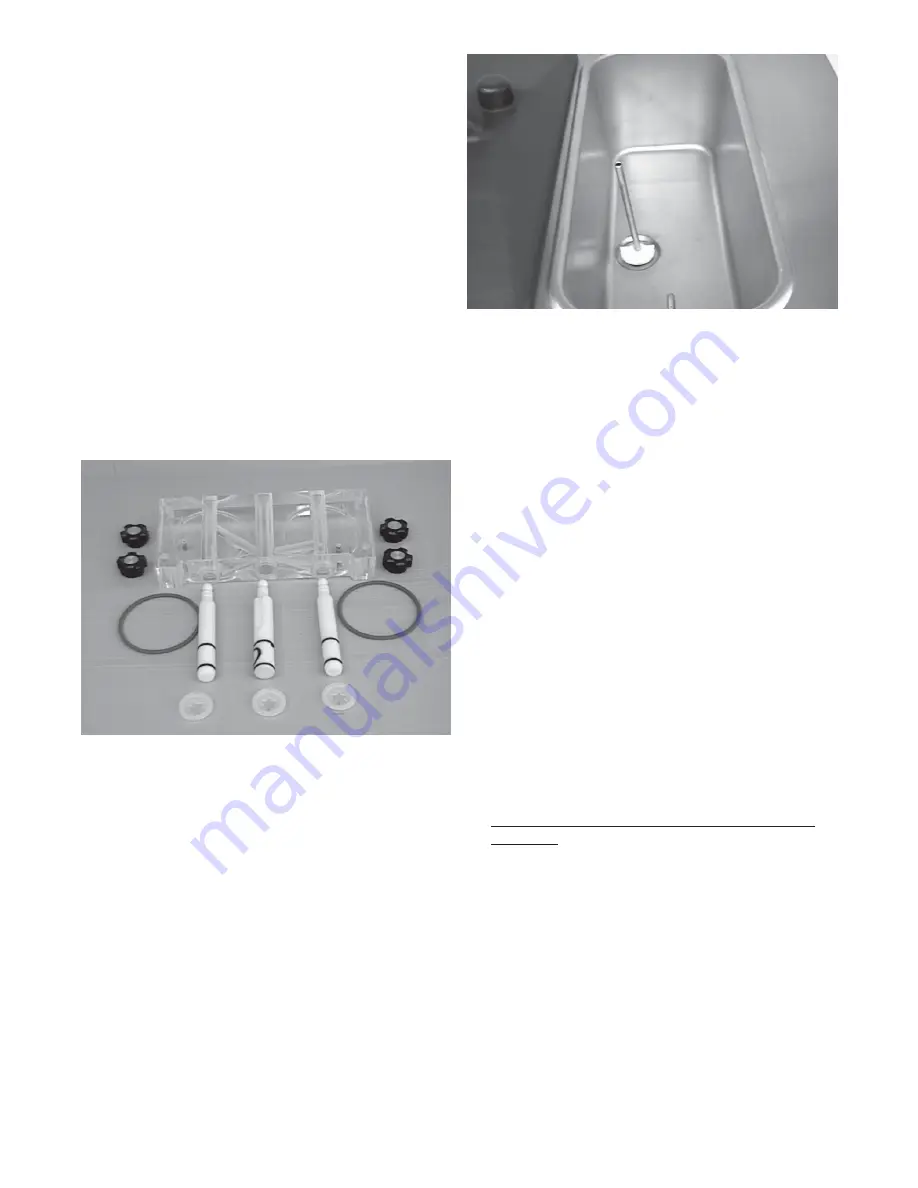
H. Install the spigot bodies with "O" Rings into the front
door from the bottom (Fig.25). Push straight up until
the spigots are in place. Install rosette caps.
Figure 25. Exploded View of Front Door
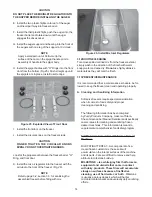
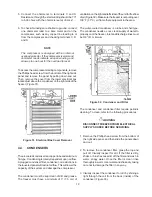
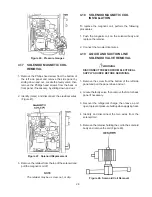
Figure 26. Install Mix Inlet Regulators
3.12 ROUTINE CLEANING
To remove spilled or dried mix from the freezer exterior,
simply wash in the direction of the finish with warm
soapy water and wipe dry.
Do not
use highly abrasive
materials as they will mar the finish.
3.13 PREVENTIVE MAINTENANCE
It is recommended that a maintenance schedule be fol-
lowed to keep the freezer clean and operating properly.
A. Cleaning and Sanitizing Information
Soft serve freezers require special consideration
when it comes to food safety and proper
cleaning and sanitizing.
The following information has been compiled
by Purdy Products Company, makers of Stera-
Sheen Green Label Cleaner/Sanitizer and specifically
covers issues for cleaning and sanitizing frozen
dessert machines. This information is meant to
supplement
a comprehensive food safety program.
Soil Materials Associated with Frozen Dessert
Machines
MILKFAT/BUTTERFAT – As components of ice-
cream/frozen custard mix, these soils will
accumulate on the interior surfaces of the machine
and its parts. Fats are difficult to remove and help
attribute to milkstone build-up.
MILKSTONE – Is a white/gray film that forms on
equipment and utensils that come in contact
with dairy products. These films will accumulate
slowly on surfaces because of ineffective
cleaning, use of hard water, or both.
Milkstone
is usually a porous deposit, which will harbor
microbial contaminants and
eventually defy sanitizing
efforts
.
I. Install the front door on the freezer.
J. Install the circular knobs on the freezer studs.
CAUTION
FINGER TIGHTEN THE CIRCULAR KNOBS
EVENLY. DO NOT OVERTIGHTEN KNOBS.
Look for the proper seal between the freezer barrel, "O"
Ring, and front door.
K. Install the mix air regulator into the freezer with the
air tube to the front of the freezer. (Fig. 26).
NOTE
Refer to page 3-2, section 3.3, for sanitizing the
assembled freezer before filling with mix.
Summary of Contents for E131G
Page 1: ...Model E131G F131G SERVICE MANUAL Manual No 513537 3 Mar 2004...
Page 2: ......
Page 14: ...6...
Page 38: ...30 Figure 51 Power Board...
Page 39: ...31 Figure 52 Program Module...
Page 54: ...46...
Page 66: ...58...
Page 68: ...60...
Page 69: ...61 666786...
Page 70: ...62...
Page 71: ...63...
Page 72: ...64...
Page 73: ...65...
Page 74: ...66...
Page 75: ...67...
Page 76: ...68...
Page 77: ...69...
Page 78: ...70...
Page 80: ......

