20
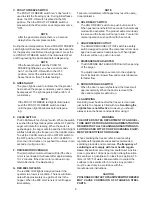
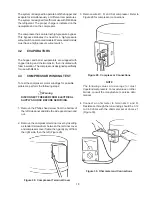
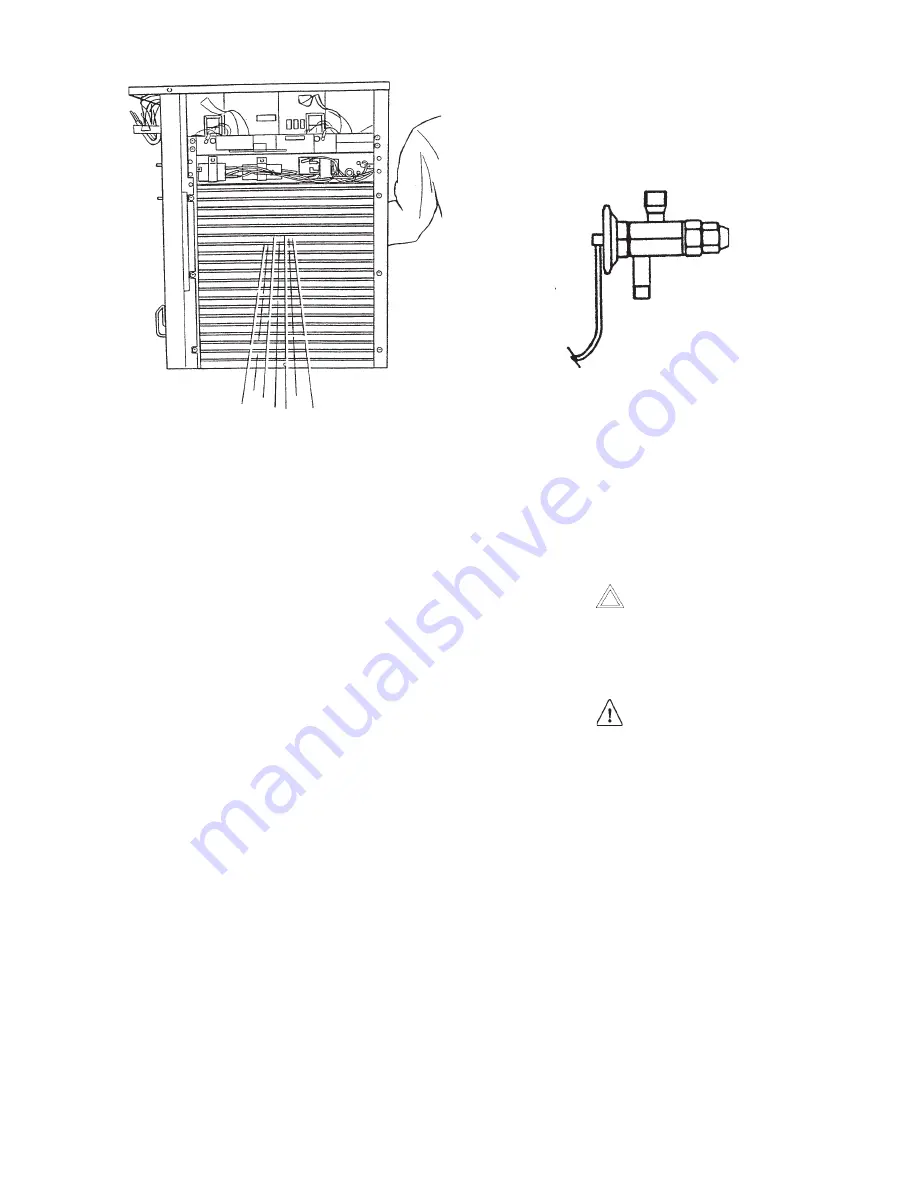
4. If the condenser is dirty, place a wet towel over the
front (outside) of the condenser.
5. Using compressed air or a CO2 tank, blow out the
dirt from the back (inside) of the condenser. Most of
the dirt will cling to the wet towel.
NOTE
This procedure will result in a very loud noise.
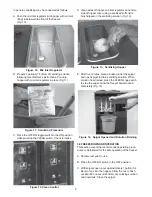
6. An alternative method of cleaning the condenser is
to use a condenser brush and vacuum.
NOTE
If the condenser is not kept clean, loss of
refrigeration efficiency will result; causing
extended run time or soft product consistency.
Water-cooled condensers need an unrestricted
supply of cold, clean water.
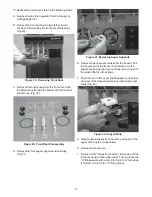
Figure 33. Condenser Inspection
4.5
T.X.V.
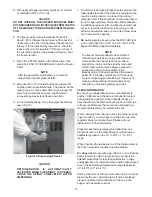
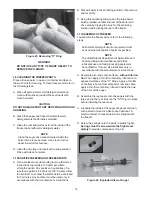
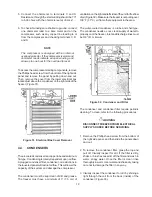
A T.X.V. (Thermostatic Expansion Valve) (Figure 34)
is used to meter the refrigerant to the evaporator. The
self-regulating T.X.V. is preset at the factory.
Figure 34. T.X.V. (Thermostatic Expansion Valve)
4.6
T.X.V. ADJUSTMENT
T.X.V. adjustment is not recommended. Any attempt
to adjust the T.X.V. will cause the freezer to be totally
out of calibration.
4.7
T.X.V. REMOVAL
CAUTION
IF A T.X.V. REPLACEMENT IS NEEDED, A
HEATSINK (WET CLOTH) MUST BE USED TO
PREVENT DAMAGE TO THE VALVE.
WARNING
DISCONNECT FREEZER FROM ELECTRICAL
SUPPLY SOURCE BEFORE SERVICING.
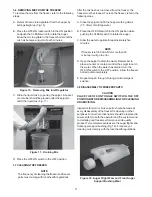
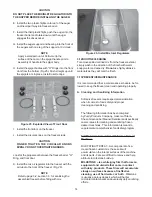
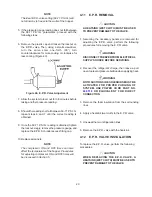
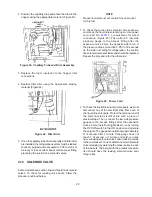
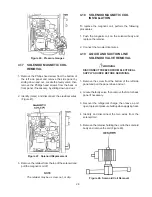
1. Remove the two Phillips head screws from the bottom
of the front and side panels then slide the panels
down and out (Figure 35).
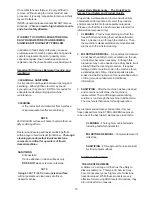
2. Remove the bulb from the suction line exiting from
the evaporator (Figure 35).
Summary of Contents for E131G
Page 1: ...Model E131G F131G SERVICE MANUAL Manual No 513537 3 Mar 2004...
Page 2: ......
Page 14: ...6...
Page 38: ...30 Figure 51 Power Board...
Page 39: ...31 Figure 52 Program Module...
Page 54: ...46...
Page 66: ...58...
Page 68: ...60...
Page 69: ...61 666786...
Page 70: ...62...
Page 71: ...63...
Page 72: ...64...
Page 73: ...65...
Page 74: ...66...
Page 75: ...67...
Page 76: ...68...
Page 77: ...69...
Page 78: ...70...
Page 80: ......


