English
Operating instructions
17
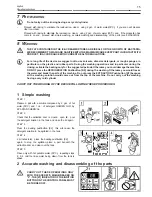
STEP 4
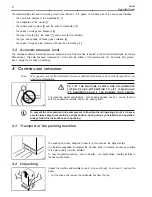
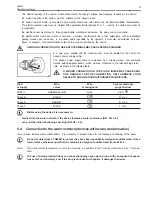
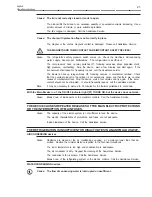
Before reassembling the components, accurately wash the fixed
parts of the device as illustrated in the drawings and underlisted,
using the solution previously prepared (see STEP 2).
-
the extraction pipe, the safety grill, the groove and its edges
using the provided brush
-
the upper surface, the lid's rod and the inside of the tank;
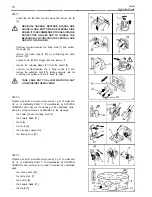
STEP 5
A potable water rinse is not necessary unless so specified by
state or local ordinance.
3 Reassembly
THESE OPERATIONS MUST BE CARRIED OUT ONLY WITH THE SOCKET'S MAIN BREAKER ON "0"
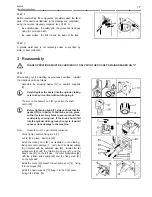
STEP 1
After carrying out the washing as previously described, reinstall
the machine's parts as follows:
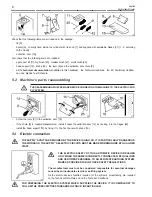
-
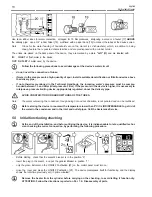
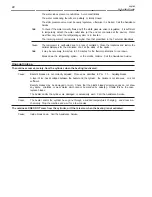
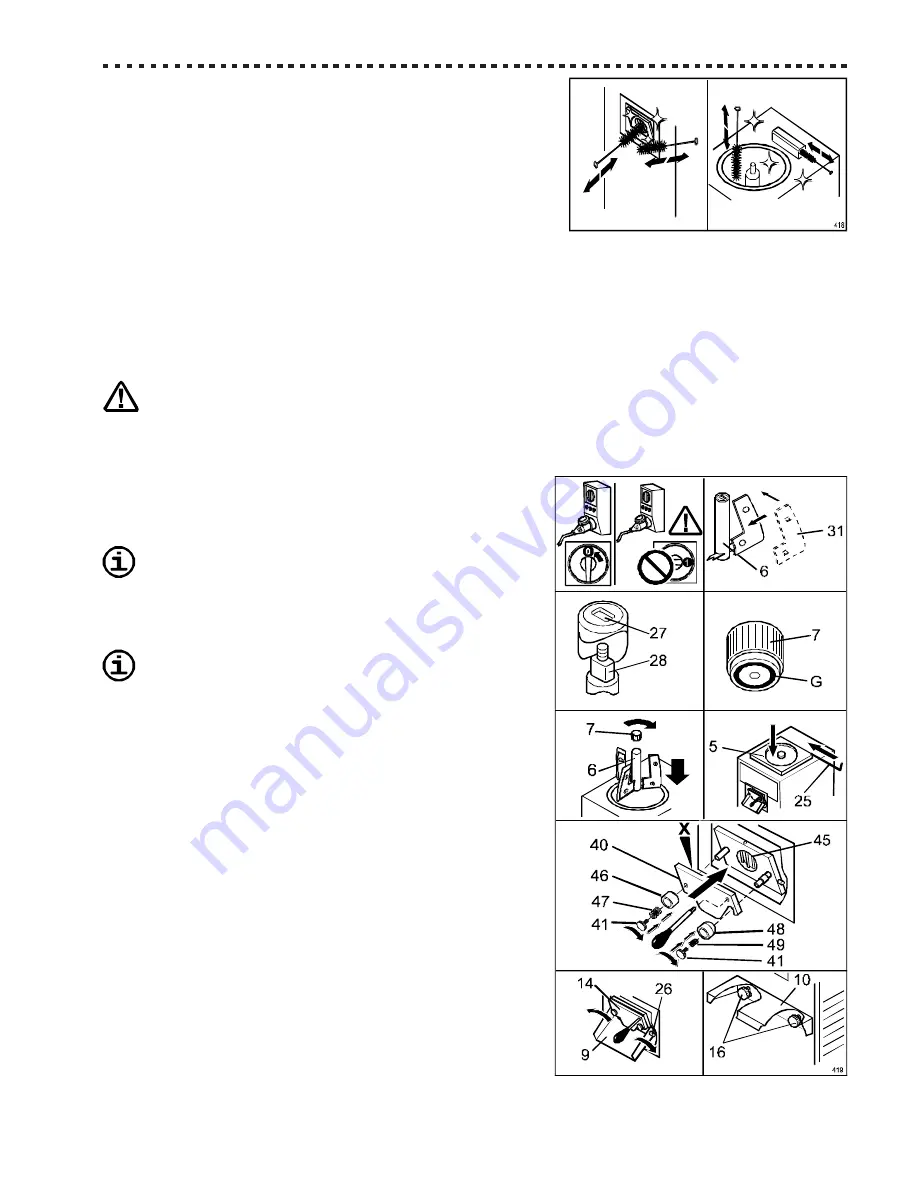
Assemble the scraping blades [31] on beater's supports
[6].
Carefully place the beater into the cylinder, taking
care to keep it vertical without dropping it.
-
The slot on the beater's hub [27] goes into the shaft
clutch [28];
Before tightening knob [7], always check that the
gasket [G] is in perfect conditions and in place,
an that is clear of any fat as to prevent knob from
accidentally coming lost. If the knob should fall
into the cylinder during production cycle, it would
cause serious damage to the machine.
Note:
Gaskets must be periodically replaced.
-
Firmly tighten beater's fixing knob [7];
-
put lid [5] in place, insert pin [25];
-
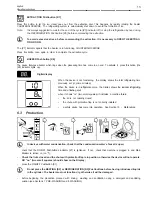
install the locking door [40] as illustrated in the drawing,
taking care not to damage it , not to touch its internal surface
[X] in contact with the extraction pipe [45]; reinstall the flat
springdriver [46] with the relative big spring [47] and the
fixing knob [41] on the left side, the conic springdriver [48]
with the relative small spring [49] and the fixing knob [41]
on the right side;
-
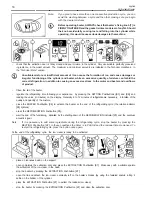
install the chute [9] beneath the extraction door [14], fixing
it to the hinges [26];
-
install the basin support [10] fixing it to the front panel
through the knobs [16].


