24
Wall-Mounting
Wa l l - M o u n t i n g
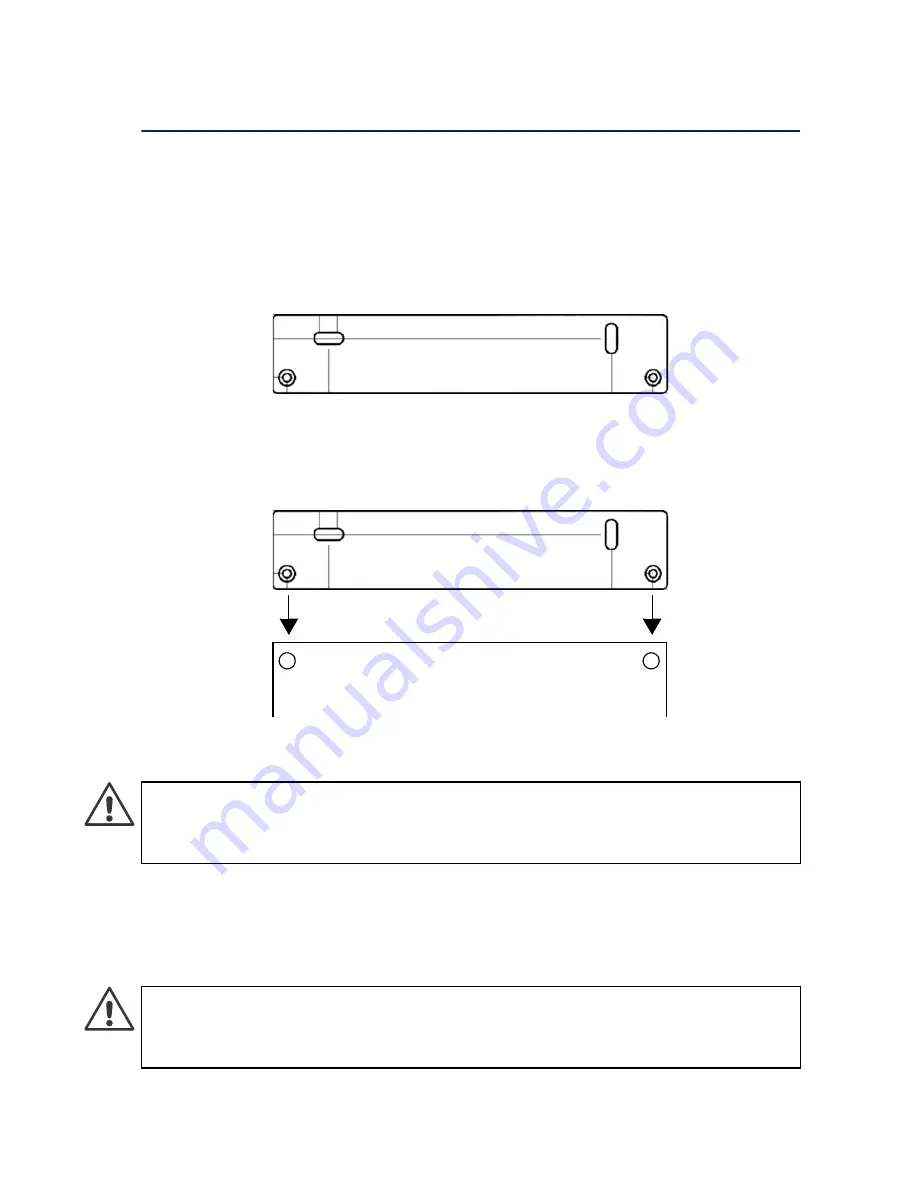
You can optionally mount the appliance on a wall using a bracket and
two screws. The bracket and the screws are not included by default in
the delivery. You can order them separately from Stonesoft.
To wall-mount the appliance
1.
Locate the bracket and the two screws that have been delivered to
you.
2.
Remove the four (4) rubber plugs from the bottom of the appliance
(for example, using a screw driver).
3.
Line up the two smaller holes in the bracket with two holes at the
bottom of the appliance (either in the front or at the back).
4. Attach the bracket to the bottom of the appliance with the two
screws included in the delivery.
5.
Attach the bracket to a wall with two screws through the larger
holes in the bracket (the screws are not included in the delivery).
•
Mount the appliance in such a way that you can easily view the
indicators at the appliance’s front panel.
Caution –
Do not attach the bracket to the appliance with screws that
are longer than 4 mm. Using longer screws may damage the
appliance’s motherboard and will void the warranty.
Caution –
Use screws that are appropriate for the wall to which you
mount the appliance. Make sure that the screws are long enough to
provide sufficient support for the appliance.
Bottom of appliance


