20
Initial Configuration
5.
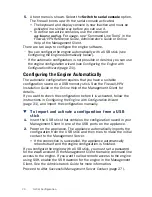
A boot menu is shown. Select the
Switch to serial console
option.
The firewall boots up with the serial console activated.
•
The keyboard and display console is now inactive and must be
activated in a similar way before you can use it.
•
To define two active consoles, use the command
sg-bootconfig
. For usage, see “Command Line Tools” in the
Firewall/VPN Reference Guide
,
Administrator’s Guide
or
Online
Help
of the Management Client.
There are two ways to configure the engine software.
• You can configure the engine automatically with a USB stick (see
Configuring the Engine Automatically
below).
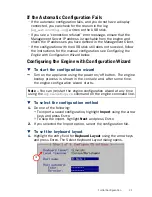
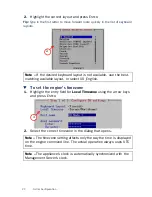
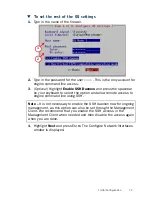
• If the automatic configuration is not possible or desired, you can use
the engine configuration wizard (see
Configuring the Engine with
Configuration Wizard
(page 21)).
Configuring the Engine Automatically
The automatic configuration requires that you have a suitable
configuration saved on a USB memory stick. See the
Firewall/VPN
Installation Guide
or the
Online Help
of the Management Client for
details.
If you want to check the configuration before it is activated, follow the
instructions in
Configuring the Engine with Configuration Wizard
(page 21), and import the configuration manually.
T
To import and activate a configuration from a USB
stick
1.
Insert the USB stick that contains the configuration saved in your
Management Client in one of the USB ports on the appliance.
2.
Power on the appliance. The appliance automatically imports the
configuration from the USB stick and then tries to make the initial
contact to the Management Server.
•
If the connection is successful, the appliance automatically
reboots itself and the engine configuration is finished.
If you configure the engine with a USB stick, you must set a password
for the
root
account in the Management Client to enable command line
access to the engine. If you want to allow remote access to the engine
using SSH, enable the SSH daemon for the engine in the Management
Client. See the
Administrator’s Guide
for more information.
Proceed to
After Successful Management Server Contact
(page 27).


