background image


10 

VIDEO CAPTURE MODE 

 
This is the default mode the device will be set to when first turned on.  In Video Capture mode you can record video 
footage on the camera. 
 
To start recording: 


Press the “Record” button.  A 

red

 dot will flash on screen and the recording time will start to count up in the 

format: 

HH:MM:SS

 
To stop recording: 


Press  the  “Record”  button.    The  recording  time  will  be  replaced  with  remaining  time  on  the  SD  card  (in 
white), in the same format: 

HH:MM:SS

 
Other functions: 


You can also use the “Up” and “Down” buttons to zoom in or out of the image, from 1x to 8x. 


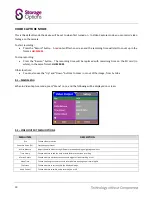
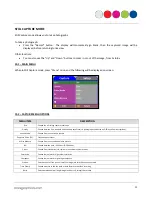
9.1 – MAIN MENU 

 
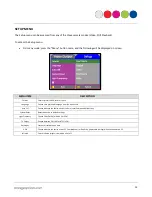
When in Video Capture mode, press “Menu” once, and the following will be displayed on screen: 


9.2 – VIDEO OUTPUT MENU OPTIONS 


MENU ITEM 

DESCRIPTION 

Size 

Choose video resolution 

Exposure Value (EV) 

Set the exposure level 

White Balance 

Adjust the white balance using different presets depending on lighting conditions 

Time Stamp 

Choose whether to add the date or date & time to the video recording 

Motion Detect 

Choose whether motion detection should trigger a video recording or not 

Video Time 

Choose how long the camera should record before creating a new recording file 

Flip Screen 

Choose whether to vertically flip the displayed image 

Audio Control 

Choose whether to switch audio recording on or off 


Summary of Contents for RoadView

Page 1: ......

Page 2: ...lated dangerous voltage within the product s enclosure that may be of sufficient magnitude to constitute a risk of electric shock The exclamation point within an equilateral triangle is intended to al...

Page 3: ...BATTERY 6 INSERT AN SD CARD 6 POWERING ON 7 SWITCHING MODES 8 NAVIGATING MENUS 9 VIDEO CAPTURE MODE 10 9 1 Main Menu 9 2 Video Output Menu Options 10 10 STILL CAPTURE MODE 11 10 1 Main Menu 10 2 Capt...

Page 4: ...d sharing with friends on the Internet Affixes securely and easily to windscreen with suction mount Simple easy to use buttons and on screen menus Adjustable brackets ensure optimum camera position fo...

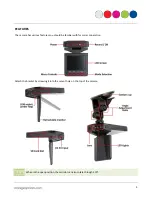
Page 5: ...has various features you should be familiar with for correct operation Attach the bracket by screwing it into the mount hole on the top of the camera TIP When in the open position the monitor can als...

Page 6: ...lied USB cable While charging the power LED will flash blue When charging is complete the LED will extinguish INSERT AN SD CARD Road Cam records video and photo files to SD card A 4GB card is included...

Page 7: ...uish and the LCD screen will switch off 2 Flip the LCD screen back up into the closed position NOTE When connected to a car s electrical mains socket via the included car adapter Car Cam will automati...

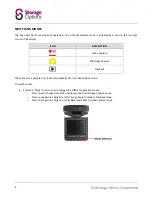
Page 8: ...e Playback When the unit is powered on it will automatically start in Video Capture mode To switch modes Press the Mode button to cycle through the different operation modes o Press once to change fro...

Page 9: ...rn Car Cam on 2 Press Menu to display the Video Output menu on screen TIP Press Menu again to switch to the Setup menu Press Menu a third time to close the on screen menu 3 The Up and Down buttons are...

Page 10: ...the image from 1x to 8x 9 1 MAIN MENU When in Video Capture mode press Menu once and the following will be displayed on screen 9 2 VIDEO OUTPUT MENU OPTIONS MENU ITEM DESCRIPTION Size Choose video re...

Page 11: ...ution Quality Choose between fine standard and economy detail levels in photographs indicated on OSD by yellow star symbols Scene Mode Choose from various scene presets Exposure Value EV Set the expos...

Page 12: ...play or pause videos While playing a video use the Up and Down buttons to fast forward and rewind 11 1 MAIN MENU When in Playback mode press Menu once and the following will be displayed on screen 11...

Page 13: ...ge Choose your preferred language from the options list Auto Off Choose whether the device shuts off after a specified period of inactivity System Reset Reset the device to default settings Light Freq...

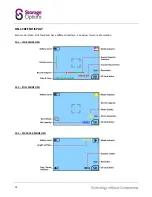
Page 14: ...14 ON SCREEN DISPLAY Each mode Video Still Playback has a different interface See below for more information 13 1 VIDE MODE OSD 13 2 STILL MODE OSD 13 3 PLAYBACK MODE OSD...

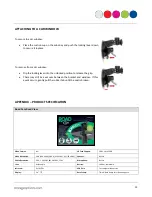
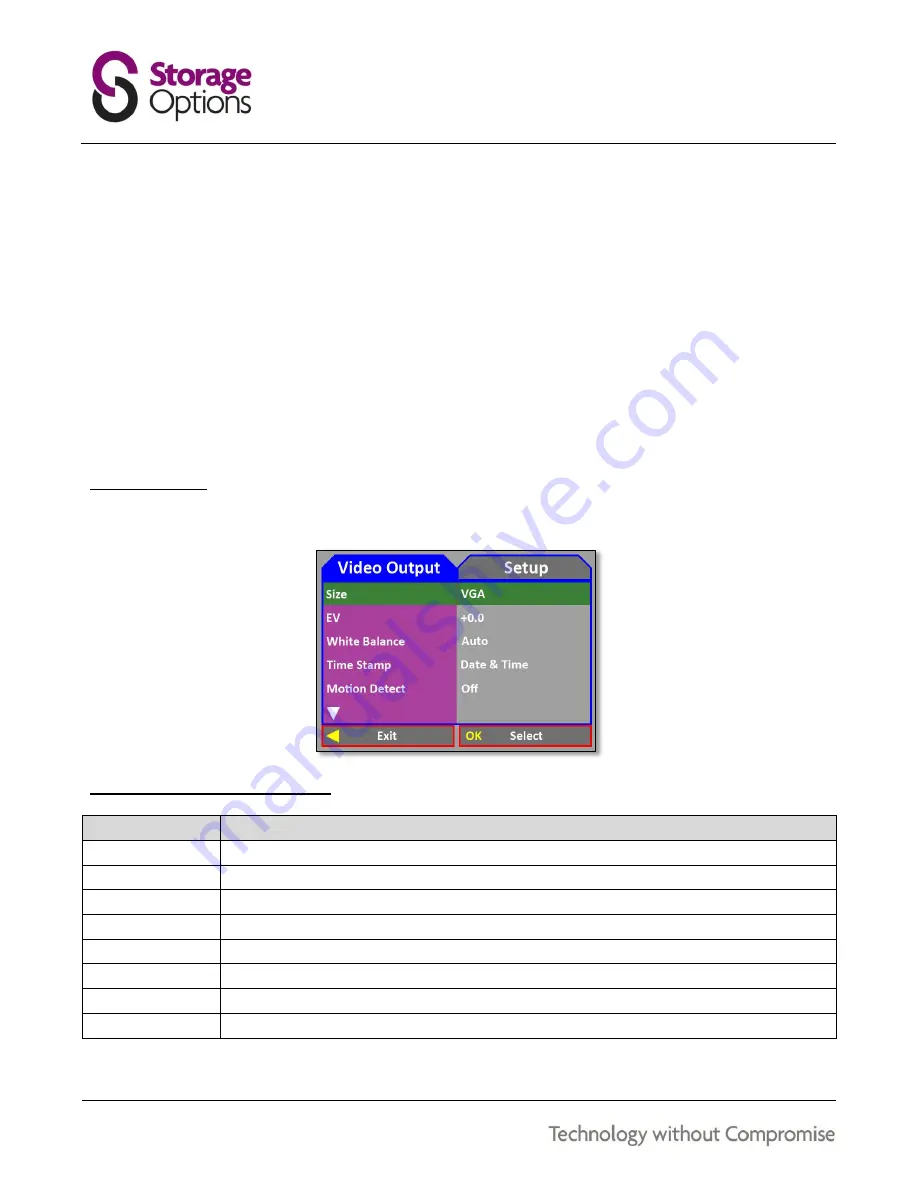
Page 15: ...acket and window If this event occurs gently pull the rubber tab until the seal is broken APPENDIX PRODUCT SPECIFICATION Road Cam Road View Video Format AVI SD Card Support SDHC up to 32GB Video Resol...

Page 16: ...16...

Reviews: