StorCase Technology, Inc.
RJR110 Users Guide - Rev. A02
7
INSTALLATION
NOTE:
A #1 and #2 Phillips screwdriver will be required for this procedure.
1.
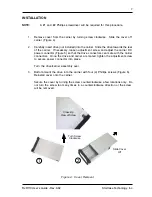
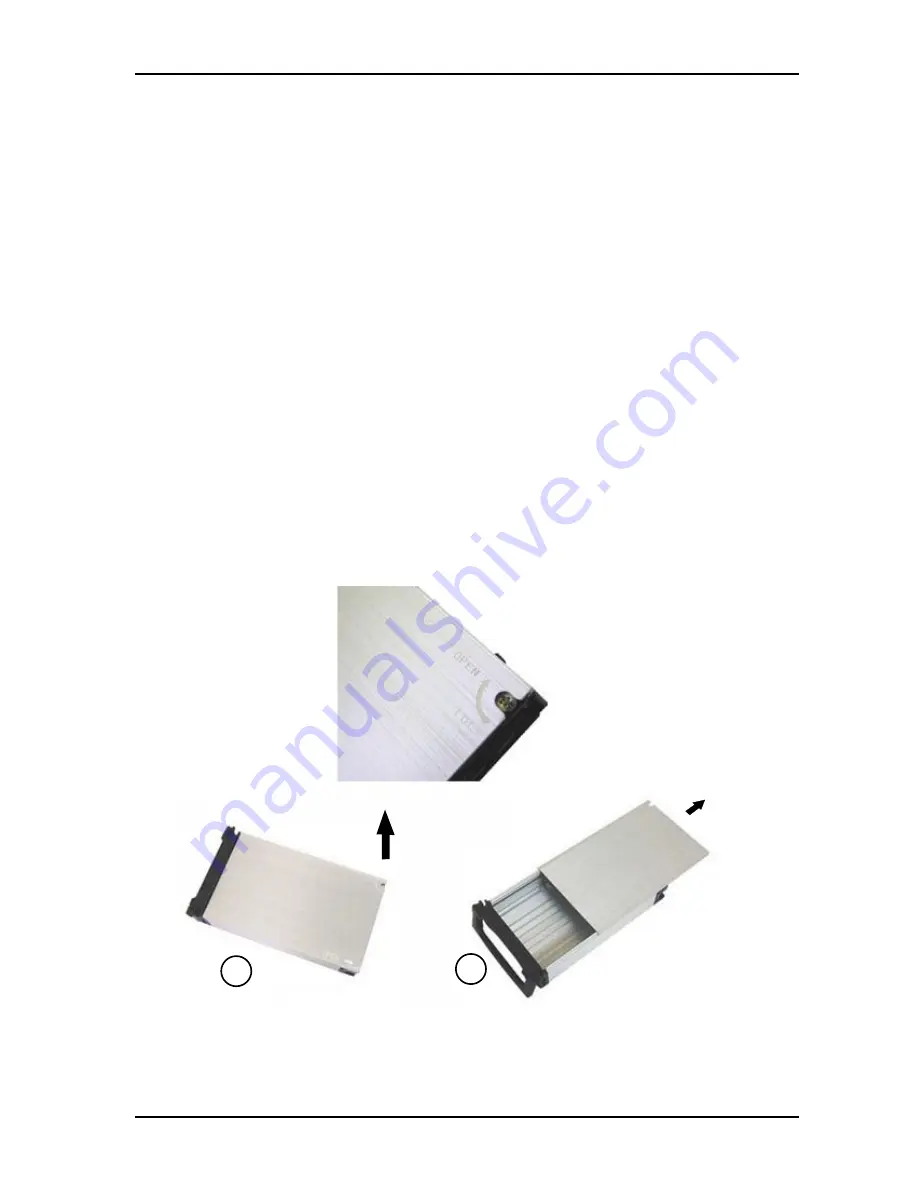
Remove cover from the carrier by turning screw clockwise. Slide the cover off
carrier (Figure 4).
2.
Carefully insert drive (not included) into the carrier. Slide the drive towards the rear
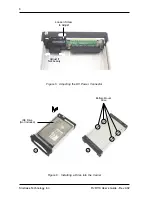
of the carrier. If necessary, loosen adjustment screw and adjust the carrier DC
power connector (Figure 5) so that the drive connectors can mate with the carrier
connectors. Once the drive and carrier are mated, tighten the adjustment screw
to secure power connector into place.
Turn the drive/carrier assembly over.
3.
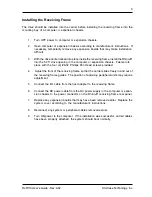
Bottom-mount the drive into the carrier with four (4) Phillips screws (Figure 6).
Reinstall cover onto the carrier.
Secure the cover by turning the screw counterclockwise a
few
rotations only. Do
not turn the screw too many times in a counterclockwise direction or the screw
will be removed.
Turn Screw
Clockwise
Slide Cover
Off
1
2
Close-Up
View of Screw
Figure 4: Cover Removal


