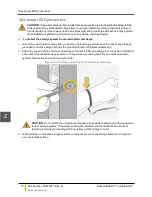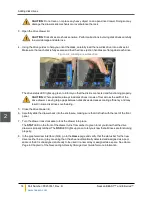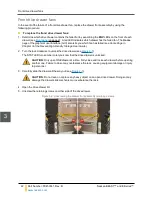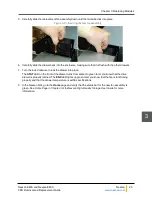
7. Using the drive guides to help you orient the disks, carefully load the replacement disk drive into the
drive slot. Make sure that the disk is fully seated and that the drive ejection handle is flat against the
drive.
Figure 3-8: Loading a new disk drive
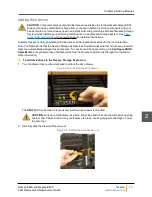
The drive status LED lights up green to inform you that the disk is connected and functioning properly.
8. Close the drive drawer lid.
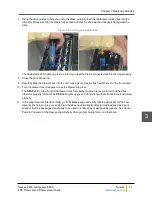
9. Carefully slide the drawer back into the unit, making sure that it is flush with the rest of the front panel.
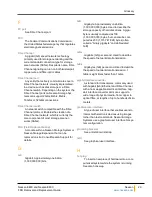
10. Turn the drawer lock clockwise to lock the drawer into place.
The
STAT
LED on the front of the drawer turns from amber to green to let you know that the drive
drawer is properly latched. The
DSK
LED lights up green to let you know that all drives are functioning
properly.
11. In the graphical user interface (GUI), go to the
Home
page and verify that the status bar for the new
drive is either blue or gray, meaning that it has been automatically detected and assigned as a pool
spare or that it is unassigned and ready to be used in a new array or assigned as a spare. See
Home
Page
in
Chapter 3
of the
Nexsan High-Density Storage User Guide
for more information.
Chapter 3: Replacing Modules
Nexsan E48X and Nexsan E60X
FRU Removal and Replacement Guide
Nexsan
21
3

