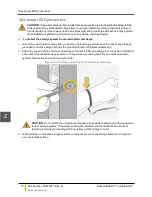
Rear drive drawer fan assembly
In the event of the failure of a rear drive drawer fan, replace the rear fan assembly by using the following
procedure:
►
To replace the rear drive drawer fans:
1. Determine which drive drawer contains the failed fan by examining the
ENV
LEDs on the front of each
drawer (see
on page 2). A red LED indicates which drawer has the failed fan. The
Home
page of the graphical user interface (GUI) also tells you which fan has failed (see theNexsan High-
Density Storage User Guide).
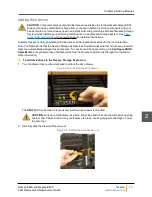
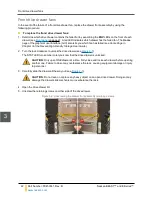
2. Turn the lock clockwise to unlock the drive drawer (see
).
The
STAT
LED turns amber to let you know that the drive drawer is unlocked.
CAUTION
: Only open ONE drawer at a time. Fully close and lock each drawer before opening
another one. Failure to do so may overbalance the rack, causing equipment damage or injury
to personnel.
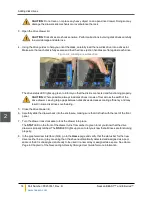
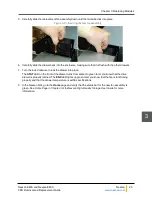
3. Carefully slide the drawer all the way out (see
).
CAUTION
: Do not lean on or place any heavy object on an open drive drawer. Doing so may
damage the drawer slide mechanism or overbalance the rack.
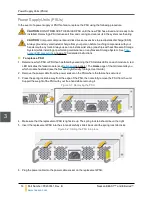
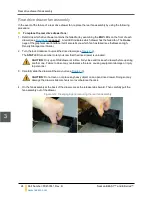
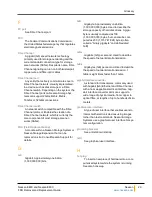
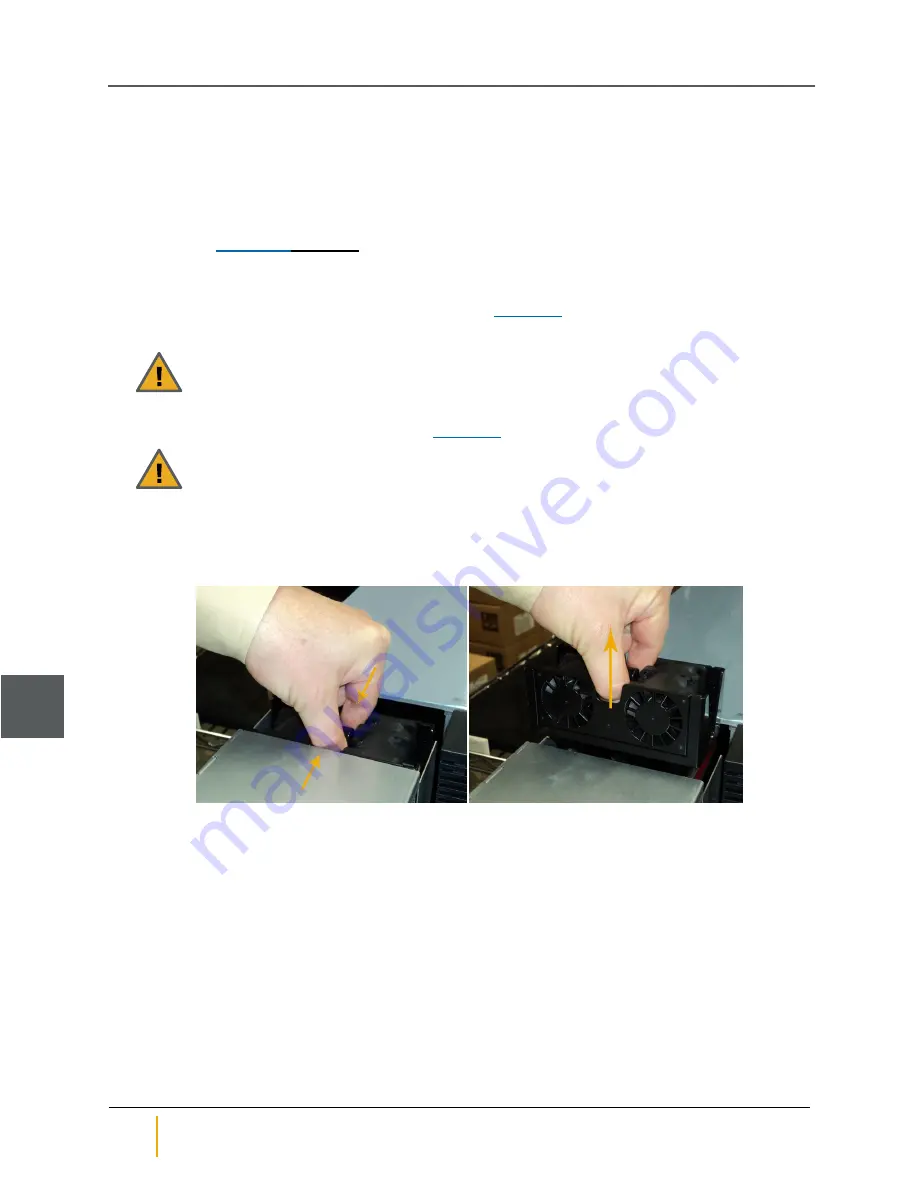
4. On the fan assembly at the back of the drawer, press the release tabs inward. Then carefully pull the
fan assembly out of the drawer.
Figure 3-12: Disengaging and removing the rear fan assembly
Rear drive drawer fan assembly
24
Part Number: P0450141, Rev. B
Nexsan BEAST™ and E-Series™
3


