148
8. Commissioning
Before you start spraying work, prepare the coating material in line with the manufacturer's instructions (thinning/stir-
ring).
Place the suction pipe in the material container and switch the device on; then turn the pressure regulator button until
the device just starts to run, until the system is ventilated (paint escapes from the ventilation hose).
Hold the gun against the edge of a 2nd bucket, in which the solvent will be caught; pull the trigger on the gun and clo-
se the ventilation valve. Turn the pressure regulator switch a bit further and wait for paint to exit the gun. The system
is now ventilated.
Release the trigger on the gun; secure it and fit the nozzle holder and nozzle. Gradually turn the pressure regulator
(approx. 10 bar) until the desired spraying pressure has been reached. This is the case when the spraying pattern is free
of stripes. Excessive spraying pressure unnecessarily creates paint mist.
Adjusting the pressure
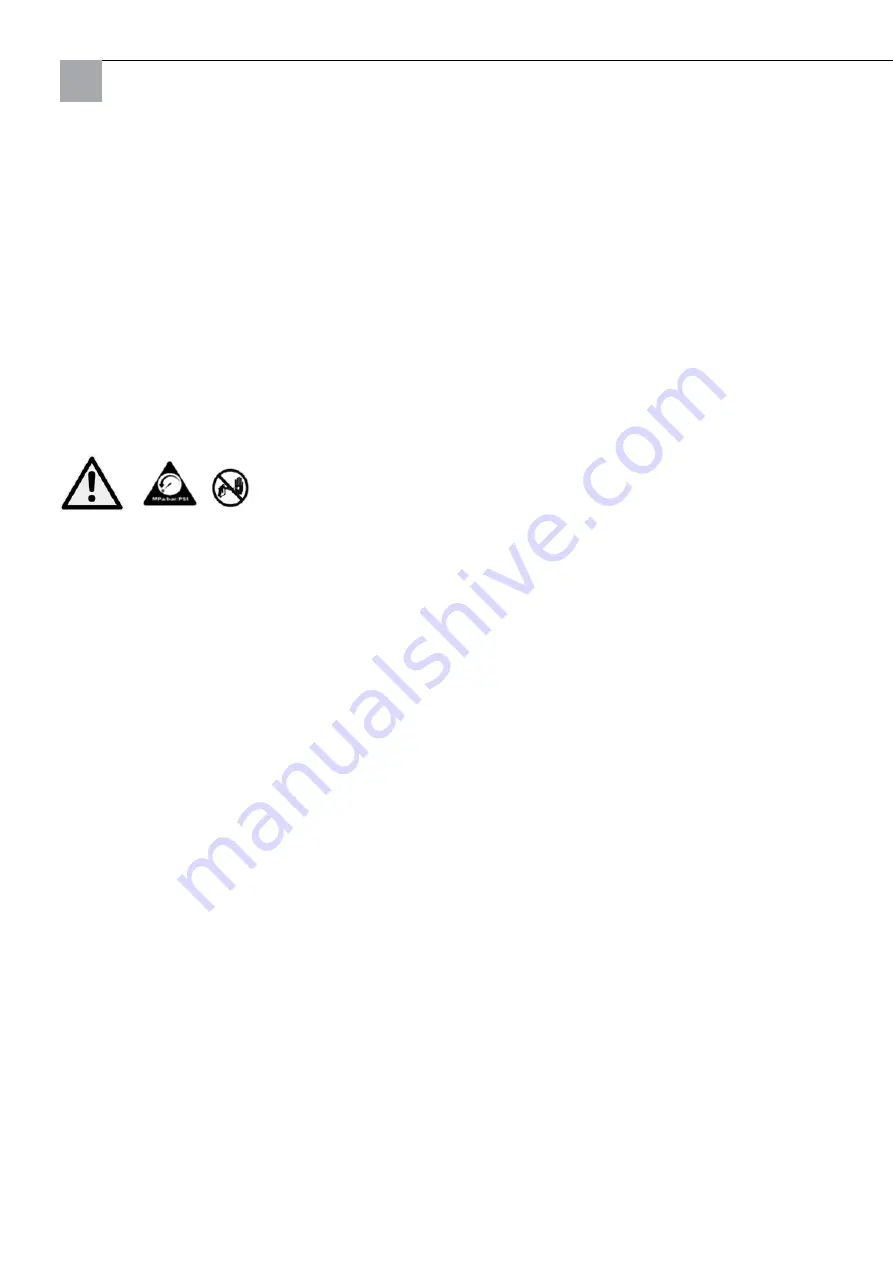
Risk of injection: never hold your hand, your body, your finger or your hand wrapped in a cloth in front of the spraying
nozzle if you are cleaning the spraying nozzle or checking for blockages. Always point the gun at the floor or a waste
bin if you want to check whether the nozzle is free
During spraying into a paint can, always select the lowest spraying pressure and make sure that one metal part of the
gun always has contact with the metal container.
In case of emergency, switch off the spraying device. If you want to interrupt operations with the device in case of
emergency, switch off the motor. Read the depressurisation section.
Turn the pressure regulator button clockwise to increase the pressure or anti-clockwise to reduce the pressure. Always
use the lowest pressure required for full atomisation of the material. If more material output is required, use a larger
nozzle rather than increasing the pressure.
NOTE:
If you operate the spraying device at a higher pressure than needed, this will lead to increased use of material, and
increased wear on the device and nozzle.
NOTE:
Check the spray pattern. The nozzle size determines the width and flow rate of the coating material.
Storage
Short term storage
Flush the device as described in the chapter "Flushing". Finally, flush the device with the "Coro-Check" preservation
fluid provided (Art. no. 69 09 10) (approx. 100 ml. to approx. 2 - 3 l water) and relieve the mixture through the gun
out of the pump. Coro-Check prevents the valves in the device from sticking. Keep the ventilation/pressure relief valve
closed.
Original instruction
Summary of Contents for Airless LP 500 F
Page 1: ...Airless LP 500 F 600 F 650 S DE NL FR IT GB CZ LP 500 F LP 600 F LP 650 S...
Page 26: ...26 Ersatzteillisten Motor Antrieb bersetzung der Originalanleitung...
Page 28: ...28 Ersatzteillisten Querschnitt Farbstufengeh use bersetzung der Originalanleitung...
Page 60: ...60 Lijsten met vervangende onderdelen Motor aandrijving Vertaling van de originele handleiding...
Page 62: ...62 Doorsnede verfniveaubehuizing Vertaling van de originele handleiding...
Page 128: ...128 Motore Azionamento Elenchi dei pezzi di ricambio Traduzione delle istruzioni originali...
Page 162: ...162 Spare parts list Motor gearbox Original instruction...
Page 164: ...164 Spare parts list Cross section paint stage housing Original instruction...
Page 196: ...196 Seznamy n hradn ch d l Motor pohon P eklad origin lu n vodu...
Page 198: ...198 Seznamy n hradn ch d l Pr ez kryt barevn ho stupn P eklad origin lu n vodu...
Page 206: ...206...
Page 207: ...207...


