127
Operation
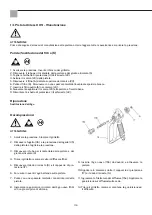
4. Depressurization
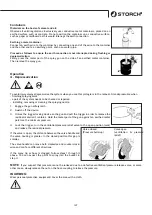
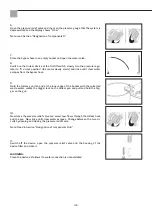
To avoid injury always depressurise the system when you see this pictogram in the manual. Also depressurise when
- finishing spraying work
- a part of the system needs to be checked or repaired
- installing, removing or cleaning the spraying nozzle.
1. Engage the gun safety latch.
2. Switch off the device.
3. Unlock the trigger locking device on the gun and pull the trigger in order to remove the
residual material it contains. Hold the metal part of the gun against an earthed metal
pail. Use the minimum pressure.
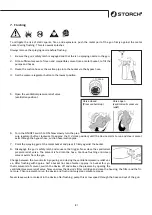
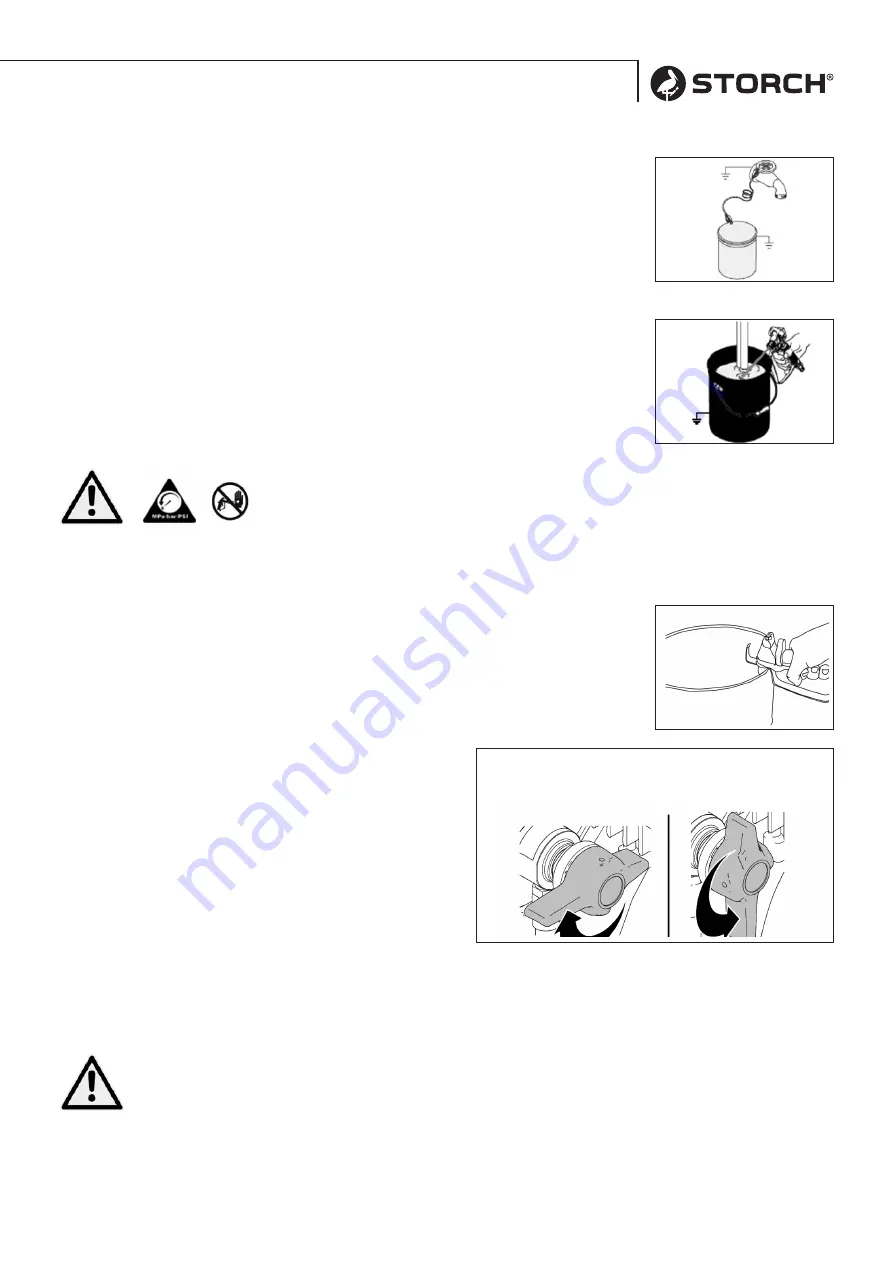
4. Lock the trigger, turn the ventilation/pressure relief valve to the open position (vent)
and relieve the residual pressure.
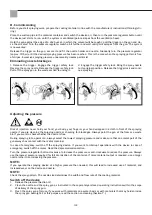
If the valve is open, the distance between the valve handle and
the valve housing is greater. In the closed position this gap is
smaller.
The valve handle can move both clockwise and counter clock-
wise and can face different directions.
if the spray tip or hose is clogged, follow steps 1 through 4
above. You can expect the paint to spray into the bucket in
step 3.
NOTE
: If you suspect that pressure cannot be relieved due to a defective ventilation/pressure release valve, or some
other cause, slowly release the nut on the hose coupling to relieve the pressure.
WARNING:
Wear personal protective equipment! Cover the area with a cloth.
Valve closed
(Pressure build-up)
Valve open
(ventilation & pressure
relief)
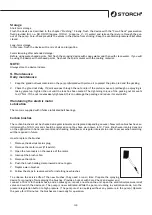
Containers
Materials on the basis of solvent and oil:
Observe all valid regulations. Exclusively use conductive metal containers, placed on an
earthed surface such as concrete. Do not position the container on a conductive surface,
such as paper or cardboard as this would interrupt the earth connection.
Earthing a metal container:
Connect an earth wire to the container by connecting one end of the wire to the container
and the other end to an earthing point, such as a water pipe.
Proceed as follows to ensure the earth connection is not interrupted during flushing or
depressurization:
Firmly press the metal part of the spray gun on the side of an earthed metal container.
Then remove the spray gun.
Summary of Contents for LP 400 F
Page 1: ...Airless LP 400 F DE NL FR IT GB CZ ...
Page 22: ...22 Ersatzteillisten Motor Antrieb ...
Page 52: ...52 Motor aandrijving ...
Page 82: ...82 Nomenclatures de pièces de rechange Moteur entraînement ...
Page 112: ...112 Elenchi dei pezzi di ricambio Motore Azionamento ...
Page 142: ...142 Spare parts lists Motor gearbox ...
Page 172: ...172 Seznamy náhradních dílů Motor pohon ...
Page 182: ...182 ...
Page 183: ...183 ...


