128
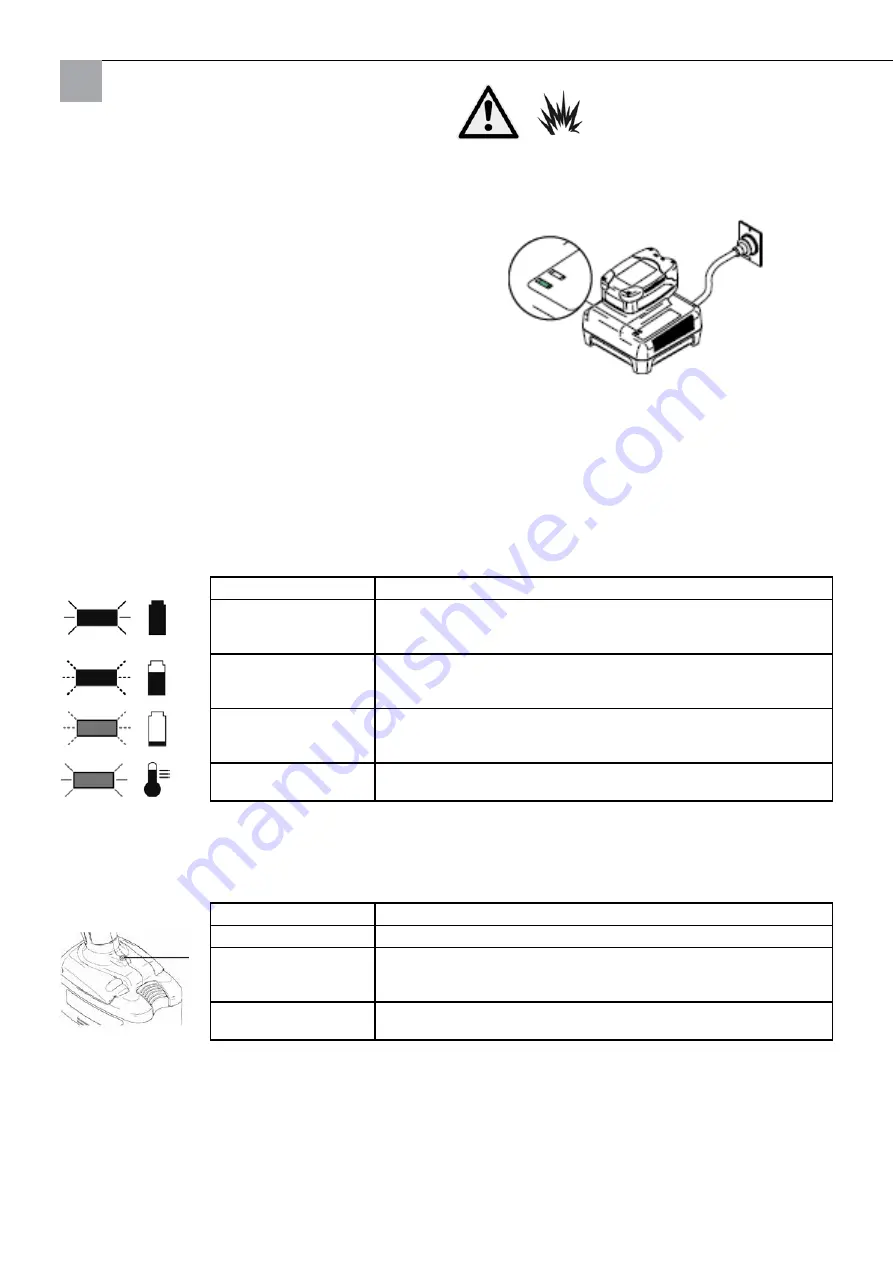
Display
Description
Lit green
This shows that the power pack is completely charged. The power
pack can now be used.
Flashing green
The power pack is charging and is charged up to 80%. The power
pack can now be used.
Flashing red
The power pack is charging and is not charged up to 80%. Do NOT
use the power pack.
Lit red
The power pack is too hot or too cold to be charged. Remove the
power pack to allow it to cool down or warm up before charging.
Recharging the power pack
Only replace and recharge the power pack in a well-ventilated area and at a sufficient distance from combustible or
flammable materials such as paints or solvents.
Note:
The amount of material that you can spray with each
power pack depends on the material, nozzle size, motor
speed and pressure setting. The typical results are 1 to 6
cups of material sprayed per power pack. Higher pressure
settings and a lower motor speed will typically lead to a
longer power pack action time.
Charging device status lamps
* Display
Description
No Display
Normal operation.
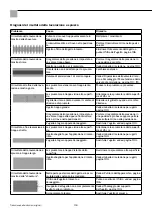
Lit red
Low power pack voltage; the power pack must be charged, or the
power pack is too cold and must be warmed up before starting to
spray.
Flashing red
The power pack temperature is too high or the nozzle is clogged.
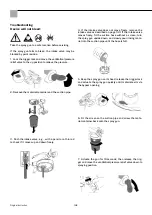
See troubleshooting, page 145.
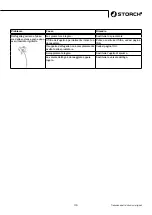
Operation status display
*Note:
The spray gun status indicator lights up for 10 seconds after you release the trigger.
Power packs are 50% charged to ensure an optimum
duration of use and must be fully charged before first
used. It takes approximately 25 minutes to charge a
totally discharged power pack to 80%. It can be used
at this point. It takes approximately 40 minutes to fully
charge a totally empty power pack.
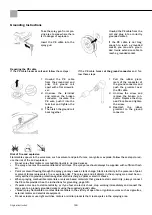
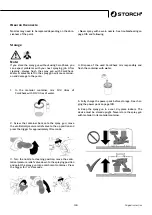
1. Set up the charger in a well-ventilated area and at
a sufficient distance from combustible or flammable
materials such as paints or solvents.
2. Plug the charger into the socket and insert the power
pack into the charger as shown (the lamp is lit for
five seconds).
3. Once the power pack is fully charged, immediately
unplug the charger from the power supply and remo-
ve the power pack from the charger.
Original instruction
Summary of Contents for PowerCoat FF
Page 20: ...20 Detailzeichnung Übersetzung der Originalanleitung ...
Page 50: ...50 Detailtekening Vertaling van de originele handleiding ...
Page 80: ...80 Dessin détaillé Traduction des instructions d origine ...
Page 110: ...110 Disegno dettagli Traduzione delle istruzioni originali ...
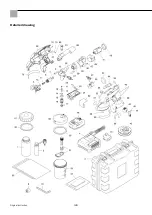
Page 140: ...140 Detailed drawing Original instruction ...
Page 170: ...170 Podrobný výkres Překlad originálu návodu ...
Page 182: ...182 ...
Page 183: ...183 ...

