144
Note:
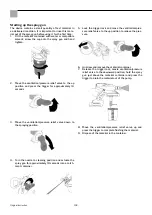
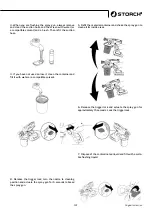
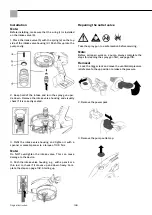
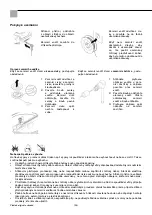
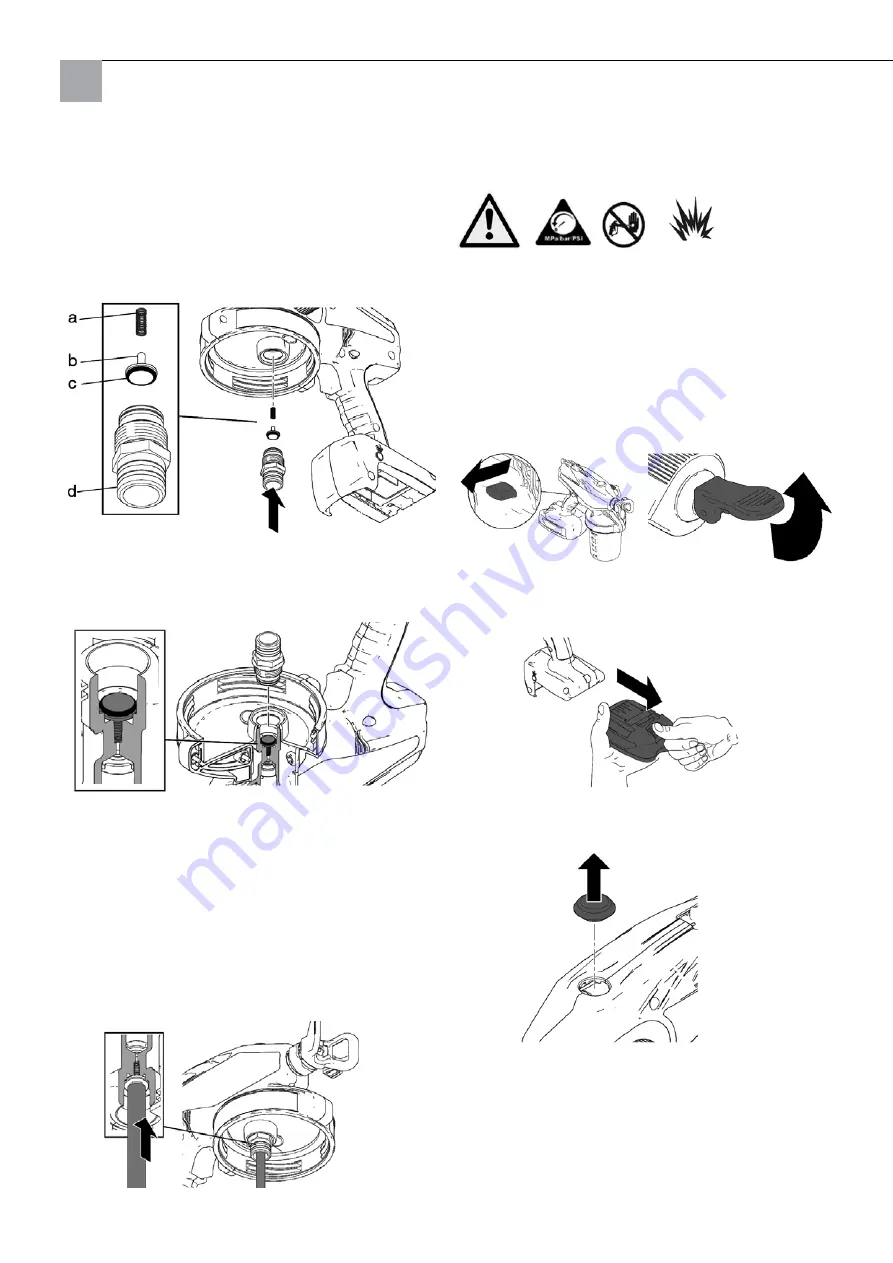
Before installing, make sure that the o-ring (c) is installed
on the intake valve (b).
1. Place the intake valve (b) with the spring (a) on the top
side of the intake valve housing (d). Push this up into the
pump cavity.
2. Keep hold of the intake and turn the spray gun upsi-
de down. Remove the intake valve housing and visually
check if it is correctly seated.
3. Refit the intake valve housing and tighten it with a
spanner or socket spanner to a torque of 13.5 Nm.
Note:
Do NOT overtighten the intake valve. This can cause
damage to the device.
4. Push the intake valve housing, e.g., with a pencil or a
thin rod, to check if it moves up and down freely. Com-
plete the steps on page 132, Starting up.
Installation
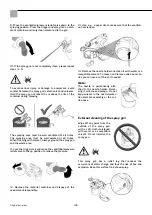
Take the spray gun to a safe location before servicing.
Note:
Before all repair work on a pump, always complete the
steps for cleaning the spray gun first; see page 136.
Removal
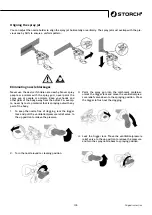
1. Lock the trigger lock and move the ventilation/pressure
relief valve to the up position to relieve the pressure.
2. Remove the power pack.
3. Remove the pump outlet cap.
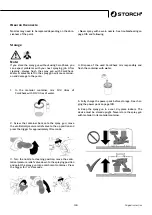
Repairing the outlet valve
Original instruction
Summary of Contents for PowerCoat FF
Page 20: ...20 Detailzeichnung Übersetzung der Originalanleitung ...
Page 50: ...50 Detailtekening Vertaling van de originele handleiding ...
Page 80: ...80 Dessin détaillé Traduction des instructions d origine ...
Page 110: ...110 Disegno dettagli Traduzione delle istruzioni originali ...
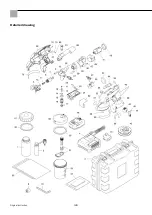
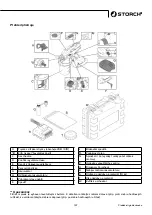
Page 140: ...140 Detailed drawing Original instruction ...
Page 170: ...170 Podrobný výkres Překlad originálu návodu ...
Page 182: ...182 ...
Page 183: ...183 ...

