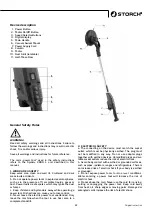
71
Original instruction
To replace the extraction hood proceed
as follows
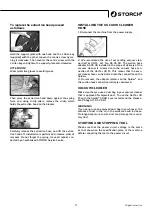
Hold the support plate with one hand and the L Allen key
(supplied) with the other; loosen the centre screw by tur-
ning it clockwise. Then counter the centre screw with the
L Allen key and tighten the support plate anti-clockwise.
ATTENTION!
Wear protective gloves to avoid injuries.
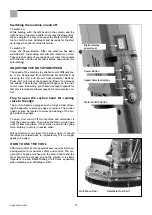
Then press the extraction hood down against the spring
force and, using circlip pliers, remove the circlip which
holds the extraction hood on the bracket.
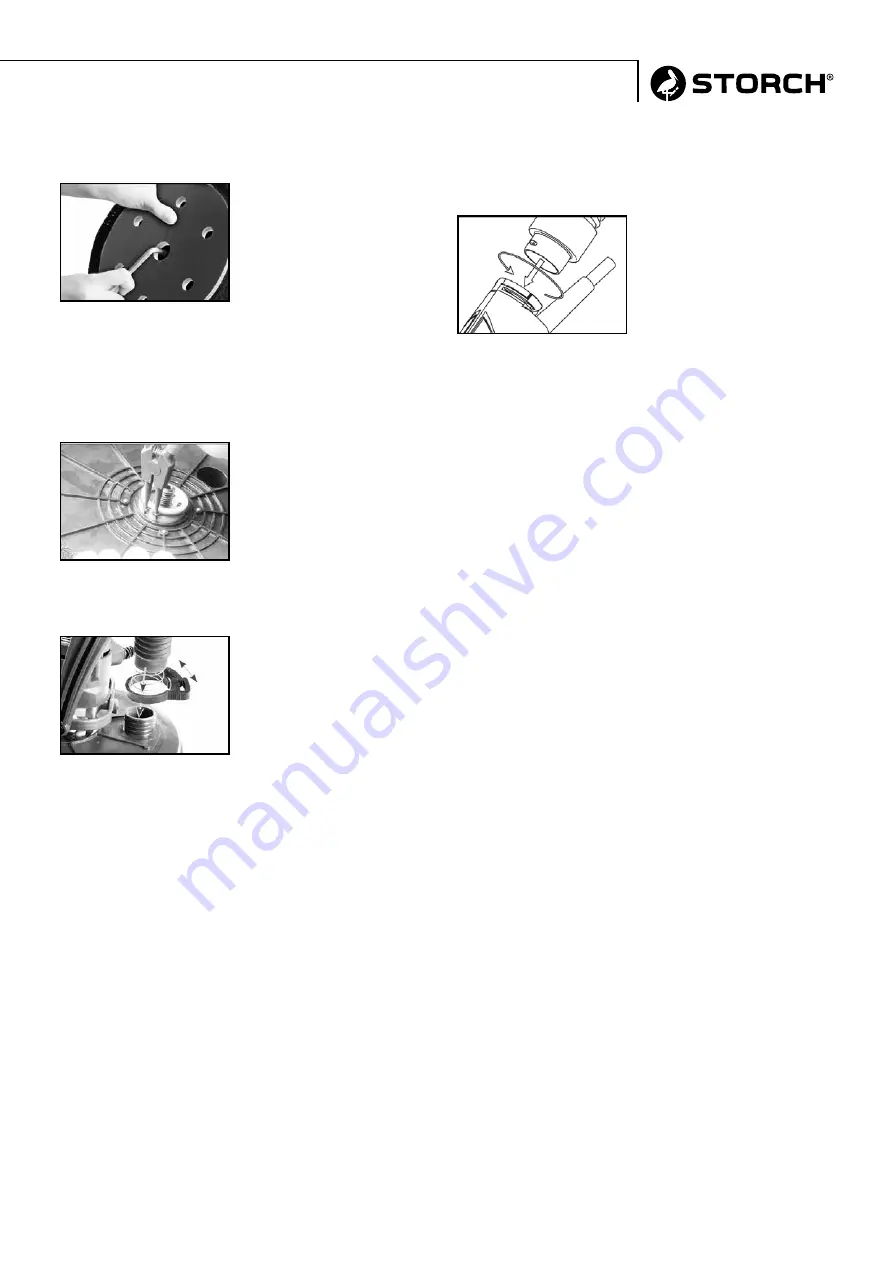
Carefully release the extraction hose, and lift the extrac-
tion hood off. Installation is performed in reverse order of
removal. Do not forget the spring. Have all repairs con-
ducted by an authorised STORCH Service Centre.
INSTALLING THE VACUUM CLEANER
HOSE
1. Disconnect the machine from the power supply.
2. We recommend the use of our sanding vacuum clea-
ner VacTec 30 M, Art. No. 65 25 50. The suction hose
adapter 65 25 36 included in the scope of delivery of the
vacuum cleaner is screwed onto the vacuum hose con-
nection of the VacTec 30 M. This means that the vacu-
um cleaner hose can be slotted onto the connection on the
Spider
®
.
3. On removal, the adapter remains on the Spider
®
, and
the suction hose connection is simply unscrewed.
VACUUM CLEANER
Make sure that you use a dust bag in your vacuum cleaner
that is approved for drywall dust. To use the VacTec 30
M with the Spider
®
2800 L we recommend the disposa-
ble PE bag Art. 65 25 81.
WARNING!
If you do not use an approved dust bag in your hoover, the
amount of dust in the air in the work area will increase.
Prolonged exposure to such dust can damage the respira-
tory tract.
STARTING AND STOPPING TOOL
Make sure that the power circuit voltage is the same
as that shown on the specification plate of the machine
before connecting the tool to the power circuit.
Summary of Contents for Spider 2800 L
Page 11: ...11 Übersetzung der Originalanleitung Detailzeichnung ...
Page 13: ...13 Übersetzung der Originalanleitung Set 1 Set 2 Set 3 Set 4 Set 5 Set 6 ...
Page 27: ...27 Vertaling van de originele handleiding Detailtekening ...
Page 29: ...29 Vertaling van de originele handleiding Set 1 Set 2 Set 3 Set 4 Set 5 Set 6 ...
Page 43: ...43 Traduction des instructions d origine Dessin détaillé ...
Page 45: ...45 Traduction des instructions d origine Kit 1 Kit 2 Kit 3 Kit 4 Kit 5 Kit 6 ...
Page 59: ...59 Traduzione delle istruzioni originali Disegno dettagli ...
Page 61: ...61 Traduzione delle istruzioni originali Set 1 Set 2 Set 3 Set 4 Set 5 Set 6 ...
Page 75: ...75 Original instruction Detailed drawing ...
Page 77: ...77 Original instruction Set 1 Set 2 Set 3 Set 4 Set 5 Set 6 ...
Page 79: ...79 Original instruction Wiring Set 8 Set 9 Set 10 Set 11 ...
Page 91: ...91 Překlad originálu návodu Podrobný výkres ...
Page 93: ...93 Překlad originálu návodu Sada 1 Sada 2 Sada 3 Sada 4 Sada 5 Sada 6 ...
Page 98: ...98 ...
Page 99: ...99 ...


