73
Original instruction
SANDING OPERATIONS
1. Once the machine and vacuum cleaner are set up and
all safety measures and equipment are in place, begin by
turning on the vacuum cleaner and then the machine. (If
you are using a vacuum cleaner with integrated switching,
then simply turn the machine on.)
2. Begin sanding and carefully contact the work surfa-
ce as lightly as possible-just enough to keep the sanding
head flat against the surface.
3. The joints in the sanding head allow the sanding disc to
follow the contours of the work surface.
4. The best technique is to use overlapping sweeps and
keep the head in constant motion. Never stop too long in
any one place or there will be swirl marks. With experien-
ce it will be very L to create excellent results.
CAUTION:
Always ensure that the work surface is fully dried befo-
re sanding. A wet or semi-wet surface will overload the
motor, leading to damage to the tool.
NOTE:
Ensure that the sandpaper you are using is suited to the
task. Overly coarse grit paper may remove material too
quickly to control. While overly fine grit paper may clog
too often and not shape down the surface.
CAUTION:
Take care to avoid pointed projections and nails, etc. This
will wipe out the sandpaper and probably damage the
hook-and-loop sanding pad as well.
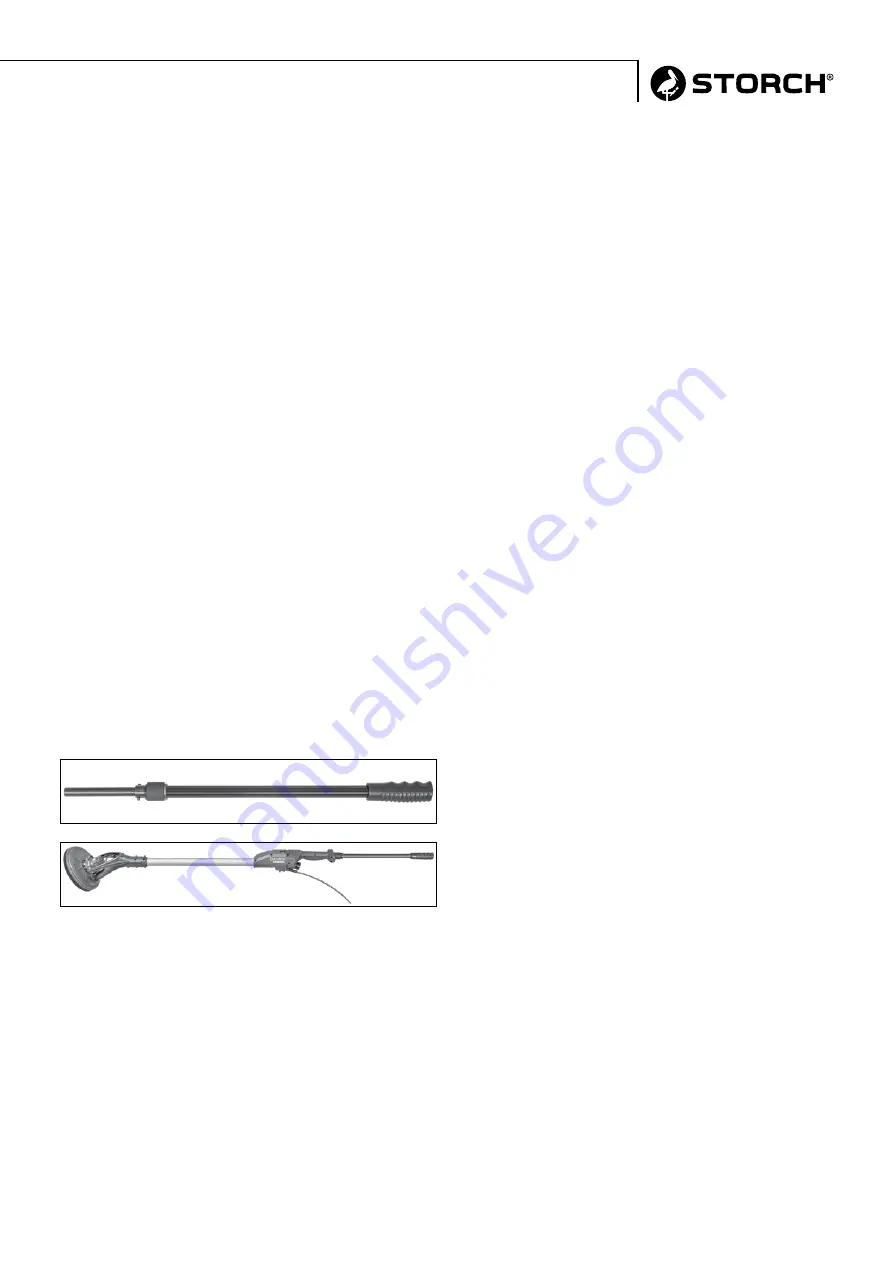
EXTENSION (available as option)
The extension module extends the reach of the Spider
®
2800 L by 500 mm. The extension is inserted at the bot-
tom of the handle and fixed firmly.
MAINTENANCE
As often as is necessary, blow compressed air through the
motor while running at no load to clean out accumulated
dust.
KEEP TOOL CLEAN
Periodically blow out all air passages with dry compressed
air. All plastic parts should be cleaned with a soft damp
cloth. NEVER use solvents to clean plastic parts. They
could possibly dissolve or otherwise damage the material.
Wear safety glasses while using compressed air.
Clean the bayonet connection for the suction hose on the
handle regularly, as too much dust will make it difficult to
turn.
If the replacement of the power supply cord is necessary,
this has to be done by the STORCH manufacturer or their
agent in order to avoid a safety hazard.
WARNING:
All repairs must be entrusted to an authorized service cen-
ter. Incorrectly performed repairs could lead to injury or
death.
Overload and overheating protection
This tool shows that the maximum recommended load
has been reached by reducing the rotational speed. If the
operator continues to place a heavy load on the machine,
the machine will shut down. If the tool overheats, it also
shuts down automatically.
For more information, please refer to the „Error Codes“
below.
CAUTION:
If the tool is overloaded or overheated, always let it idle
for a few minutes to allow it to cool down before resu-
ming work.
Summary of Contents for Spider 2800 L
Page 11: ...11 Übersetzung der Originalanleitung Detailzeichnung ...
Page 13: ...13 Übersetzung der Originalanleitung Set 1 Set 2 Set 3 Set 4 Set 5 Set 6 ...
Page 27: ...27 Vertaling van de originele handleiding Detailtekening ...
Page 29: ...29 Vertaling van de originele handleiding Set 1 Set 2 Set 3 Set 4 Set 5 Set 6 ...
Page 43: ...43 Traduction des instructions d origine Dessin détaillé ...
Page 45: ...45 Traduction des instructions d origine Kit 1 Kit 2 Kit 3 Kit 4 Kit 5 Kit 6 ...
Page 59: ...59 Traduzione delle istruzioni originali Disegno dettagli ...
Page 61: ...61 Traduzione delle istruzioni originali Set 1 Set 2 Set 3 Set 4 Set 5 Set 6 ...
Page 75: ...75 Original instruction Detailed drawing ...
Page 77: ...77 Original instruction Set 1 Set 2 Set 3 Set 4 Set 5 Set 6 ...
Page 79: ...79 Original instruction Wiring Set 8 Set 9 Set 10 Set 11 ...
Page 91: ...91 Překlad originálu návodu Podrobný výkres ...
Page 93: ...93 Překlad originálu návodu Sada 1 Sada 2 Sada 3 Sada 4 Sada 5 Sada 6 ...
Page 98: ...98 ...
Page 99: ...99 ...


