Wheel mounting
Mounting the wheel is done in the reverse order of dismounting. Check
before mounting the wheel whether the brake pads rest snugly in their
seats in the brake calliper body. The gaps between the brake pads and
the wheel should be parallel and the wear indicators in their correct
position. Make sure you guide the rotor carefully between the brake
pads and the chain is on the smallest sprocket. Make sure the wheel is
correctly seated in the drop-outs and accurately centred between the
seat and chain stays.
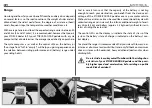
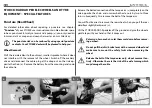
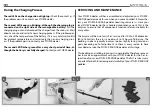
Realign the torque arm with its mounting on the frame and tighten the
holding screws a little. Tighten the axle nuts to the prescribed torque
setting of 40 Nm and subsequently the bolted connection of the torque
arm to 8 Nm
(e)
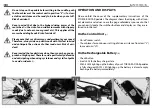
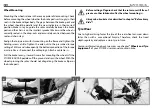
. Reconnect the cable plugs. Attach a cable tie
(f)
.
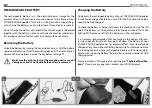
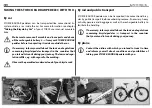
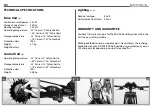
Pull the brake lever
(g)
several times after mounting the wheel. Lift the
STORCK-RADDAR pedelec off the ground and spin the wheel. With the
wheel spinning the rotor should not drag along the brake calliper or
the brake pads.
g
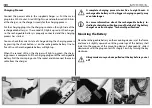
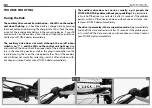
Before setting off again check that the rotors are still free of
grease or other lubricants after the wheel mounting
(h)
.
g
Always do a brake test as described in chapter “Before Every
Ride“!
Tyre Wear
Due to higher driving forces the tyre of the rear wheel can wear down
faster than with a conventional bicycle. Therefore, check the tread
depth regularly and replace a worn tyre in time.
For more information about tyre wear see chapter
”Wheels and Tyre
Equipment“
of your STORCK user manual mountain bike.
23
e
f
g
h


