Page 37 /59
snengde_installation-product-SN-range v1.2 - Copyright Netasq 2015
PRESENTATION AND INSTALLATION GUIDE – SN RANGE
INITIAL CONNECTION TO THE PRODUCT
Configuration
When you first receive your Firewall, it will run in transparent (bridge) mode and will have the IP address
10.0.0.254 with a subnetwork mask 255.0.0.0. These parameters might not match your network
configuration, but they are however necessary for the pre-configuration phase.
To connect to the Firewall, you will need to use a workstation on which DHCP has been enabled, or its IP
address has to be in the same address range as your Firewall (10.0.0.0/8). DHCP is enabled by default on
Windows platforms. If this is not the case, refer to the section Network configuration of your client
workstation.
If you do not know what these parameters mean, we strongly advise you to read up on TCP/IP as it would be
very difficult for you to configure your Stormshield Network Firewall without at least this knowledge.
NOTE
For a manual configuration, we suggest that you use the IP address 10.0.0.1 and the subnet
mask 255.0.0.0.
Network configuration of your client workstation
If DHCP has not been enabled on your client workstation, or for manual configurations, modify the Network
connection parameters of your operating system.
In Windows, you generally need to select “Internet Protocol (TCP/IP)” from the list, then “Properties”, and
select the option Obtain an IP address automatically.
To manually configure this network, enter the necessary address information. During the initial connection,
the IP address of this workstation will need to belong to the same address range as the Firewall, 10.0.0.0/8 by
default.
Starting
WARNING
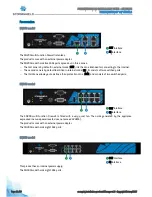
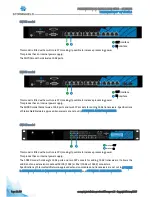
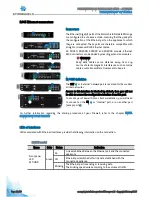
You must not unplug the product when it is starting, shutting down or being upgraded. Except for
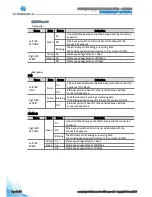
SN910 and SN6000 appliances, these phases are indicated when the following LEDs are lit:
-
Power
3
and
Status
2
LEDs for SN150 to SN900 models,
-
Power
3
LED for SN2000 and SN3000 models.
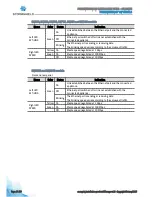
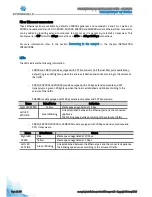
Except for SN910 and SN6000, upon startup, the LEDs light up in the following order:
Power
3
+ Status
2
Online
1
The
Power
and
Status
LEDs will light up first, then
Online
. After a few minutes, the
Online
LED will light up,
followed by a beep* once your product is up and running.
*For all models except the SN150.

