14
5.9 SIGNAL STRENGTH INDICATOR
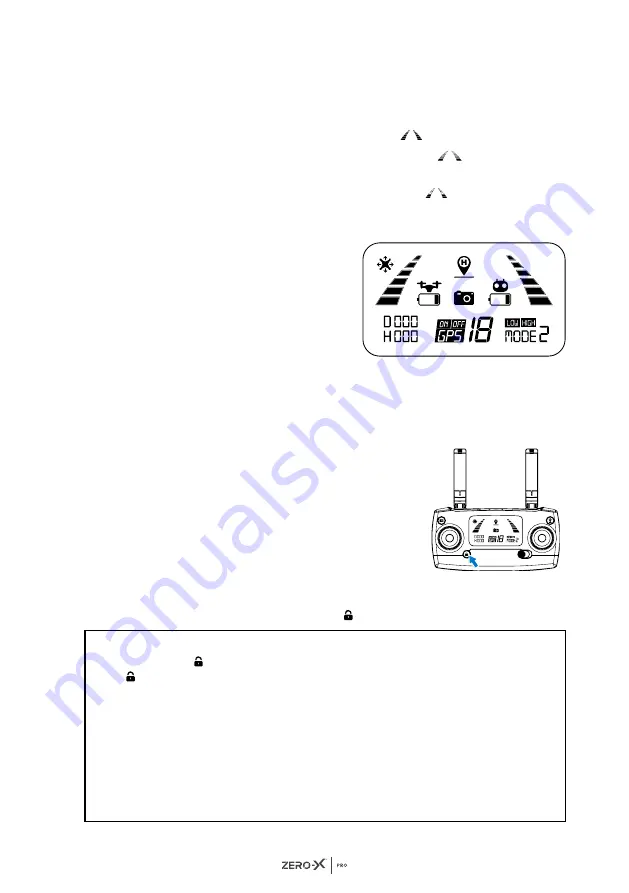
On the remote LCD screen you will see identical bars on the left and
right, these indicate the strength of the connection between your remote
control and the Drone. The stronger the signal is, the more bars will show.
• If the signal is strong the bars will appear
.
• If the signal is connecting, the bars will appear,
leveling up in a
constant rotation pattern.
• If the signal is weak, 2 or less bars will appear
.
There are two reasons as to why the connection may be weak, and will
show 2 bars or less:
1.
There is too much distance
between the Drone and the
remote control, causing the
signal to weaken.
2.
The battery in the Drone is
removed after connecting to the
remote control - terminating the
connection.
5.10 LOCK / UNLOCK THE DRONE
In case of an emergency or after your Drone has landed, you can instantly
suspend the Drone's flying capabilities and lock the motor.
There are two ways to lock the motors:
1.
After you have successfully landed the
Drone, pull the throttle down to the bottom
and hold for 3 seconds.This will stop the
motors and lock the Drone. (Refer to
section
2.
If there is no activity for longer than
15
seconds
the Drone will automatically lock.
To unlock the Drone, short press the
button
, this will activate the motors.
NOTE:
• You can use the
button
in case of an emergency to lock the Drone's motors. Hold
the
button
for 3 seconds to activate the lock. Please do not use this in normal flight,
only in emergency situations.
• Please ensure there is a safe distance between you and the Drone before locking the
motors.
• The emergency stop operation will only activate when the Drone is within 15 metres
(distance and altitude) from the take off location (home point), and only when the GPS
function is active with a strong Drone signal strength (more than 7 satellites).
CAUTION:
Please be careful as locking the Drone motors during flight will cause the
Drone to drop immediately which may result in injury and damage to your Drone.
Summary of Contents for Zero-X Pro ZXMP-D500
Page 1: ...USER MANUAL stratus ZXMP D500...
Page 2: ......
Page 3: ...1...
Page 39: ...37 25 0 NOTES...
Page 40: ...38...
Page 41: ...39...


