Replace the HDD Cage
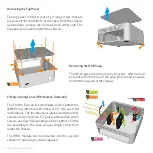
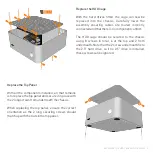
With the hard drives fitted, the cage can now be
replaced into the chassis. Carefully lower the
assembly ensuring cables are routed correctly,
connected and that there is no component conflict.
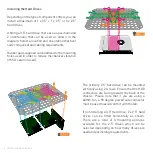
The HDD cage should be secured to the chassis
using 8 screws in total, 6 at the top and 2 from
underneath. Note that the 2 screw underneath fix to
the 2.5" hard drive, so if no 2.5" drive is installed,
these screws can be ignored.
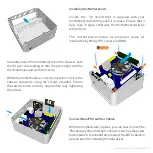
Replace the Top Panel
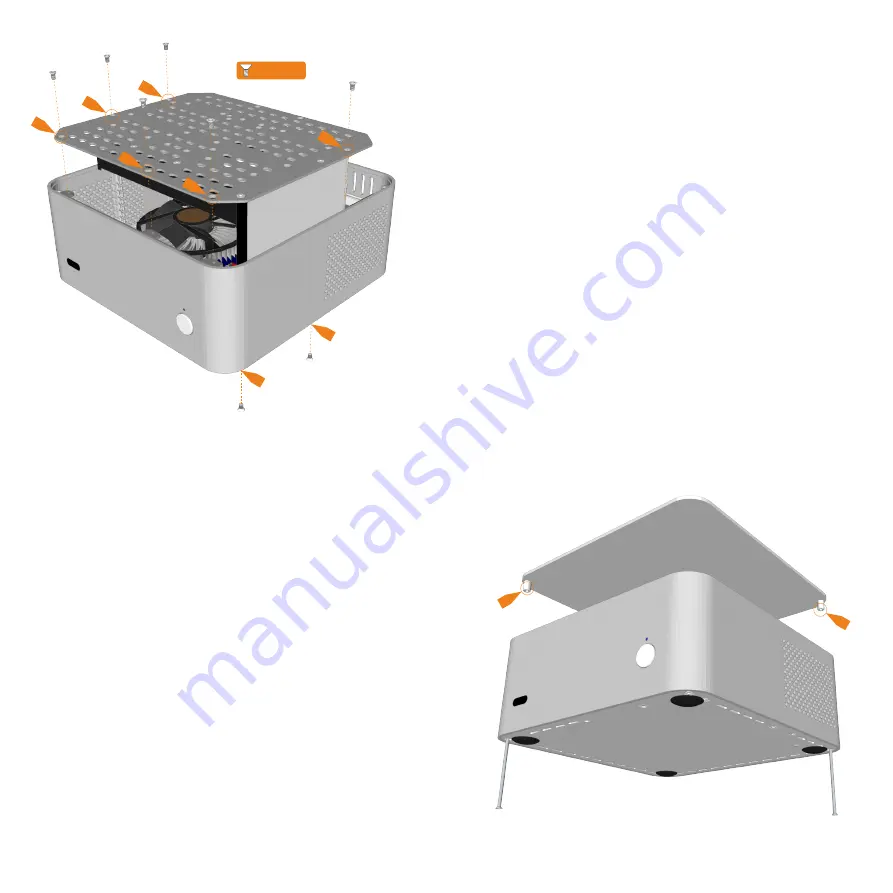
With all the components installed, all that remains
is to replace the top panel and secure it in place with
the 2 long screws from underneath the chassis.
When replacing the top panel, ensure the correct
orientation as the 2 long securing screws should
match up with the nuts in the top panel.
REPLACING THE HDD CAGE AND TOP PANEL - P7
M3 x 5
Summary of Contents for FICWS EVO
Page 1: ......
Page 8: ...www streacom com V1 13 06 ...


