Lisa LCD
17
The first update check is performed on the software. If a newer version is available from the update server,
the Lisa will update to this version. You do not need to do anything in the meanwhile, but wait for the
update to finish. The Lisa will then restart and update the list of presets.
3.4
Static IP during the configuration wizard
The following steps describe how static IP settings can be configured during the configuration wizard.
The
is started when the Lisa is powered on for the first time or after a reset (see
).
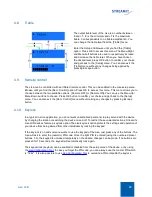
S t a t i c I P
Network settings
If DHCP is not available or you have reason not to use DHCP, then
choose for Static IP.
You have to ensure that the IP address you will assign to the Lisa,
is reserved for the Lisa. It must not be in use by any other device in
your network. It must be unique for the Lisa and remain unique for
the Lisa.
Once you decided to start this step of the wizard you will have to go
complete it, until the end. It is not possible to use the Escape or the
directional menu buttons. Press OK button to the [Static IP] option.
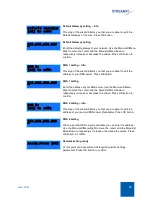
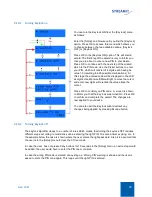
I P - a d d r e s s:
[ O K ] t o e d i t
IP-address setting – Info
This step of the wizard informs you that you are about to edit the IP-
address of the Lisa. Press OK.
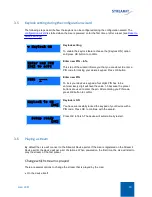
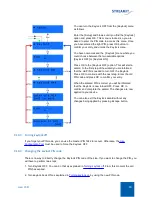
2 5 5 .2 5 5 . 2 5 5. 2 5 5
IP-address setting
Enter the IP address you would like to assign the Lisa. Use the
Menu-Left/Menu-Right to move the cursor and the Menu-Up/Menu-
Down to respectively increase or decrease the values. Press OK
button to confirm.
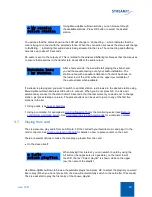
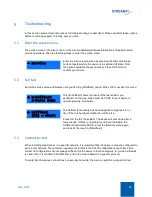
N e t w o r k M a s k:
[ O K ] t o e d i t
Network Mask setting – Info
This step of the wizard informs you that you are about to edit the
netmask of the Lisa. Press OK button.
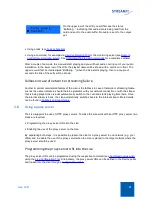
2 5 5 .2 5 5 . 2 5 5. 2 5 5
Network Mask setting
Enter the netmask you would like to assign to the Lisa. The default
(255.255.255.0) is recommended. Use the Menu-Left/Menu-Right to
move the cursor and the Menu-Up/Menu-Down to respectively
increase or decrease the values. Press OK button to confirm.


