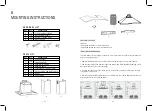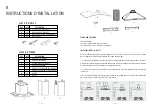
A
QTY
DESCRIPTION
B
x2
ST 2.9X10 SMALL SCREWS
C
x6
M4X40 LONG SCREWS
D
x6
DRYWALL ANCHOR (8mm)
KEY
x4
M4X8 SCREWS
PARTS NOT SUPPLIED
•Duct tape
•Preinstalled ventilation system and ductwork
•Preinstalled outside duct cap or weatherproofing
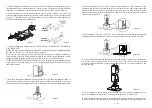
INSTALLING THE RANGE HOOD
This installation is for mounting the product to a wall. Ensure your wall has the proper support to
hold the range hood weight.
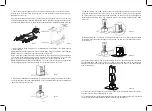
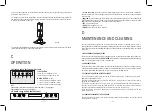
1. Begin installation by removing the filters and removing any tape on the air flow flappers.
2. Remove the protective film from the range hood and ducting. When handling the ducting, please
wear protective gloves to avoid sharp edges.
3. If your model has an electronic touch sensor control panel, remove the protective plastic film
covering the control panel.
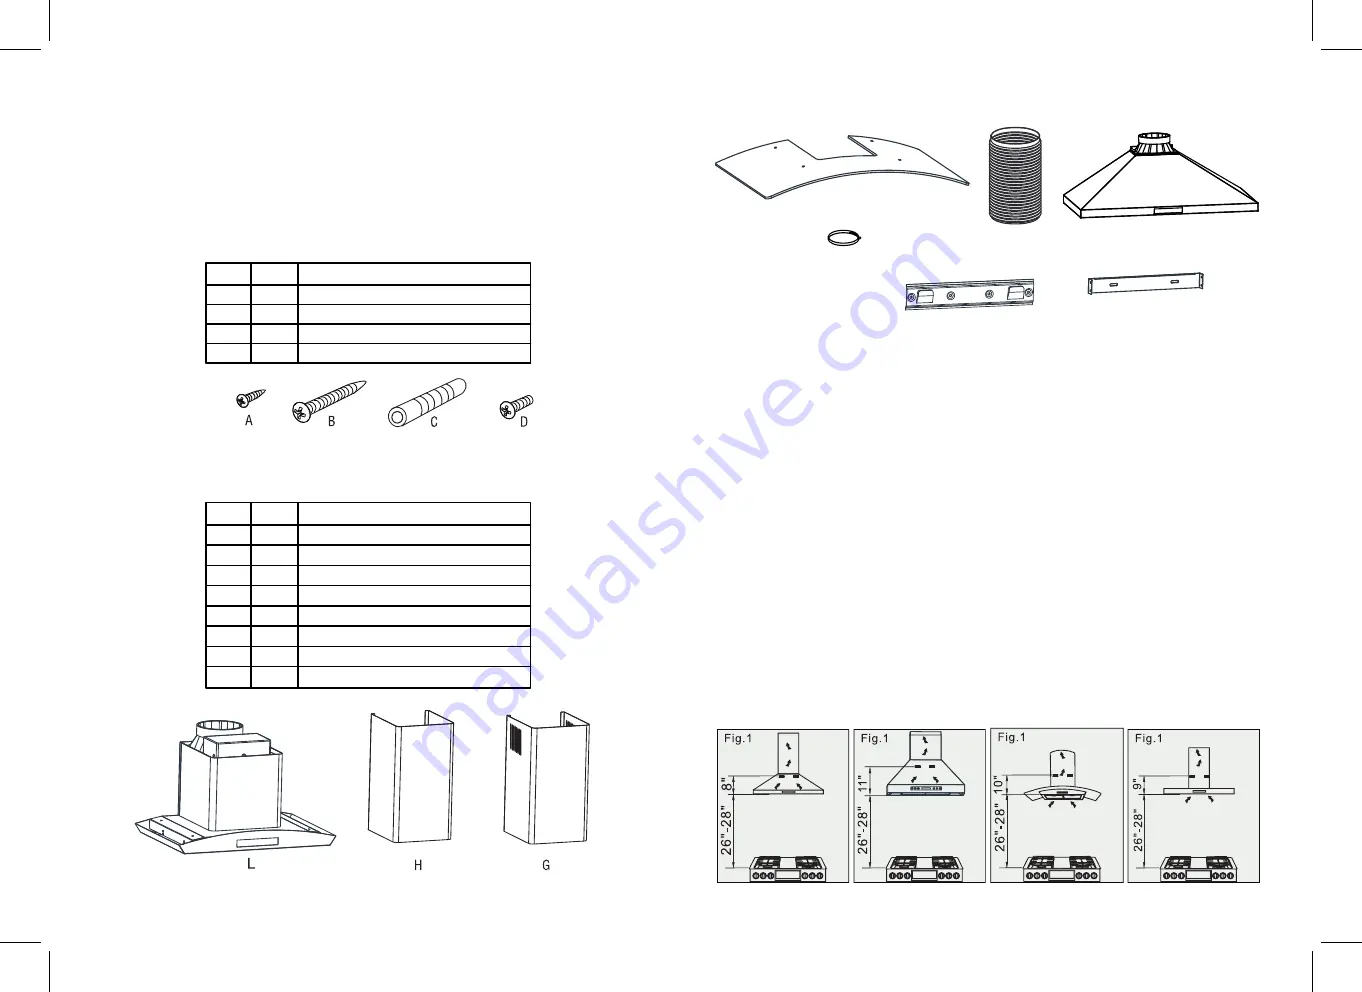
4. Rest the lower bracket(F) against the wall at a height from the cooktop determined by the sum
of the distance X+26"-28" (pictured below)
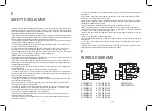
HARDWARE LIST
E
QTY
DESCRIPTION
F
x2
UPPER BRACKET
G
x6
LOWER BRACKET
H
x6
CHIMNEY EXTENSION
KEY
x4
CHIMNEY COVER
PARTS LIST
I
J
x2
FLEXIBLE DUCT EXHAUST HOSE
K
x6
HOSE CLAMP (S-260-WSMF-30 Only)
L
x6
GLASS
x4
RANGE HOOD
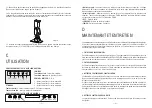
MOUNTING INSTRUCTIONS
B
E
F
I
J
L
K
— 3 —
— 4 —

