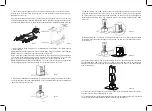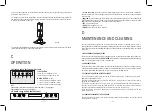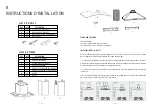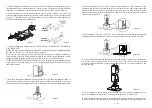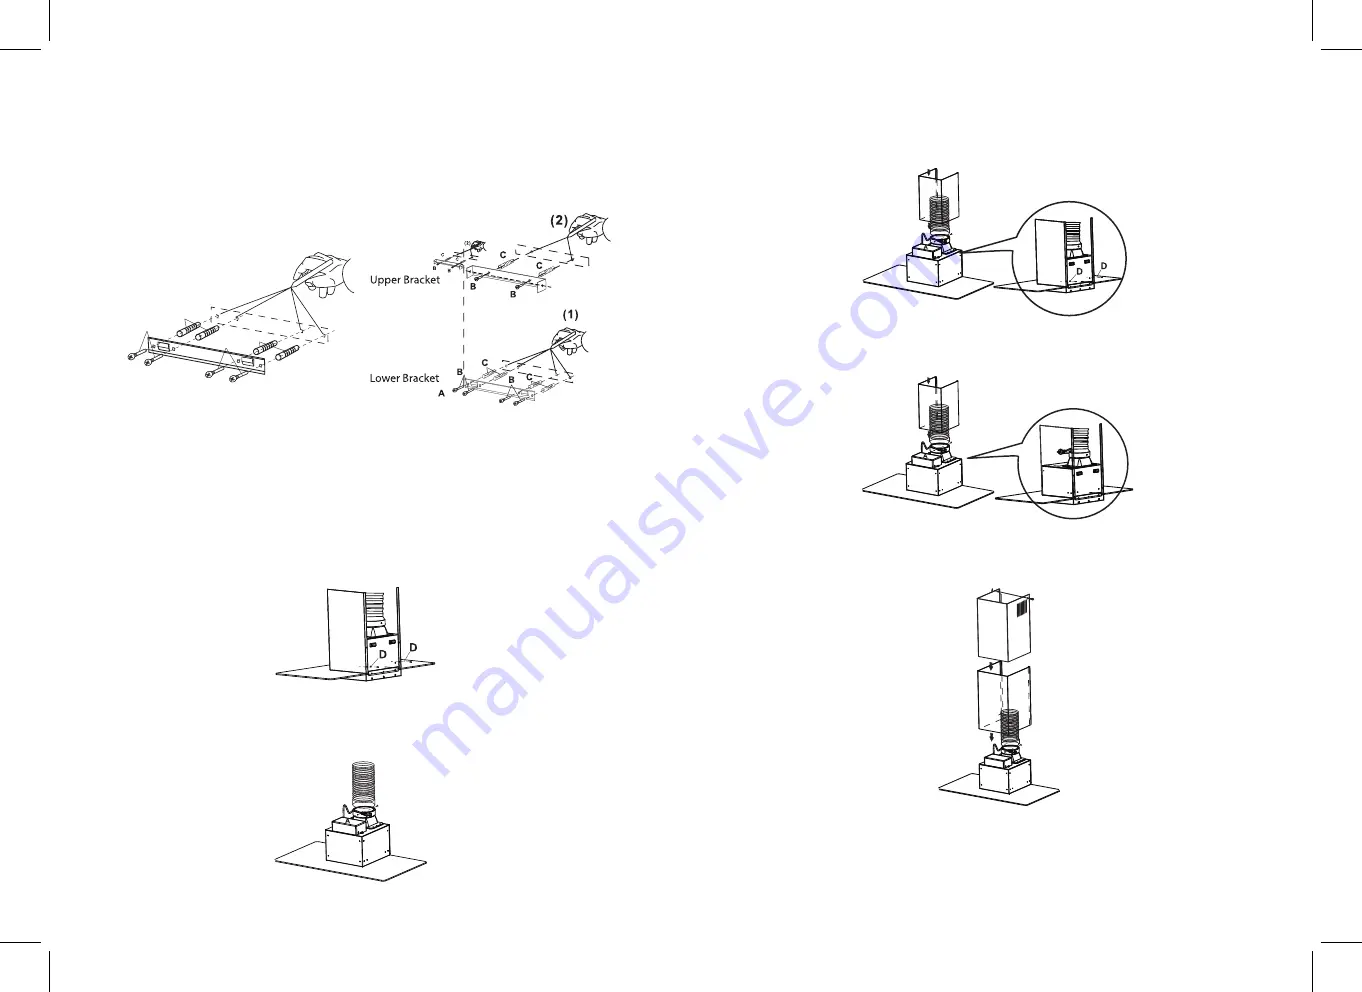
5. Check the horizontal alignment with a spirit level and mark the four holes to be drilled (1).
Drill the holes, insert four 8mm drywall anchors (C), and fasten the lower bracket using four
M4X40 long screws (B).
6.Having found the optimum position, rest the upper bracket (E) against the wall, and check the
horizontal alignment using a spirit level. Mark the two holes to be drilled at the ends. Drill the holes (2),
insert two 8mm drywall anchors (C), and fasten the upper bracket (F) using two M4x40 long screws (B).
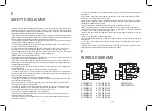
7. Step 7 applies to the following models: S-100-WSMF-30, S-101-WSMF-36, S-120-WSMF-30,
S-121-WSMF-36.
WARNING: Before following this step, ensure that the glass canopy is completely free of damage.
DO NOT install if it is damaged, even if the damage is very minor.
With a screw driver, remove the four screws installed on top of the main body of the range hood
and set them aside. Carefully place the glass canopy on top of the main body. Then, secure the
glass canopy to the main body using the same four screws that were removed earlier.
WARNING: DO NOT OVERTIGHTEN THE SCREWS. The screws should be snug, and no tighter than
that. Overtightening the screws may damage or even shatter the glass over time.
(1)
A
C
C
B
B
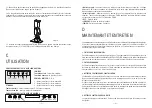
8. Install the round flexible duct exhaust hose (I) to the round vent air flap, and secure with two small
screws (A) and tape or hose clamp and tape. Note: If you are choosing the ductless/recirculating model
do not install the duct exhaust hose.
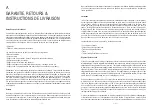
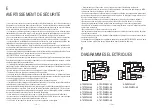
9. For Model S160, S-161, S260: Take the chimney cover (H) and find the holes on each lip. These
are located at the bottom of the chimney cover, so ensure that the chimney cover is the right side
up. Fit the chimney over onto the range hood main body. The holes on each lip should align with
the holes found on the main body. Then, secure the chimney cover to the main body with two M4X8
screws (D).
For Model S-100, S-101, S-120, S121, S-140: Insert the chimney cover (H) into the groove between
the stainless-steel canopy and the range hood main body. The chimney cover does not need to be
secured in place.
10. Place the chimney extension (H) inside the chimney cover (H). The end with the vent slits should
be on top.For Model S-100, S-101, S-120, S121, S-140: Insert the chimney cover (H) into the groove
between the stainless-steel canopy and the range hood main body. The chimney cover does not need
to be secured in place.
D
D
A
11. Slip inner duct up (J) through the support frames and over the ceiling mount bracket. Be sure the
duct slides over the (4) mounting holes on each side.
12. The duct should cover the (4) mounting holes on the sides of the ceiling bracket. Screw in (4) M4X8
screws (C) through the predrilled holes in duct work into the (4) mounting holes.
Step 5
Step 6
Step 9.1
Step 9.2
Step 10
Step 7
Step 8
—5 —
— 6 —

