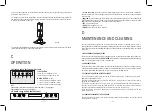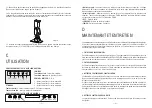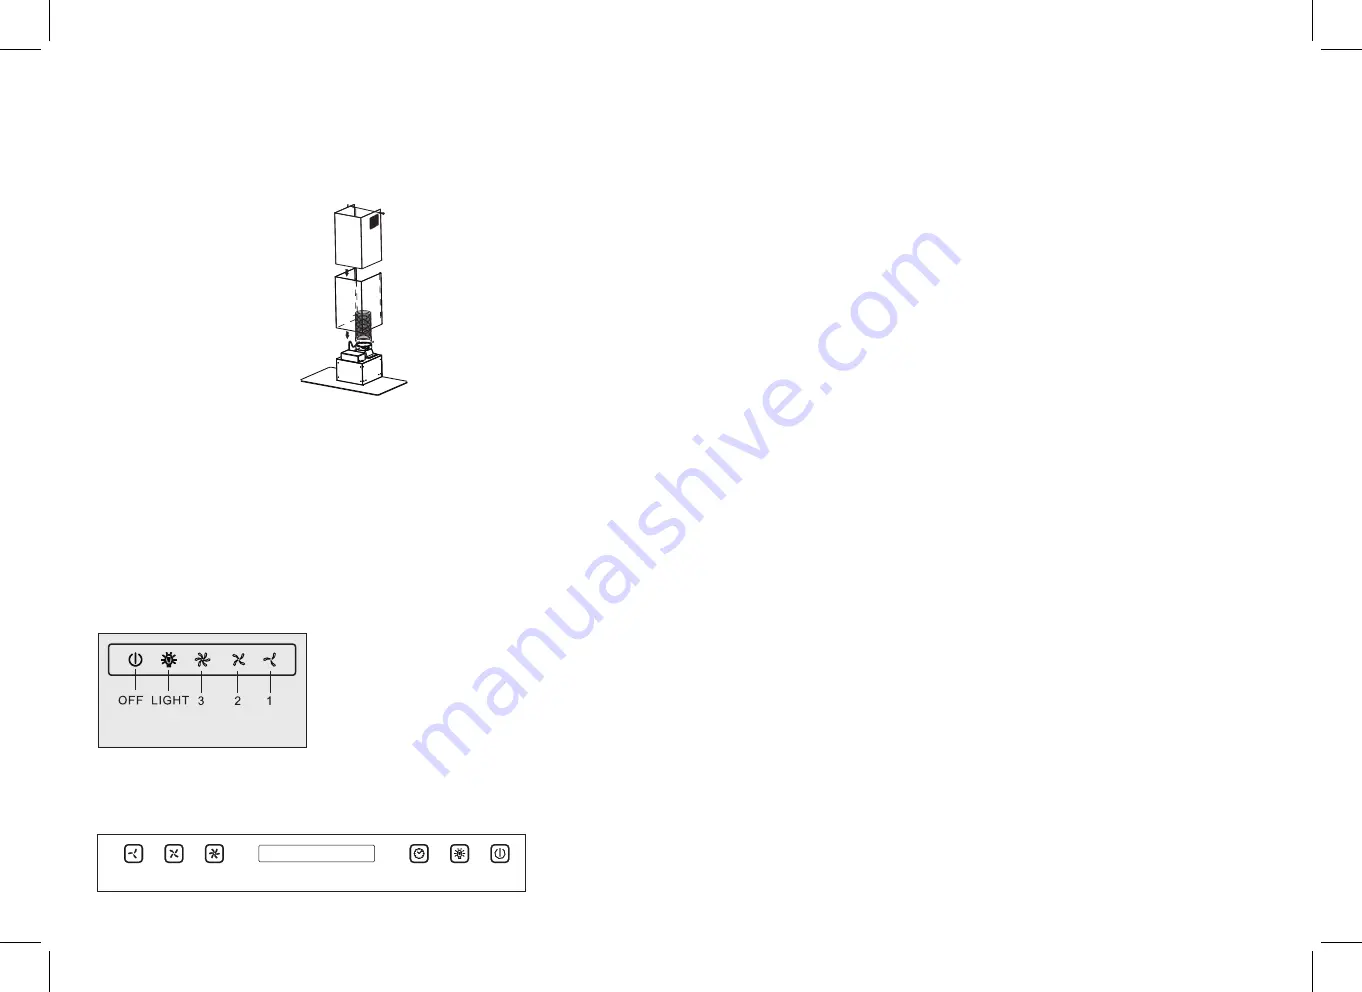
FIVE FINGER TOUCH BUTTON CONTROL PANEL
1. METAL GREASE-TRAPPING FILTERS
Constant maintenance ensures the correct operation and efficiency of the appliance over time.
Special attention should be paid to the grease-trapping filters and the charcoal filters. Frequent cleaning
of the filters will ensure that fats and grease do not accumulate on the cooker hood, with the consequent
risk of fire.
These trap the fat and grease particles suspended in the air, and therefore should be washed every
month in hot water and detergent.
DO NOT BEND
. Wait until they are completely dry before repositioning
them. The metal filters can be cleaned in a dishwasher.
2. CHARCOAL FILTERS
These trap odors present in the stream of air that passes through them. The air is purified by passing
a number of times through the filters and then recirculated into the kitchen. The charcoal filters cannot
be cleaned, and should be replaced on average 3-4 months (according to use).
3. CLEANING THE OUTSIDE OF THE APPLIANCE
The outside of the cooker hood should be cleaned using a damp cloth and neutral liquid
detergent or denatured alcohol.
Do not use products that contain abrasive substances, rough cloths or cloths not specifically
designed for cleaning steel.
Using abrasive substances or rough cloths will inevitably damage the finish of the steel.
The steel surface will be irrevocably damaged if the instructions above are not complied with.
Keep these instructions together with the instructions for use of your hood.
The manufacturer accepts no liability for any damage caused by no-compliance with the
instructions above.
LIGHT BUTTON
Touch once: the light turns on
Touched again: the light turns off.
• Turn on the power
: The buzzer will buzz, indicating the lights are on. Time will show 12:00. If no
options are selected, then the range hood will turn off automatically. In order to continue operation,
select a button.
• Adjust time:
Turn the power on. The buzzer will buzz, indicating the lights are on. Touch and hold the
TIMER button for 3 seconds. The time will start flickering and you will be able to set the correct time.
Adjust the time by touching the 2 & 3 button and the timer button.
• OFF:
Shuts off the power
• LIGHT:
Turn the lights on or off
• TIMER:
Turn off power within 2 minutes
OFF
Touch once:
stops the motor after 2-3 minutes and shows a flickering light
Touch twice:
stops the motor immediately.
MOTOR BUTTON: 1, 2, 3
1: start the motor at minimum speed
2: start the motor at medium speed
3: start the motor at maximum speed
SIX FINGER TOUCH BUTTON CONTROL PANEL
OPERATION
C
MAINTENANCE AND CLEANING
D
1
2
3
TIMER LIGHT OFF
4. CLEANING THE INSIDE OF THE APPLIANCE
The electrical parts or parts of the motor assembly inside the range hood must not be cleaned
using liquids or solvents.
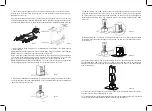
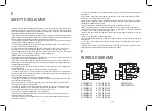
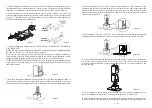
13. Connect the upper end of the flexible duct exhaust hose (I) to your vent opening. (For ductless
installation, skip to Step 14)
14. Being very careful of the sharp edges, raise the chimney extension (G) towards upper bracket (E)
and extend it fully so that the upper bracket is completely covered. Secure the chimney extension
in place with two M4x8 screws (D).
15. Install the round flexible duct exhaust hose to the round vent air flap, and secure with (2) ST2.9X10
small screws(B) and tape or a hose clamp and tape.
D
D
A
Step 14
— 7 —
— 8 —

