107
18.2 Adjustment procedures
Procedure 1: adjust at High Fire
Carry out the next steps:
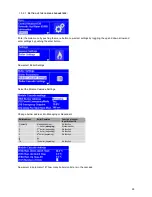
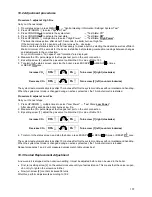
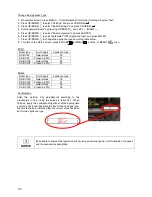
1. From status screen, press MENU . → "Central Heating/ Information/ Settings/ System Test"
2. Press UP/DOWN ↑↓ to select "System Test"
3. Press CONFIRM to activate the system test.
→ "Test State: Off"
4. Press CONFIRM to activate the test state.
→ "Test State:
Off
"
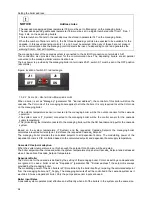
5. Press UP/DOWN ↑↓ multiple times to select "High Power" → "Test State:
High Power
".
The boiler becomes active, after about 10 seconds, the boiler burns at high fire.
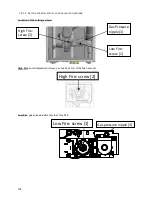
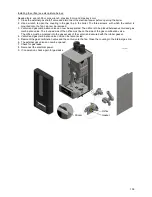
If the boiler doesn’t start, open screw [2] two turns extra - clockwise
Note: once the test state is active, it is not necessary to press a button, selecting the desired power is sufficient.
Wait a minimum of 10 seconds for the boiler to stabilize before taking combustion readings between changes
and adjustments to the combustion.
For your information, "Fan speed" and "Ionization" are displayed.
6. Measure the CO
2
percentage at the flue gas test port on the vent connection.
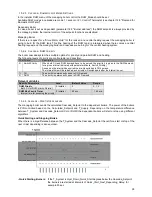
7. By setting screw [2], adjust the gas valve to obtain the CO
2
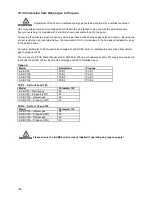
value of table 18.1.
8. To return to the status screen, and stop the boiler, press ESCAPE or MENU 3 times,
or RESET once.
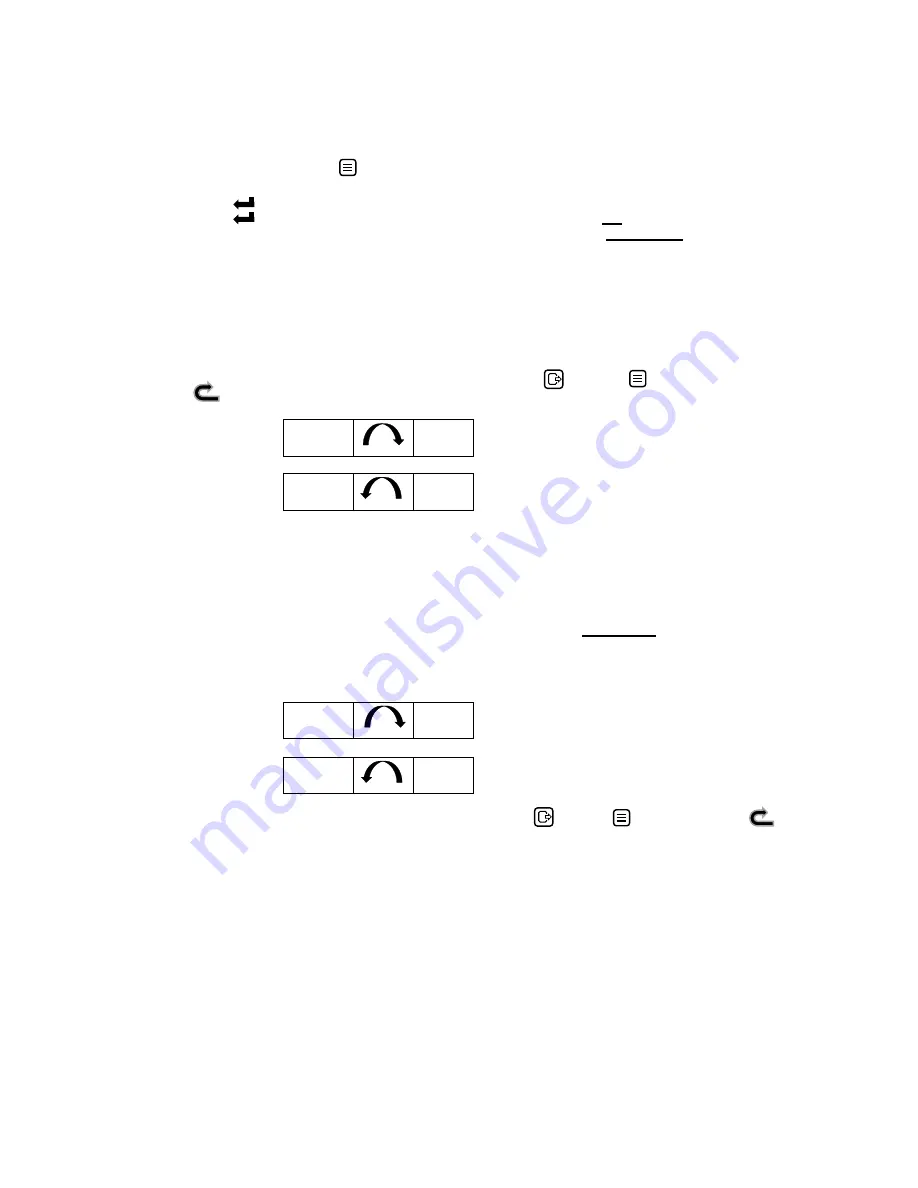
Increase CO
2
CO
2
↑
[2]
O
2
↓
Turn screw [2] right (clockwise)
Decrease CO
2
CO
2
↓
[2]
O
2
↑
Turn screw [2] left (counter clockwise)
The system test automatically stops after 10 minutes, after this the system continues with normal demand handling.
When the system test mode is changed during an active system test, the 10-minute timer is restarted.
Procedure 2: adjust at Low Fire
Carry out the next steps:
1. Press UP/DOWN ↑↓ multiple times to select "Low Power" → "Test State:
Low Power
".
After about 10 seconds, the boiler burns at low fire.
2. Measure the CO
2
percentage at the flue gas test port on the vent connection.
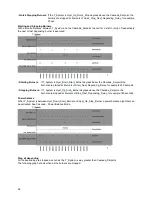
3. By setting screw [1], adjust the gas valve to obtain the CO
2
value of table 18.1.
Increase CO
2
CO
2
↑
[1]
O
2
↓
Turn screw [1] right (clockwise)
Decrease CO
2
CO
2
↓
[1]
O
2
↑
Turn screw [1] left (counter clockwise)
4. To return to the status screen, and stop the boiler, press ESCAPE or MENU 3 times, or RESET once.
The system test automatically stops after 10 minutes, after this the system continues with normal demand handling.
When the system test mode is changed during an active system test, the 10-minute timer is reloaded.
Repeat procedures 1 and 2 until measured values match table values best
18.3 Venturi Replacement Adjustment
A new venturi is shipped with an unknown setting. It must be adjusted before it can be used in the boiler.
•
First, turn setting screw [2] on the venturi clockwise until you feel resistance. This means that the valve is open,
do not try to tighten the screw any further
.
•
Now turn screw [2] counter clockwise 38 turns.
After this, perform adjustments according to 18.2.
Summary of Contents for S-CBX 105
Page 2: ......
Page 40: ...40 9 10 Flue Terminal Positioning ...
Page 42: ...42 9 11 1 FIGURE 12 LINE G ...
Page 55: ...55 11 5 Ladder Logic Diagram ...
Page 56: ...56 11 6 Electrical schematics ...
Page 57: ...57 ...
Page 137: ......

