83
December
2017
880017
‐
4
18.3 ESR LIS CONVERTER TROUBLESHOOTING STEPS
The following steps should be performed to ensure ESR LIS Converter connectivity based on the
connection type.
Connection Type: Serial
In order to test the Serial connection on the ESR LIS Converter a workstation (computer/laptop) with a
9-pin serial connection and Putty installed, is required. Perform the following steps:
1.
Make sure the ESR LIS Converter is not connected to the ESR-Auto Plus.
2.
Power on the ESR LIS Converter. After waiting for the converter to fully boot (at least 60
seconds) connect and power on the ESR-Auto Plus.
3.
Connect the ESR LIS Converter to the workstation using a 9-Pin serial cable.
4.
Open Putty and configure the Serial connection with the proper parameters.
5.
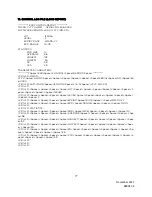
Initiate a print out of data from the ESR-Auto Plus. The data printed on the ticket should also
display in the Putty window similar to Figure 18.2.
6.
If no data is displayed in the Putty window power cycle the ESR-Auto Plus and attempt the test
again. If this step fails, proceed to the ESR-Auto Plus Troubleshooting Steps.
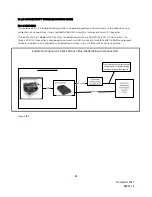
Figure 18.2
Connection Type: Ethernet
In order to test the Ethernet connection on the ESR LIS Converter a network-connected workstation
(computer/laptop) with Putty installed, is required. Perform the following steps:
1.
Confirm the IP address of the ESR LIS Converter. This may require input from your
Network Administrator.
2.
Make sure the ESR LIS Converter is not connected to the ESR-Auto Plus.
3.
Power on the ESR LIS Converter. After waiting for the converter to fully boot (at least 60
seconds) connect and power on the ESR-Auto Plus.
4.
Connect the ESR LIS Converter to the network using an Ethernet cable.
5.
Open a command prompt window on the workstation and attempt to ping the IP address
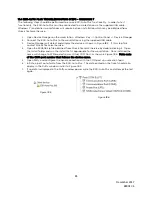
of the ESR LIS Converter. You should receive a response similar to Figure 18.3. If this step
fails, contact Streck Technical Service.
6.
Open Putty and configure the Telnet connection as shown in Figure 18.4. Click the Open
button.


