Starter Ladder
LA-2022152
StrombergCarlson.com • 231.947.8600
Tools Needed
#2 Phillips screwdriver
7/16” wrench
Carton Contents
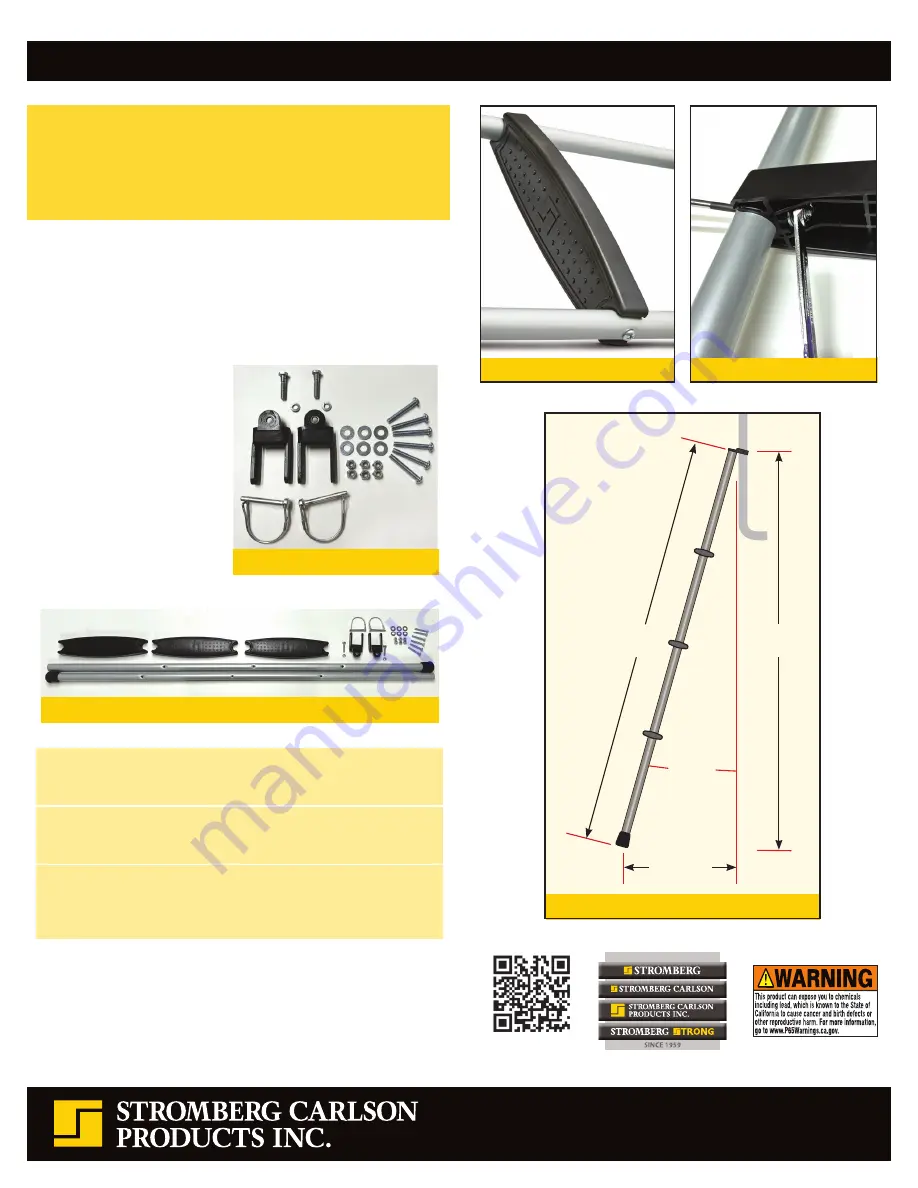
(Figures 2 & 3)
(2) pc 1” diameter x 51.5”
tubing with rubber
foot already installed
(3) pc ladder treads
(2) pc attaching brackets
(2) pc locking cage pins
(3) sets fasteners for treads
(6) pc 1/4” x 1-3/4” bolts
(6) pc 1/4” flat washers
(6) pc 1/4” nylon lock nuts
(2) sets of 1/4“ hex head bolts
(2) pc 1/4” locking washers
Scan here for
video showing
tread assembly
FIGURE 4
FIGURE 5
1. Using the 1/4” x 1-3/4” long bolts, 1/4” flat washers and 1/4”
lock nuts, attach the treads to the upright tubes.
(Figures 4 and 5)
• There is a slight divot in the side face of each tread. Use
this divot to face all treads in the same direction when
attaching to the tubes.
• The upright tubes have a slight bend to them. You should
tighten the treads to the uprights until they are square, but
do not over tighten as you could collapse the tube wall,
weakening the ladder.
2. Using the 1/4 bolt and lock washer, attach the locking top to
the ladder. Pressure is necessary to be sure the locking top
can not rotate. Serious injury can occur if tops rotate.
FIGURE 2
FIGURE 3
Please read all directions prior to installation.
When assembled and used properly, this ladder will provide
many years of trouble-free service. This kit contains components
and hardware for one complete starter ladder. Complete the
following easy steps and it will be ready for use.
51.5”
50.5”
9.8”
FIGURE 6
10
º
-13
º
Diagram
shows 11
º


