TROUBLESHOOTING
(continued)
Contactor does not energize (no audible click)
1. Line safety switch open. Turn ON.
2. Console Rectifier circuit breaker off. Turn ON.
3. Circuit breaker or fuse in AC line open. Check AC source.
4. Lamphouse interlock switch open. See lamphouse manual.
5. Faulty contactor coil or loose connection at coil terminals. Repair or replace.
Contactor pulls but lamphouse igniter does not fire
1. Faulty contactor contacts. With coil energized, check for continuity across the contacts from the
L side to the T side; repair or replace if defective.
2. Insufficient DC output. See INSTALLATION section; increase tap setting as required.
3. Faulty igniter. See lamphouse manual.
4. Low open circuit voltage (less than 110 V.DC).
a) Check ceramic resistor R1; should be in circuit and measure 100 Ohms.
b) Check boost diodes CR7 and CR8. See preceding DIODE TESTING section.
c) Check filter capacitors C1 and C2. Replace if defective.
NOTE: Lamphouse Emergency Ignite switch (if present) will frequently overcome low open
circuit voltage condition, but will not permit normal autostrike function.
Bulb requires multiple ignition pulses to light
1. Insufficient DC output. See INSTALLATION section; set tap setting as required.
2. Faulty K2 relay. Replace if defective.
3. Faulty or expired xenon bulb. Check for darkened envelope, worn electrodes; replace if required.
4. One or more faulty bridge diodes. See preceding DIODE TESTING section.
Bulb goes out during operation
1. Excessive heat at rectifier heat sinks; thermal switch S1 opening. Check for free air flow, blower(s)
operating at full speed. Check for loose connection.
2. Faulty lamphouse interlock switch (Door, Air, etc.). See lamphouse manual.
Excessive flicker in light output
1. Improper tap setting. All taps must be on same numbered or lettered step.
2. Faulty bridge diode. See preceding DIODE TESTING section.
3. Faulty xenon bulb. Check for cracked or sagging electrode(s).
4. Open filter capacitor C1 or C2. Replace if defective.
Bridge diodes (CR1-6) fail repeatedly
1. Insufficient air flow; defective blower. Clean, repair, or replace as required.
2. Incorrect replacement diode. Use only the specified rated diode(s).
9
Summary of Contents for XENON FXPS
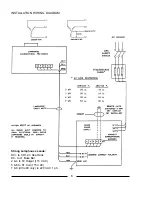
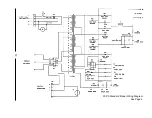
Page 12: ...FXPS Standard Model Wiring Diagram See Page 4 10 ...
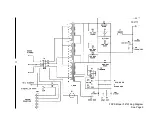
Page 13: ...FXPS Model LB Wiring Diagram See Page 5 11 ...
Page 18: ......


