4
4
Assembly: 12U
Preparation
Use a stud finder to find the nearest wall studs and mark their location. Align the template with the
stud markings on the wall, level the template, and tape the template flat to the wall surface. Use the
mounting template to mark the locations the of the four lag bolts (H) for the 12U configuration.
Drill pilot holes for your lag bolts using a 3/32" drill bit. Insert a lag bolt (H) and washer (I) into each
hole, tightening until 1/4" of each lag bolt remains exposed.
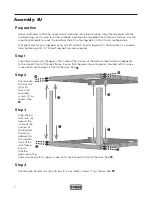
Step 1
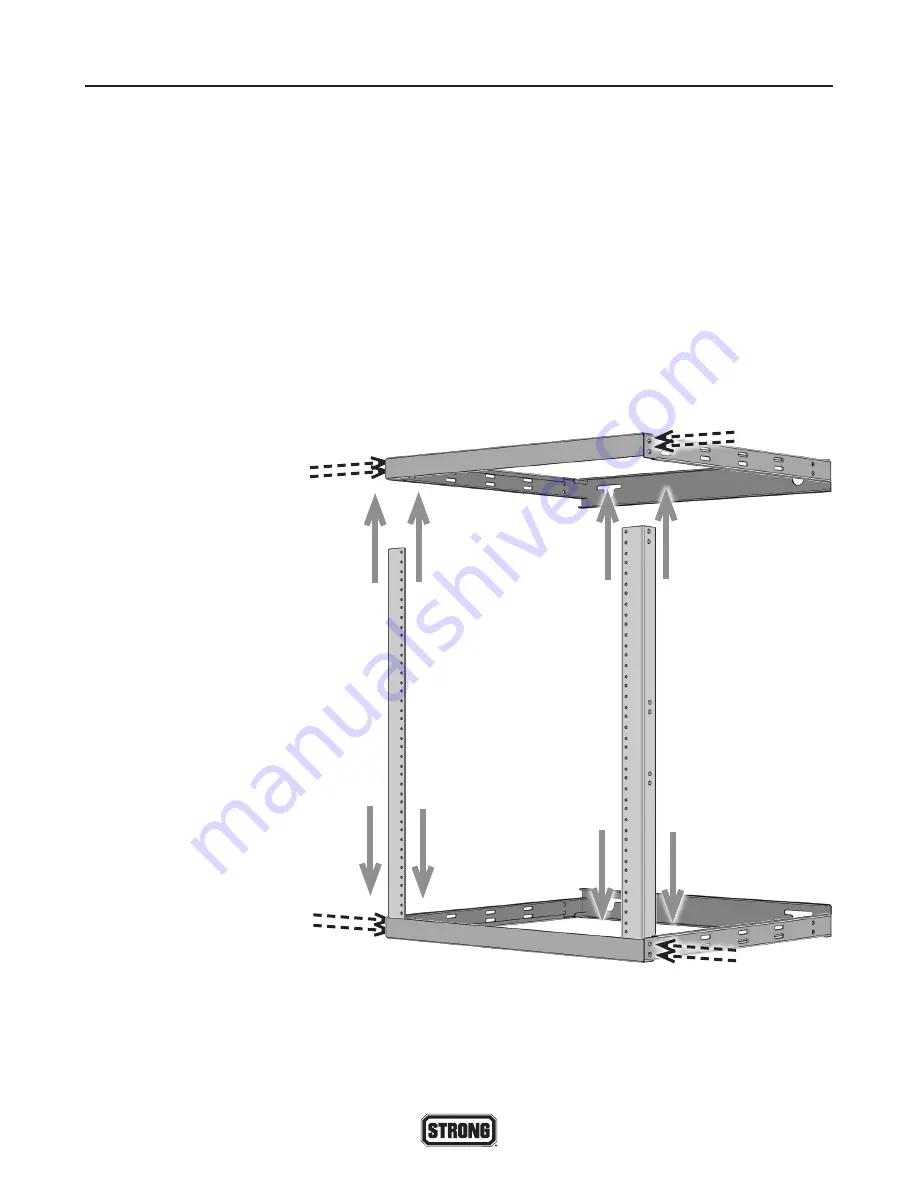
Align the 12U rack rails (C) against the inside of the corners of the bottom rack frame (A), adjacent
to the smooth front of the rack frame. Ensure that the gear-mounting holes (marked with U-space
screen print) are facing the front of the rack. See
.
Step 2
Secure each 12U rack rail
(C) with two 10-32 assembly
screws (F) as shown. See
.
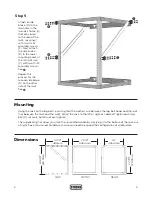
Step 3
Align the 12U rack rails (C)
against the inside of the
corners of the top rack
frame (A), adjacent to
the smooth front of the
rack frame. Ensure that
the gear-mounting holes
(marked with U-space
screen print) are facing the
front of the rack. See
.
Step 4
Secure each 12U rack rail
(C) with two 10-32 assembly
screws (F) as shown. See
.

