28
English
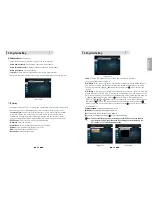
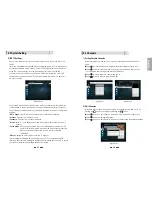
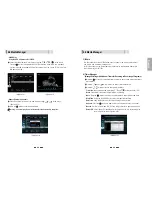
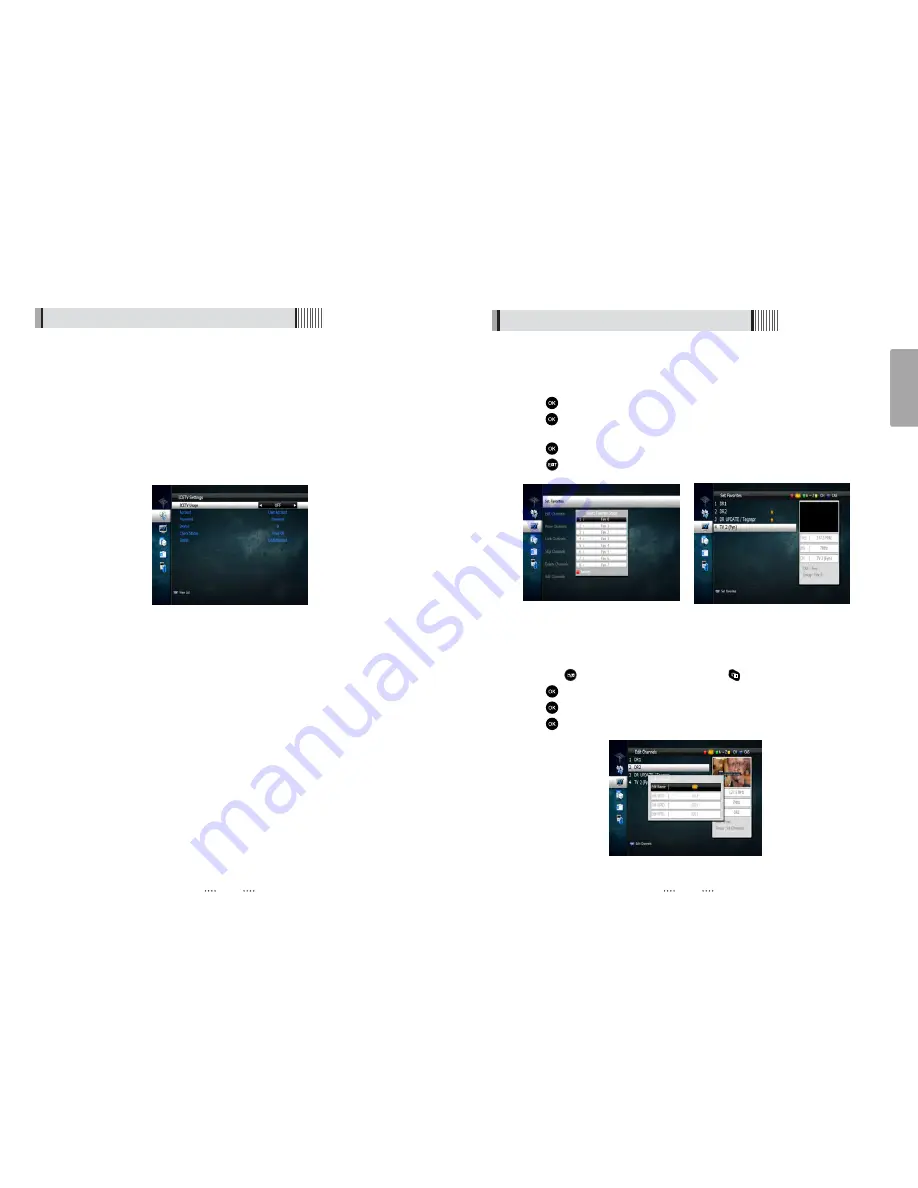
You will need to connect your receiver to an internet connection via the LAN port on
the back panel. Connect the LAN cable from your Modem or Router to the receiver.
You will then be required to enter you home network details in the Ice TV settings menu
as below:
- ICETV Usage
: Select On/Off to activate or de activate the IceTV feature
- Account
: Enter your IceTv account name
- Password
: Enter your IceTv account password
- Device
: Select 0,1,2 or 3 depending on how many receivers are linked to the IceTV
account
- Check Status
: Once you input your Ice Tv account details and connected the LAN
cable to the receiver press OK to check the status of your connection.
When your receiver is connected to Ice TV the status will state
“Authorized”
- Status
: Displays the current status of your Ice TV account
If you are experiencing problem connecting to your Ice TV account and you are
receiving “UnAuthorized” message in the Status section please contact Ice TV to ensure
your account details are correct and has been activated.
8) ICE TV Settings
Connect your receiver via LAN to an internet connection to receive the Ice TV EPG
service.
IceTV is an independently compiled electronic program guide (EPG) for digital free-to-
air television delivered via the internet. The IceTV EPG service gives you acces to the
online EPG and enables you to set timer recordings via the Ice TV online EPG.
To activate your Ice Tv account you will need to input the information in the Ice TV
settings menu. To purchase an Ice TV subscription please visit the Ice TV website at
www.icetv.com.au
6.2 System Setting
27
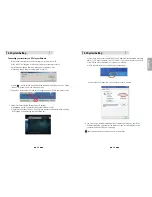
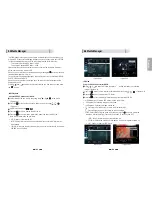
<Figure 6.2.10>
6.3 Channels
1) Setting Favorite Channels
This section allows you to select up to 16 groups of favorite channels in either TV or
Radio.
⊹
Press
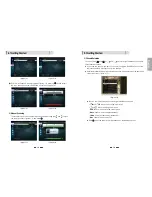
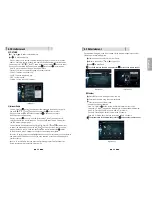
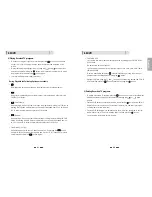
on “Set Favorites” and the group lists will be displayed <Figure 6.3.1>
⊺
Press
button to choose a group and a new menu will appear <Figure 6.3.2>
To change the name of the group press the RED button
⊻
Press
to add or remove a channel from the list
⊼
Press
button to return to the previous menu.
<Figure 6.3.1>
<Figure 6.3.2>
2) Edit Channels
This section lets you rename and edit channels. You can select from Radio or TV by
pressing the
button or a channel by pressing the
button.
⊹
Press
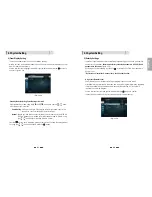
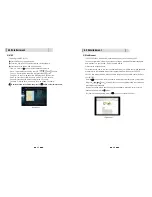
button on “Edit Channels” and a new menu will appear <Figure 6.3.3>
⊺
Press
button on the desired channel
⊻
Press
button on “Edit Name” to rename the channel using the displayed keypad
<Figure 6.3.3>

