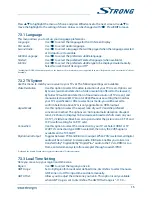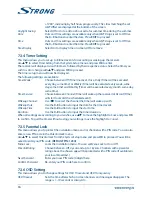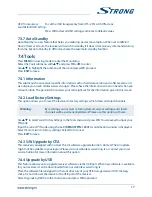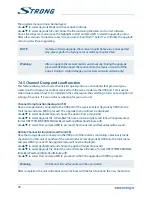
The upgrade menu will now be displayed.
Use
pq
to select
Upgrade Mode
and choose option
Allcode
.
Use
pq
to select
Upgrade File
and choose the file containing the latest and correct software.
Once all settings are made, move the highlight to
Start
and press
ok
to start the upgrade process.
After a few seconds, the receiver asks: “Are you sure to burn flash?”. Select
Yes
to finalize the upgrade
or
No
to quit without upgrading.
NoTE:
If, after a software upgrade, the receiver should behave in an unexpected
way, please perform a factory reset as well. See chapter
7.4.2
.
Warning:
After an update the receiver restarts automatically. During the upgrade
process NEVER disconnect the receiver from the mains or switch off the
power! Doing so might damage your receiver and will void warranty!
7.4.5 Channel Dump and Load function
This feature allows you to load a channels list quickly and use a channel list that previously was
created on this (backup) or another receiver from the same model via the USB port. This is useful
when more receivers have to be installed in the same region, thus omitting a full scan and (optional)
sorting of channels. It is also useful as a backup for your own unit.
Channel Dump function (backup to USb)
Have a storage device connected to the USB port of the receiver. Select
Upgrade by USB
from the
Tools
menu and press
ok
to proceed. The upgrade menu will now be displayed.
Use
pq
to select
Update Mode
and choose the option
Dump channel list
.
Use
pq
to select
Upgrade File
. A DataBase file name containing date and time will be presented,
format DBYYYYMMDDHHMM (DateBaseYearMonthDateHourMinute.udf).
Use
pq
to select
Start
and press
ok
to proceed. The channel list and favourites will be saved.
Update Channel list function (read from USb)
Have the storage device connected to the USB port of the receiver, containing a previously made
channel list on this unit or another of the same model. Select
Upgrade by USB
from the
Tools
menu
and press
ok
to proceed. The upgrade menu will now be displayed.
Use
pq
to select
Update Mode
and choose the option
Update Channel list
.
Use
pq
to select
Upgrade File
. Select the correct database file name, format DBYYYYMMDDHHMM
(DateBaseYearMonthDateHourMinute.udf).
Use
pq
to select
Start
and press
ok
to proceed. Confirm the upgrade with
ok
to proceed.
Warning
Old channel list and favourites will be overwritten.
After completion, the unit will reboot and come back with the first channel in the new channel list.
18


