PART 2 • English
6
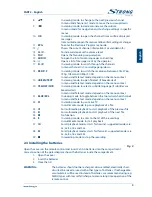
2.5 Using the remote control
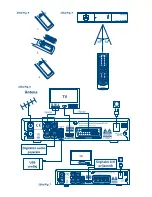
Fig. 5
To use the remote control, point it towards the front of your receiver. The remote control supports a
range of up to 7 meters distance to the receiver at an angle of up to approx. +-30 degrees.
noTE:
Managing the receiver will be limited or not possible if there are obstacles
between the remote control sensor (at the front panel of the receiver)
and the remote control. Direct sunlight or very bright light can reduce or
disturb the reception of the remote control signals.
3.0 ConnECTIons
WARnIng:
Please make sure that connection devices are disconnected from their
main power supplies before connecting these to the receiver.
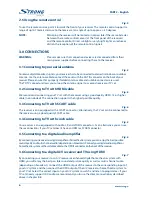
3.1 Connecting to your aerial antenna
Fig. 6
To receive digital broadcast signals, your receiver has to be connected to a terrestrial indoor or outdoor
antenna. Use the antenna cable to connect the aerial with the ANT IN connector on the back of your
receiver. Please ensure that a properly shielded antenna cable and suitable connectors are used.
The TO TV connector allows you to loop the antenna signal to a second receiver or TV set.
3.2 Connecting to Tv with hDmI cable
Fig. 6
We recommend connecting your TV set with the receiver using a good quality HDMI 1.3 or higher
cable (not included). This connection supports the highest possible quality.
3.3 Connecting to Tv with sCART cable
Fig. 6
The receiver is also equipped with a SCART connector; alternatively, the TV set can be connected to
the receiver using a good quality SCART cable.
3.4 Connecting to Tv with cinch cable
Fig. 6
Your receiver is also equipped with Audio L, R and VIDEO connectors. As an alternative you can use
these connections if your TV set doesn’t have an HDMI or SCART connector.
3.5 Connecting to a digital audio amplifier
Fig. 6
By connecting your receiver to a digital amplifier or home theatre system, you can enjoy the best possible
sound quality and multi-channel audio (depending on broadcast). Connect your digital audio amplifier or
home theatre system with a suitable cable to the S/PDIF connector on the back of the receiver.
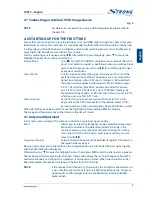
3.6 Connecting to a digital A/v receiver and Tv using hDmI
Fig. 7
By connecting your receiver to an A/V receiver or enhanced digital home theatre system with
HDMI, you will enjoy the best possible sound and picture quality as well as multi-channel audio
(depending on broadcast). Connect the HDMI output of the receiver to the corresponding input of
your A/V system and then connect the HDMI output of the A/V receiver or home theatre system to
your TV set. Select the correct input on your A/V system to watch and listen to programmes. If your
TV set already supports DD audio we recommend you to use the direct connection as described
above in chapter
3.2
.
Summary of Contents for SRT 8526
Page 2: ......
Page 3: ......
Page 29: ...PART 2 English 26 ...
Page 30: ...PART 2 English 27 English ...
Page 31: ...PART 2 English 28 ...


