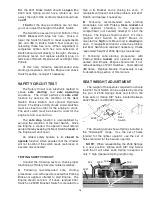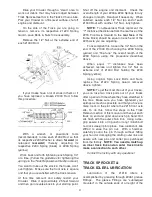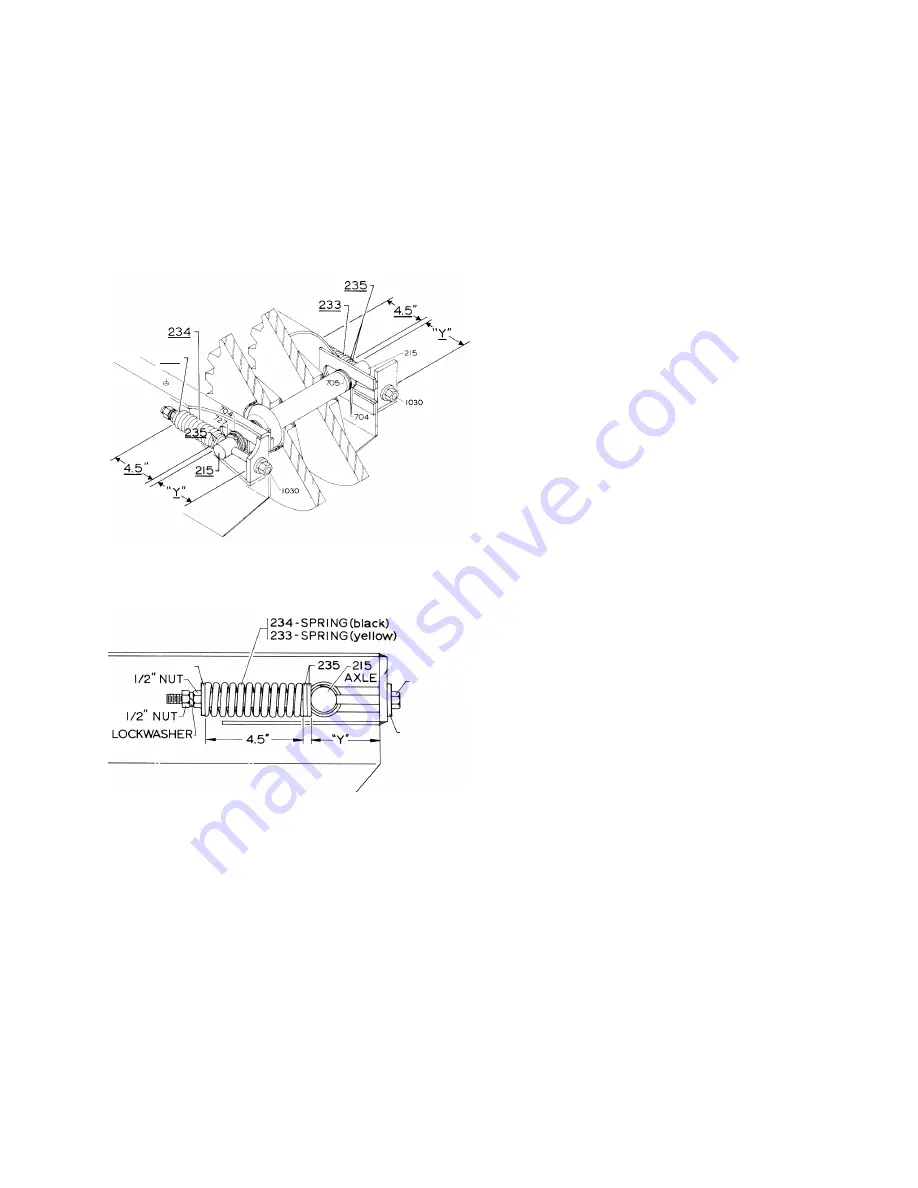
Drive your Crawler through a “clean” area to
work out debris that may have lodged between
Track Sprocket teeth or in the Track’s Chain Links.
Park your Crawler on a firm level surface, shut off
engine and dismount.
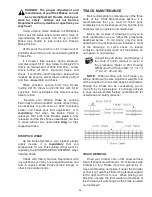
On the side of the Track you are going to
tension, remove its respective #1220 Spring
Guard...save Bolts & Nuts for reassembly.
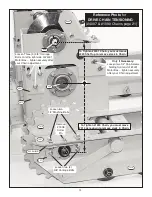
Remove the 1/2” Nut at the extreme end of
each #1030 Rod.
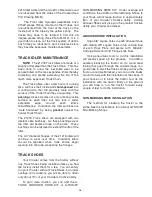
If your tracks have a lot of slack in them or if
you have replaced a broken #1030 Rod, follow
this procedure:
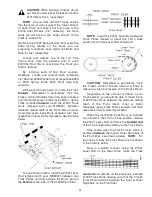
With
a
wrench
or
pneumatic
tools
(recommended); rotate each #1030 Rod so that
its respective #235 Washer is drawn
forward
(or
released
rearward
)
thereby
adjusting
its
respective #234 Spring (black) or #233 Spring
(yellow).
. Work back and forth tightening each Spring 1/4”
at a time.
(Follow the guidelines for tightening the
springs in the Track Replacement Section above).
You want to take out the slack in the tracks, don’t
over tighten. Make sure the front axle is square
and that you are satisfied with the track tension.
At this time remount and safely restart your
Crawler. Drive it approximately 25 feet forward
and then go in reverse back to your starting point.
Shut off the engine and dismount.
Check the
overall length of your #233 & #234 Springs for any
changes in length. Readjust if necessary. When
satisfied, secure each 1/2” Nut (on end of each
#1030 Rod) with another 1/2” Nut...fully tighten.
NOTE
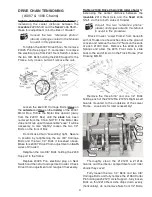
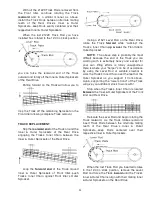
: To achieve ideal Track alignment, the
“Y” distance (the distance from the rear face of the
#215 Front Axle forward to the
rear face
of the
frame block) should be equal on each end of the
#215 Axle you are adjusting.
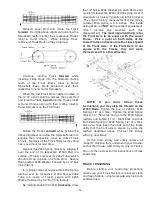
To accomplish this, loosen the 1/2” Nut on the
end of the #1030 Rod holding the #233 Spring
(yellow) and “fine tune” the overall length of the
#233 Spring using the procedure described
above.
When
equal
“Y”
distances
have
been
achieved, replace and tighten the 1/2” Nut on
extreme end of #1030 Rod holding the #233
Spring (yellow).
Using original Spin Lock Bolts and Nuts,
replace the #1220 Spring Guard removed
above...tighten.
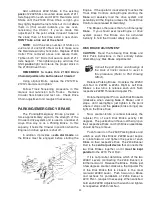
NOTE:
To get the most life out of your tracks;.
you can take two track pads out of your tracks
after a period of time where they have stretched to
the max. Make sure you have tightened your
springs as much as possible and that you have no
more room in the slot where the #215 front axle
sits. To do this, follow the steps in the Track
Removal section of this manual and then put each
track on end and grind down each pin head till it
sits flush with the outer chain link. Using a vise-
grip; secure it into a 1/4 punch or long 1/4 inch bolt
and lock vise-grip into place. Use a lubricant, like
WD40 to ease the pin out.
With a hammer,
carefully pound the pin through without hitting
your hand or damaging the mating outer link and
secure with new pins and cotter pins purchased
from the factory.
NOTE: You need to match up
an inner track link and an outer track link to
make a connection to each other.
Contact the factory with any questions!
TRACK SPROCKET &
TRACK IDLER LUBRICATION
Lubrication
of
the
#1218
Idlers
is
accomplished by greasing through #2061 grease
Fittings.
The grease Fittings are “submerged
mounted” in the outside ends of all eight of the
27
235
235
1030
235

